What Are They
In the 1920's Hermann Rorschach thought of the what is known as the Rorschach test. It was published in 1921 in Psychodiagnostik. Which stands for 'Psycho Diagnostics". However it wasn't really used until the 40's and the 50's. The test involved showing people usually criminals 10 what looked liked ink slobs. However they were asked to say what they saw in the blog of paint. It was supposed to make people think what was going on in peoples mind, to possibly get a motive for the crime they committed.
|
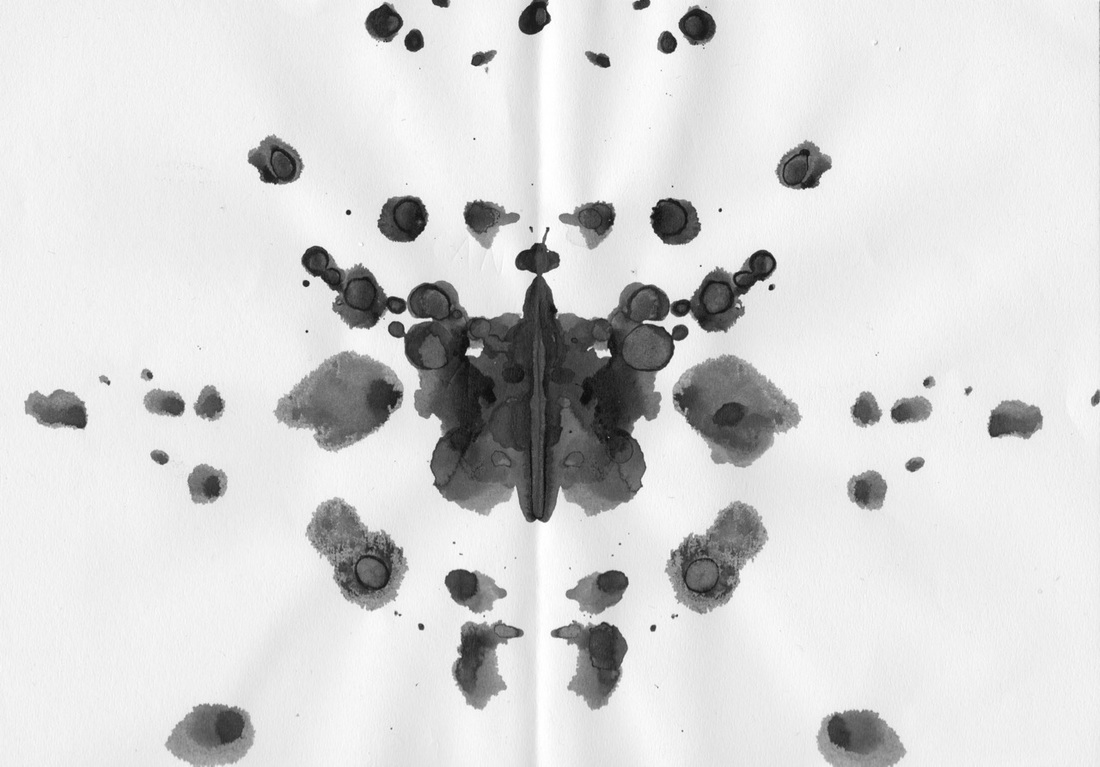
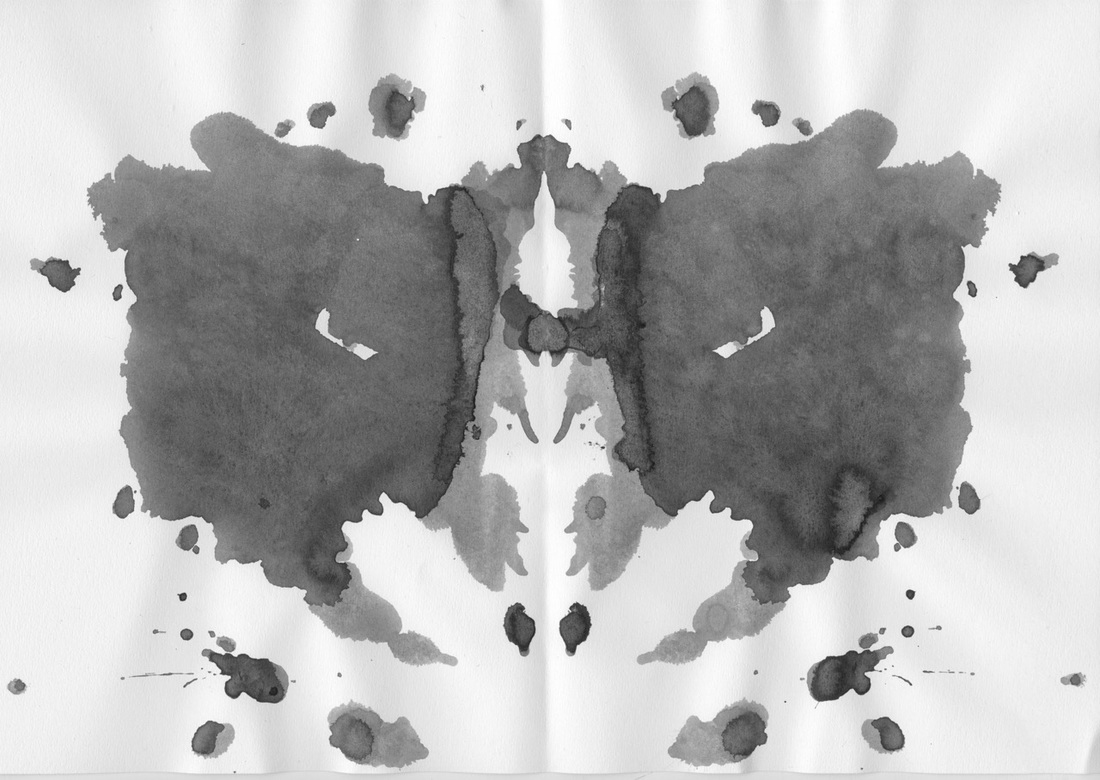
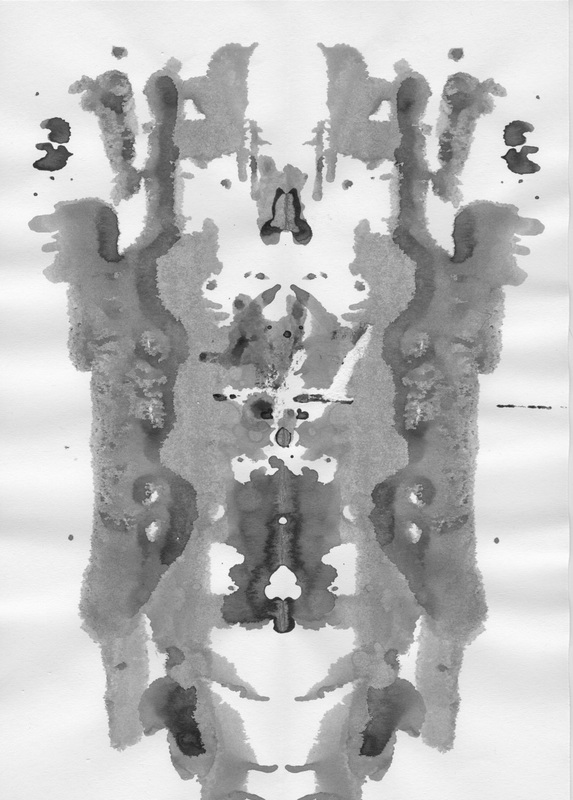
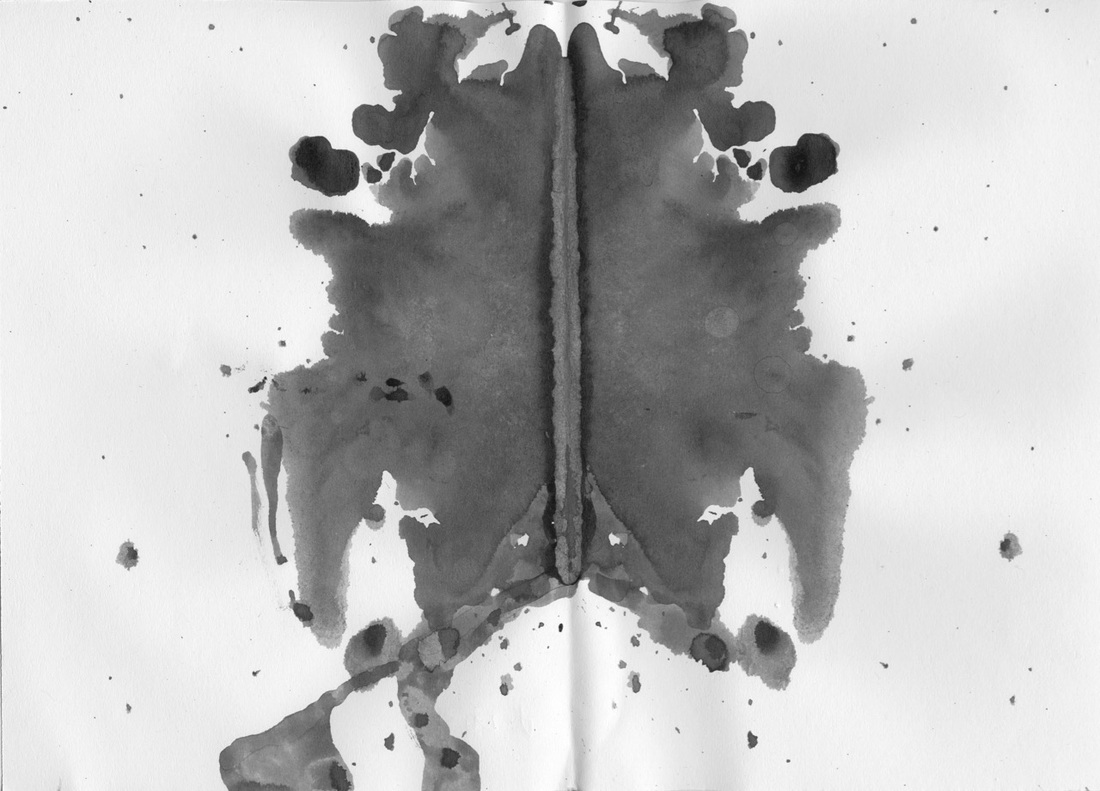
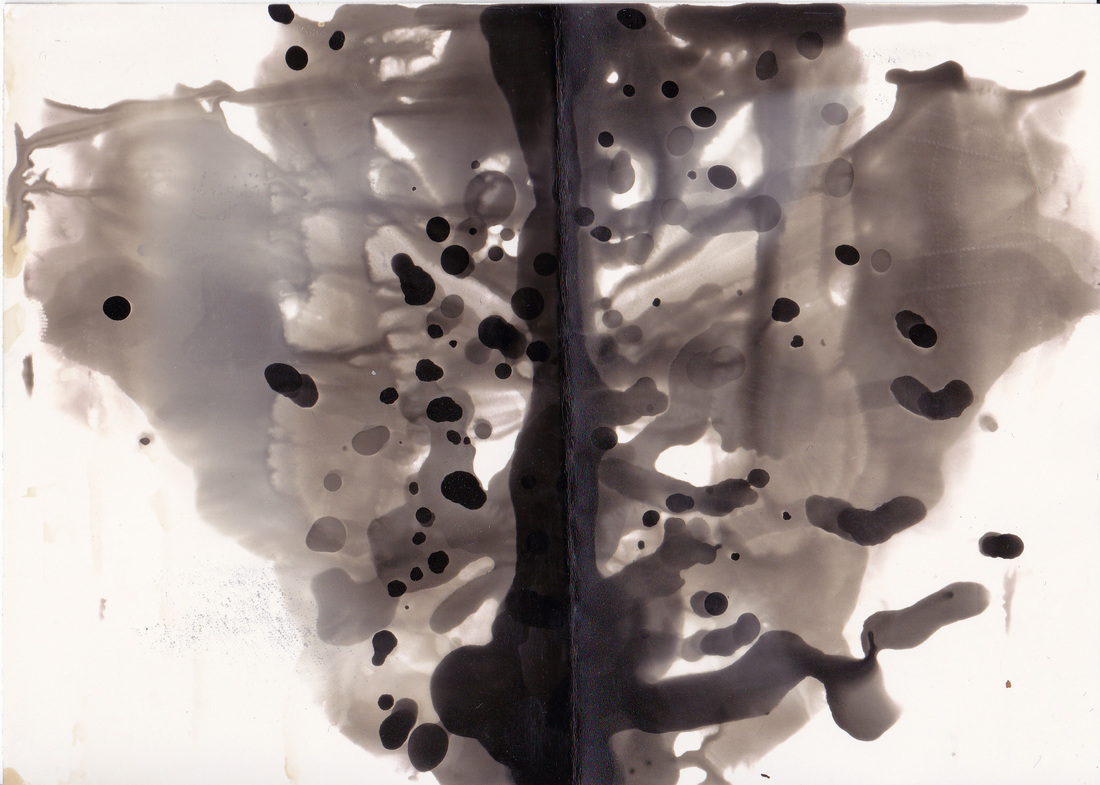
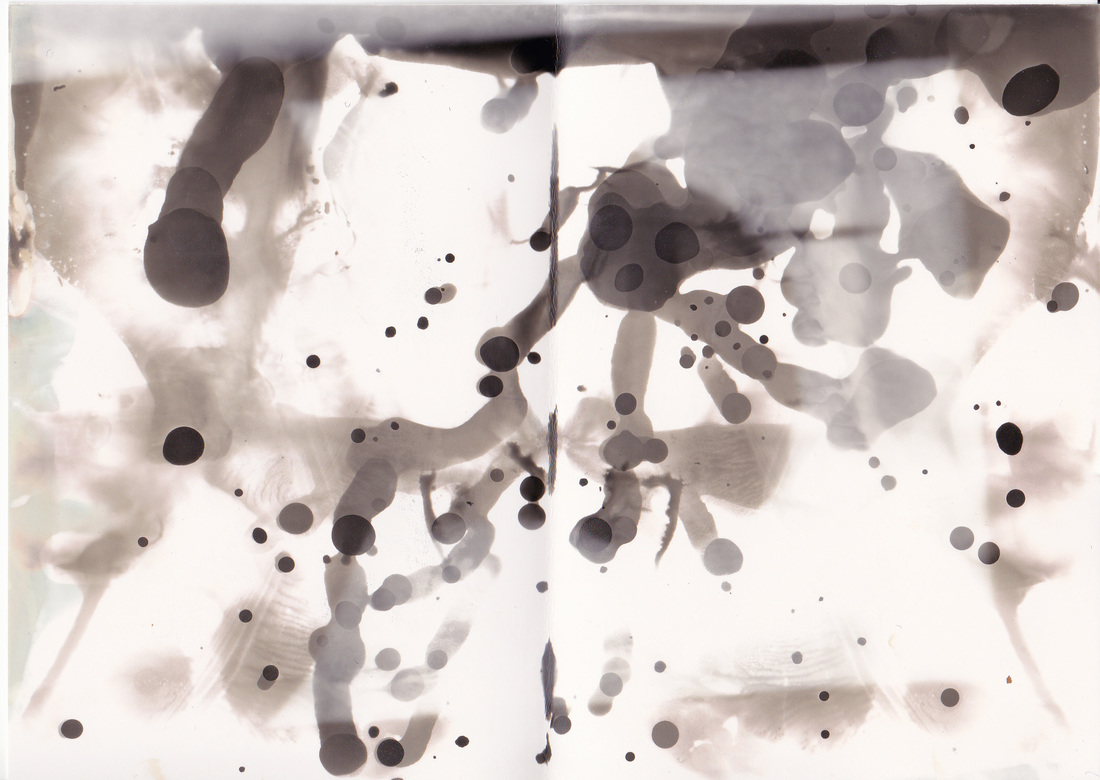
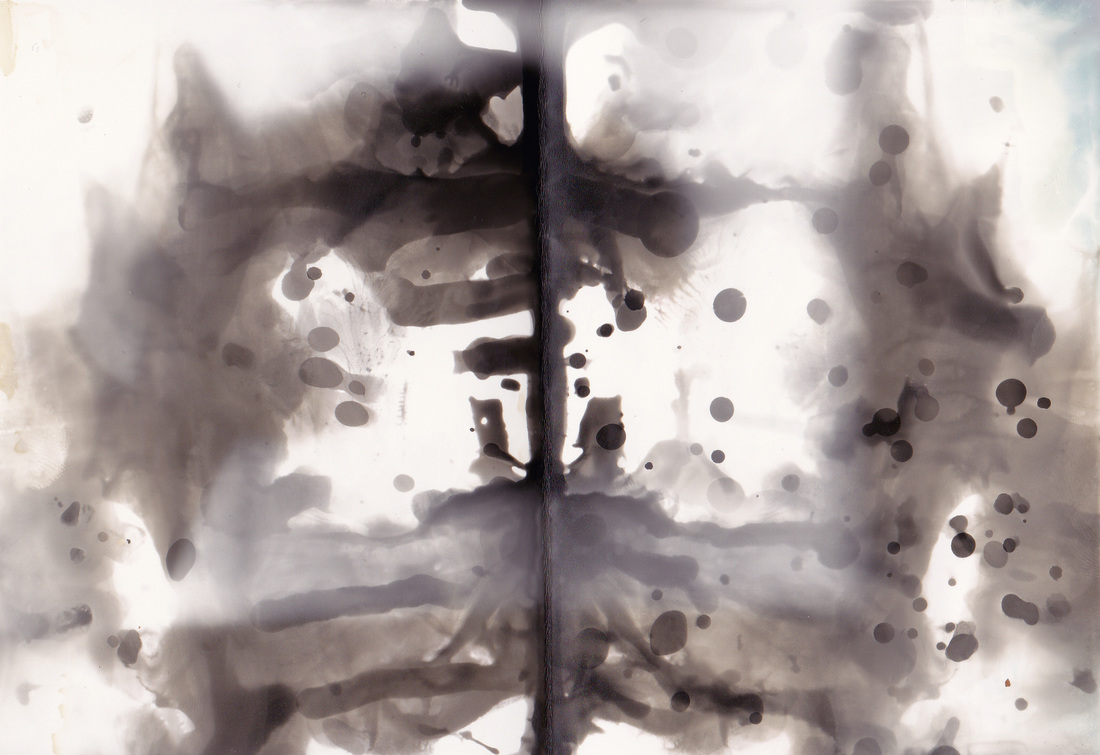
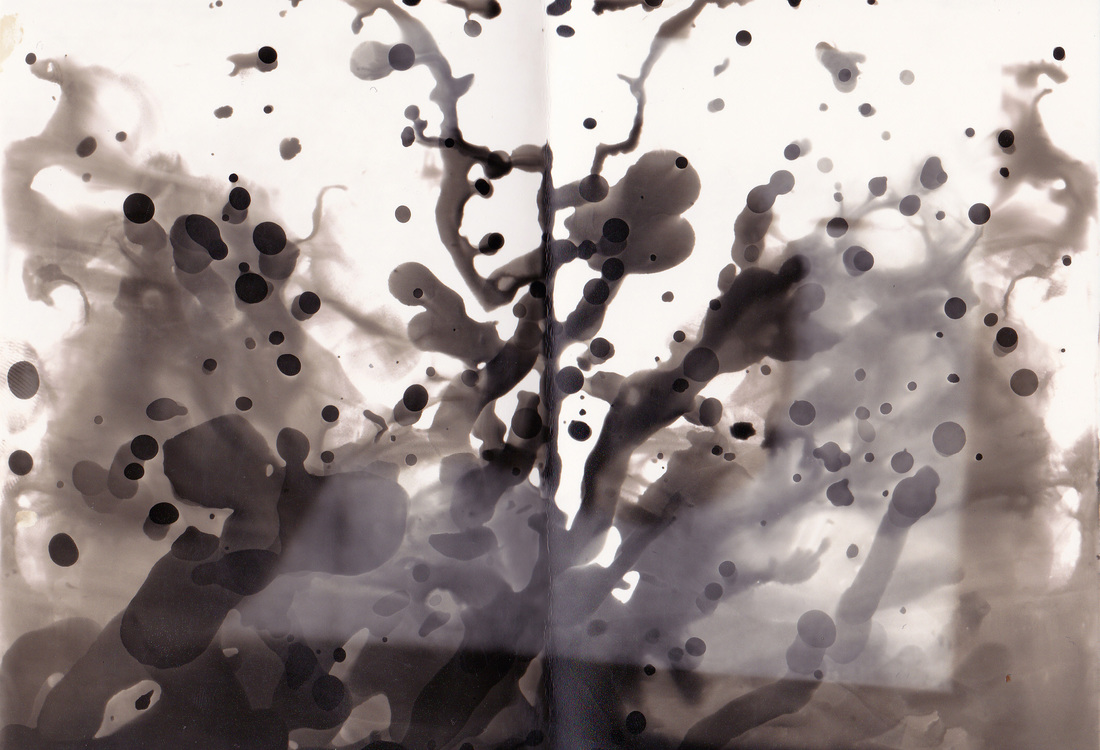
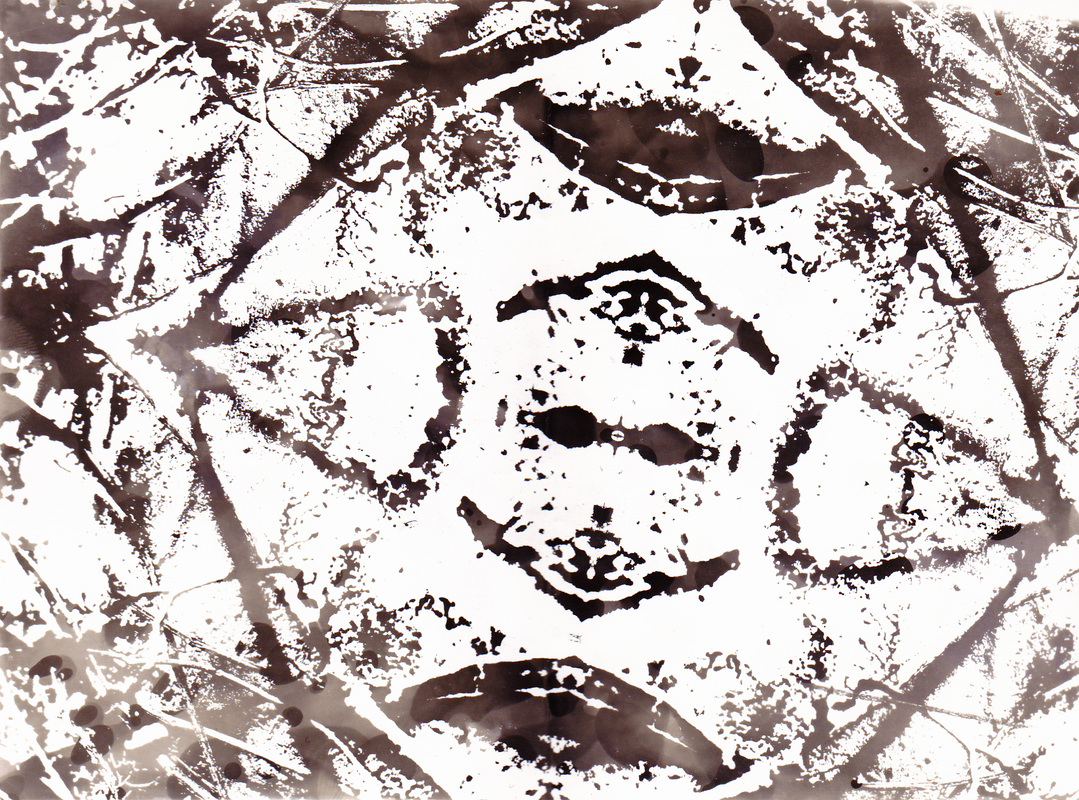
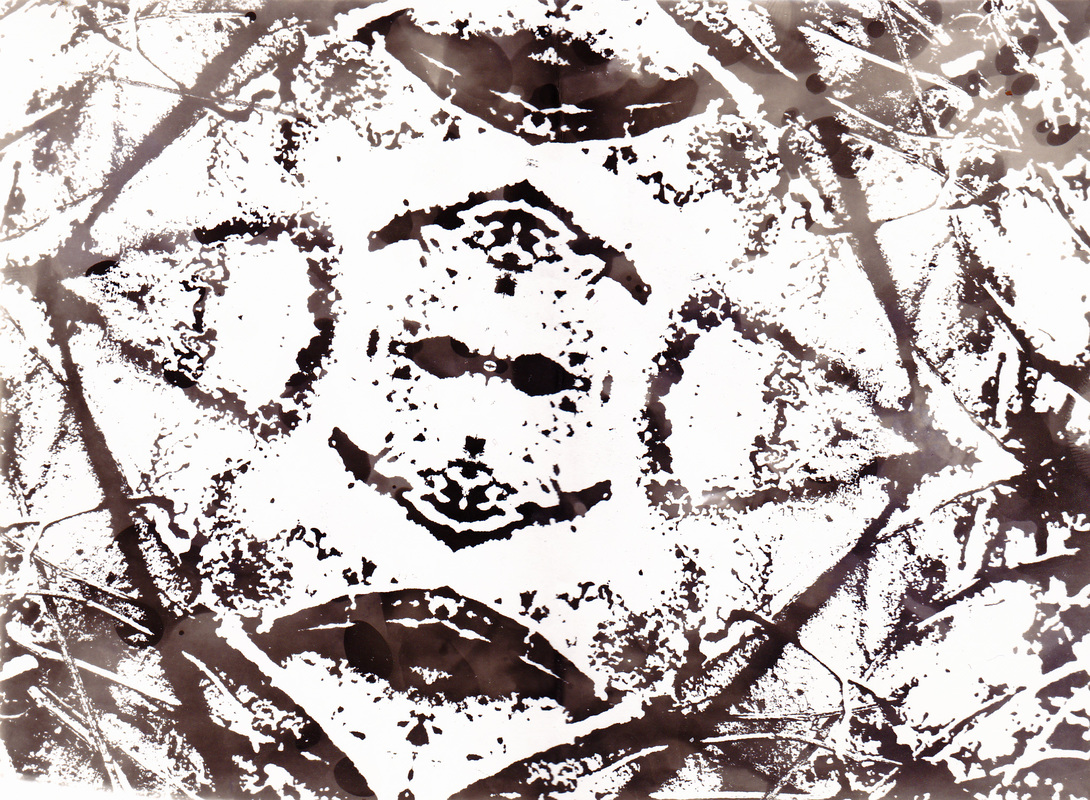
On the right are a couple of example of Ink Blots. It is believed that you would never find 2 that are exactly the same. You can find 2 that are very similar. But not the same. The chance of find 2 that are exactly the same are thought to be 1 in a trillion. Another interesting thing to note is that, it is very tough it find and crate a Rorschach blot that is perfectly symmetrical. They will appear very similar but there will some subtle differences from both sides, this would usually be paint run off. Your best chance of getting one perfectly symmetrical is by timing how long it takes for the paint to nearly dry and the push the 2 pieces of paper together very carefully. When you open it up. Try to keep the paper completely flat until it is truly dry. The slightest movement can make a symmetrical blot unsymmetrical.
|
|
Typical Rorschach's

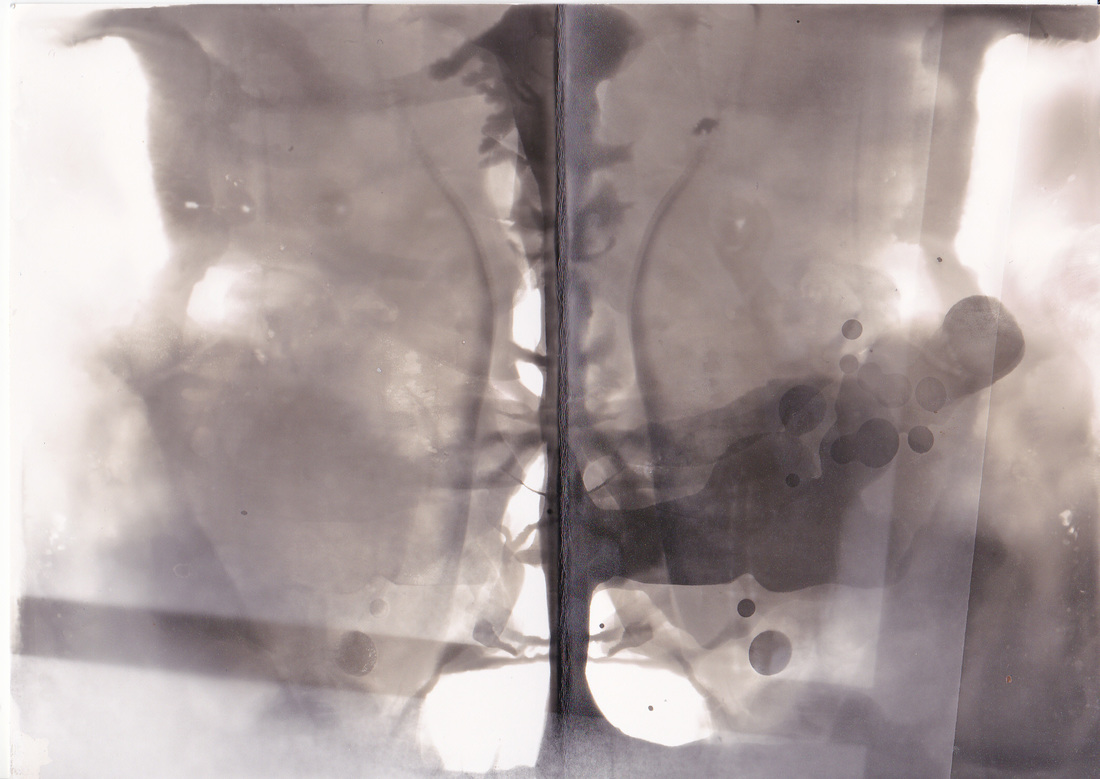
Photogram Rorschach's
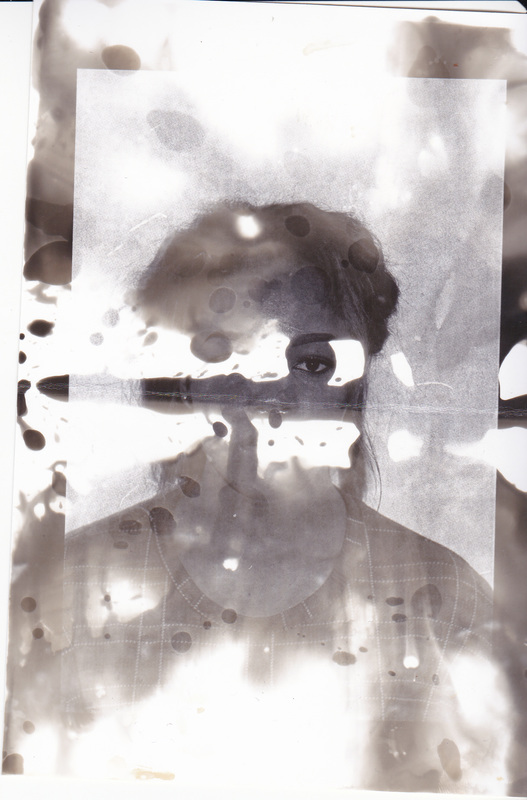
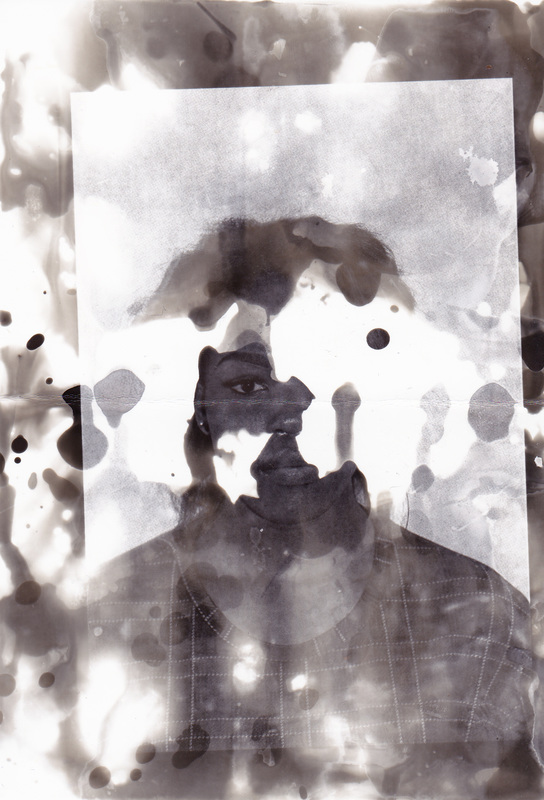
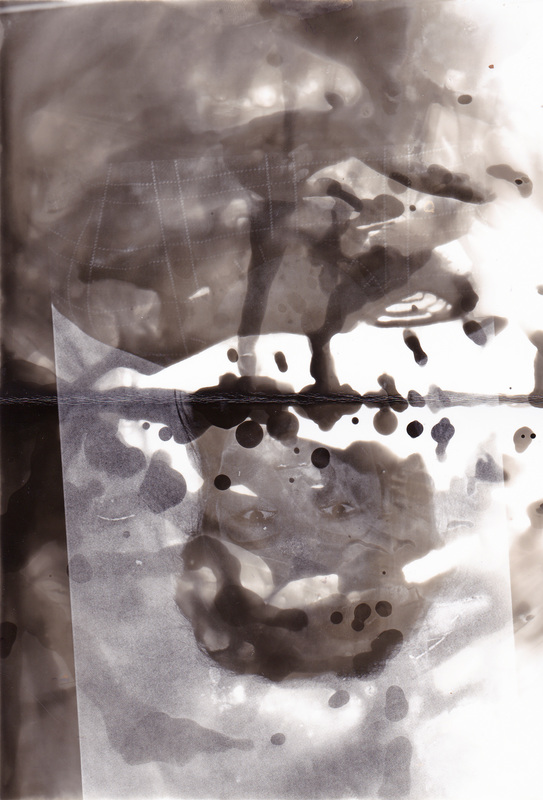
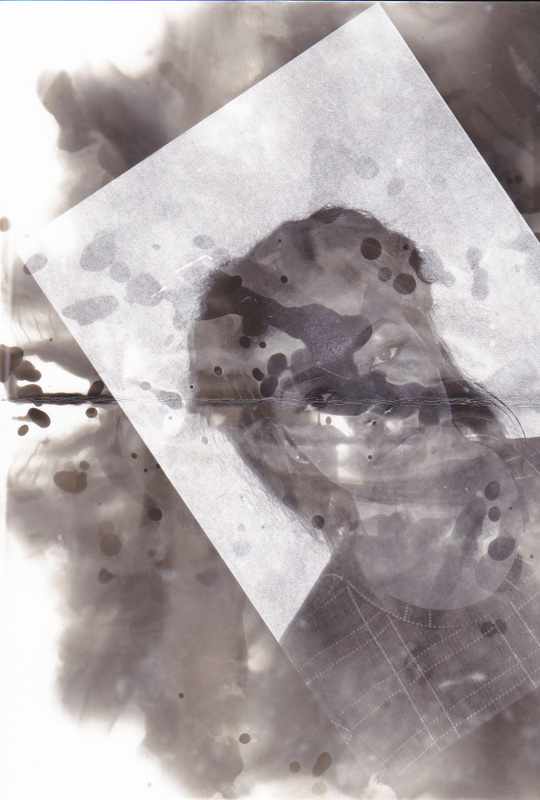
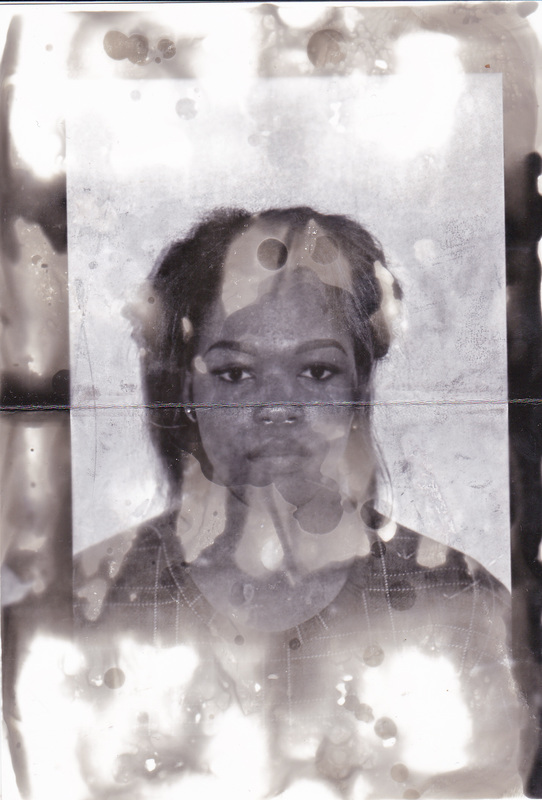
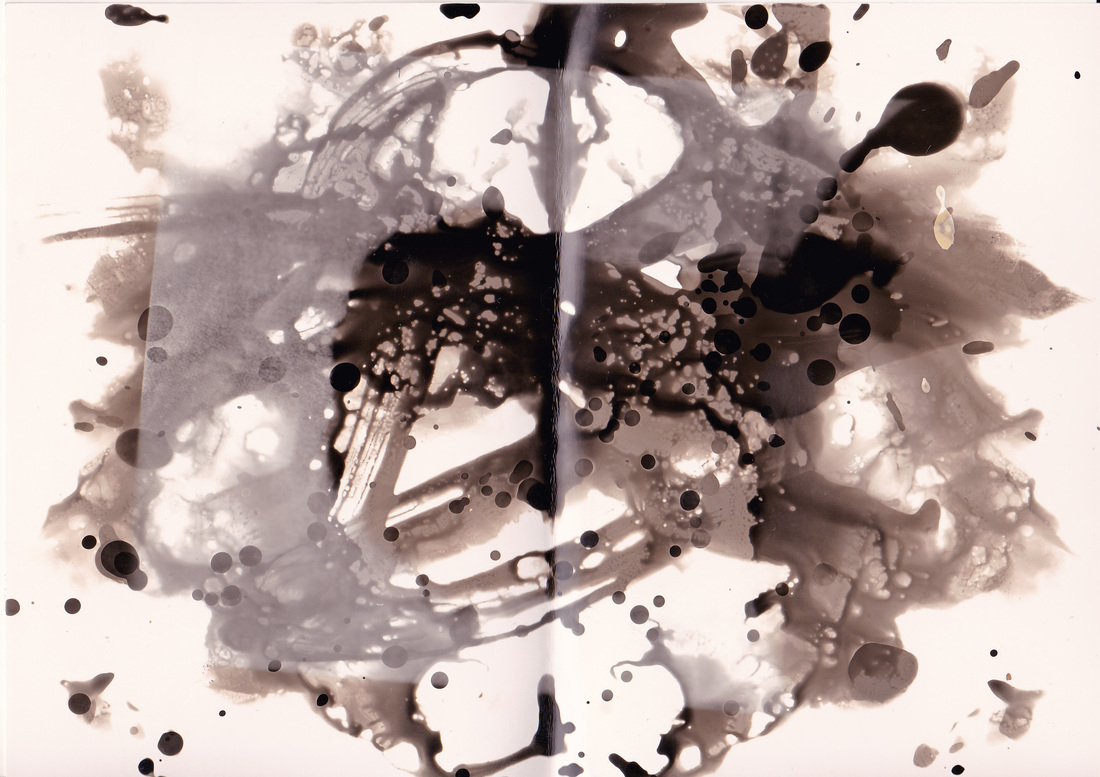
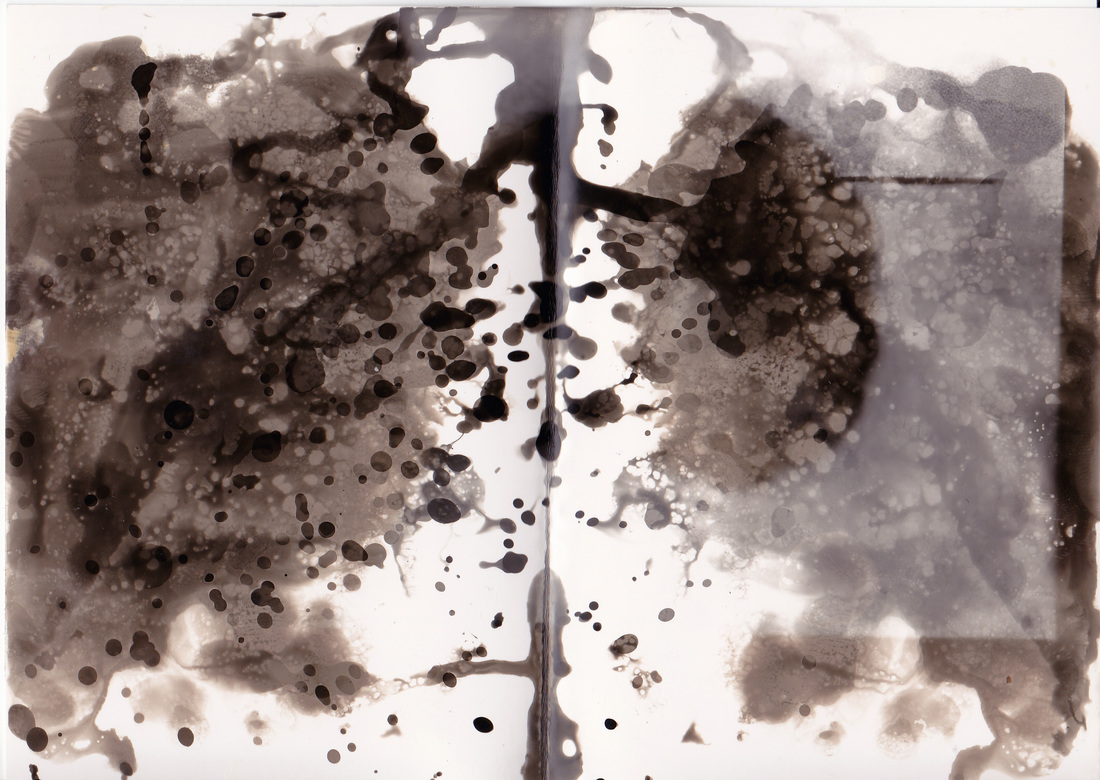
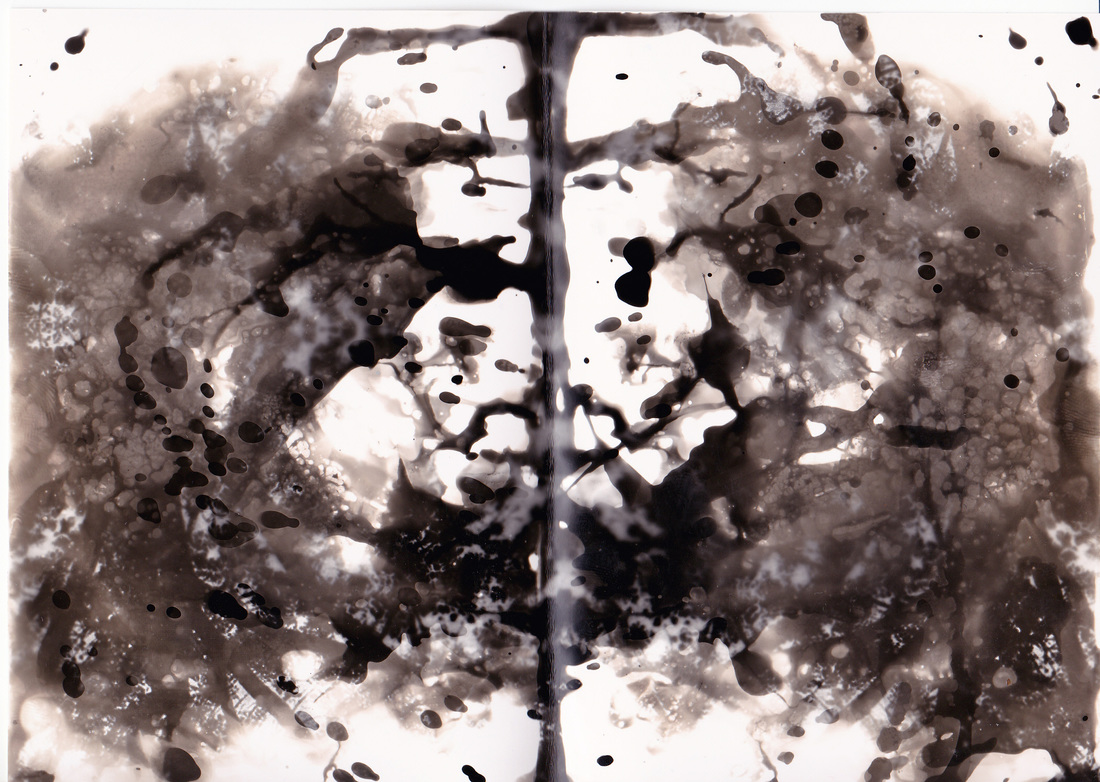
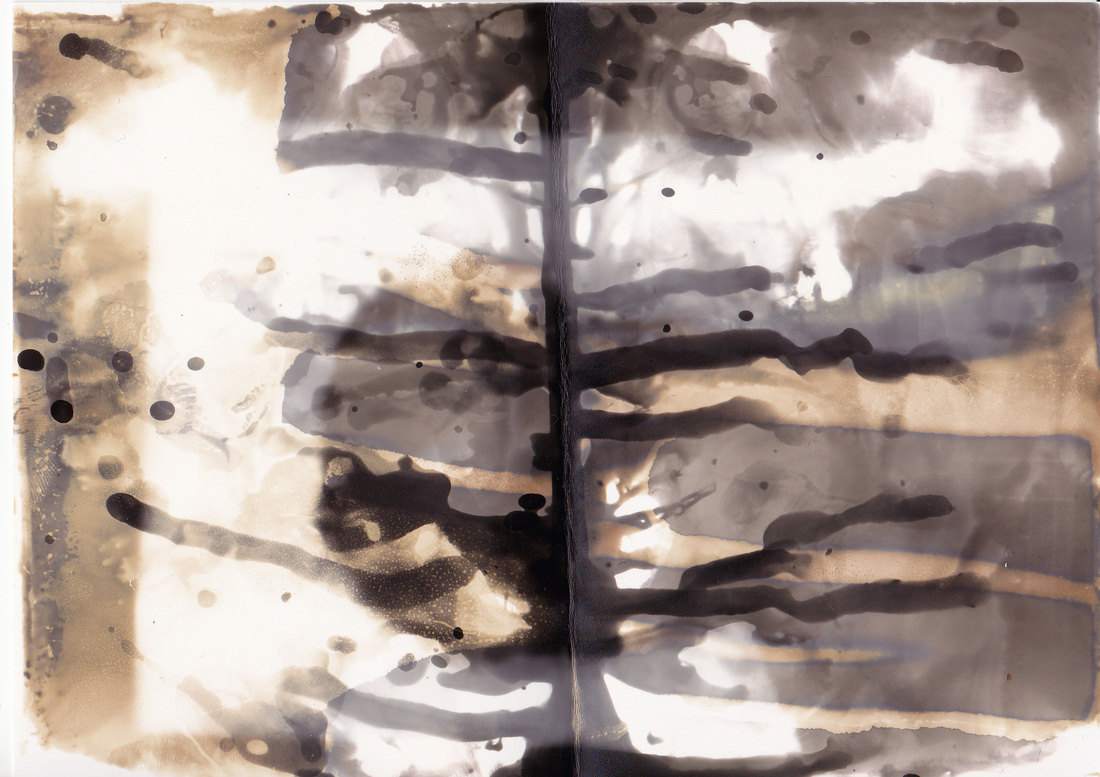
I wanted to attempt some darkroom rorschach's. So I was asked to get a photo of a simple portrait on a plain background. Then make it Black & White in Ps and invert it. So it could be exposed and developed on photographic paper. So I exposed the portrait onto photographic paper. Then rather than putting it into the developer, stop then fix. I dropped some developer onto the photogram. Then fold it in half like paper version. Then leave it for a minute or 2 to develop. Then drop it in the stop, then the fix. The element of chance in this is which section of the photo will be developed. The developer could land anywhere. Then the developed area's going up against the undeveloped areas can add some surreal effects. Which is what I discovered when I made some.
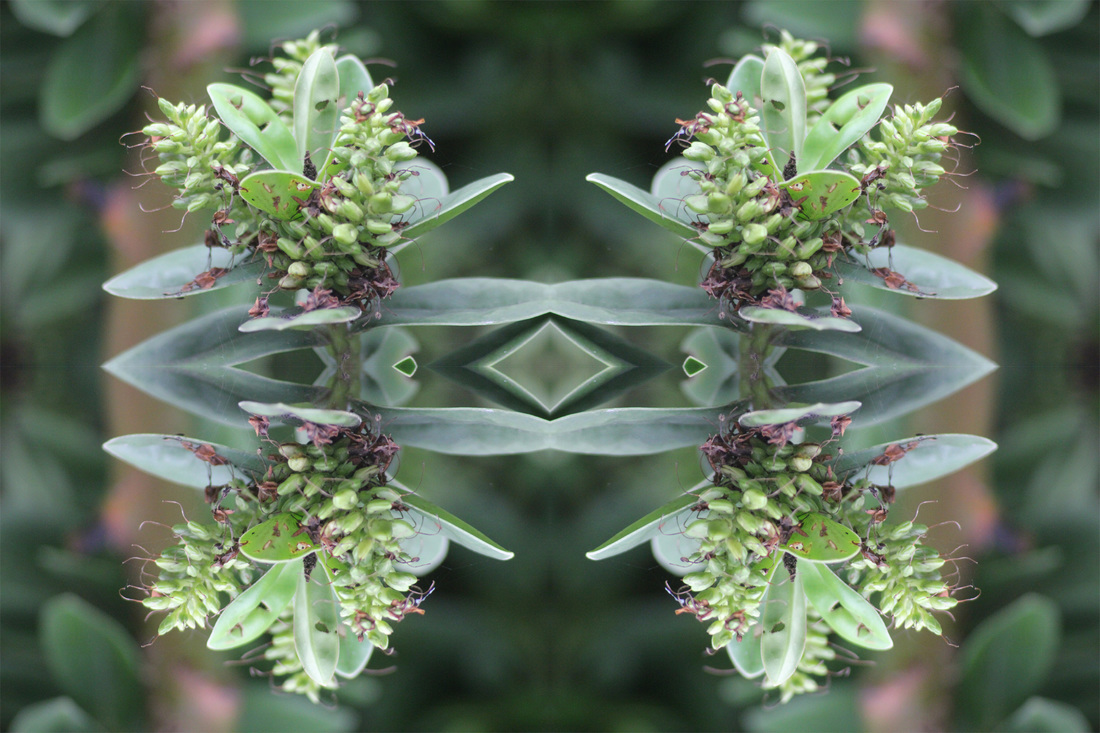
Digital Versions
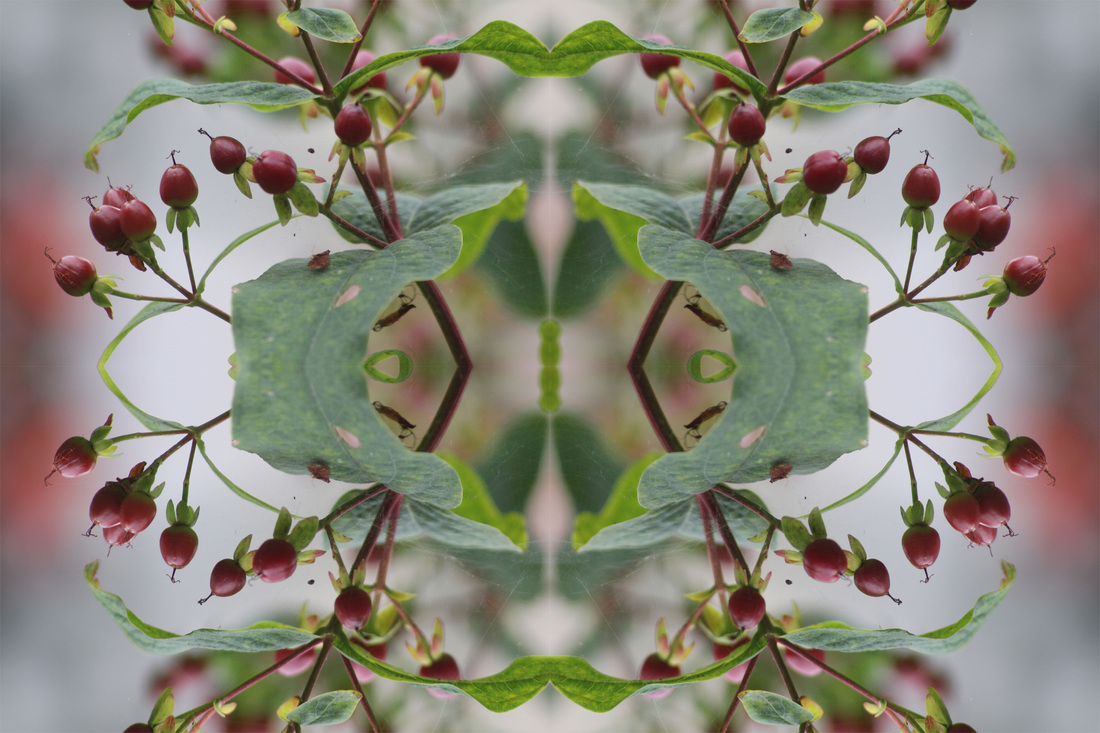
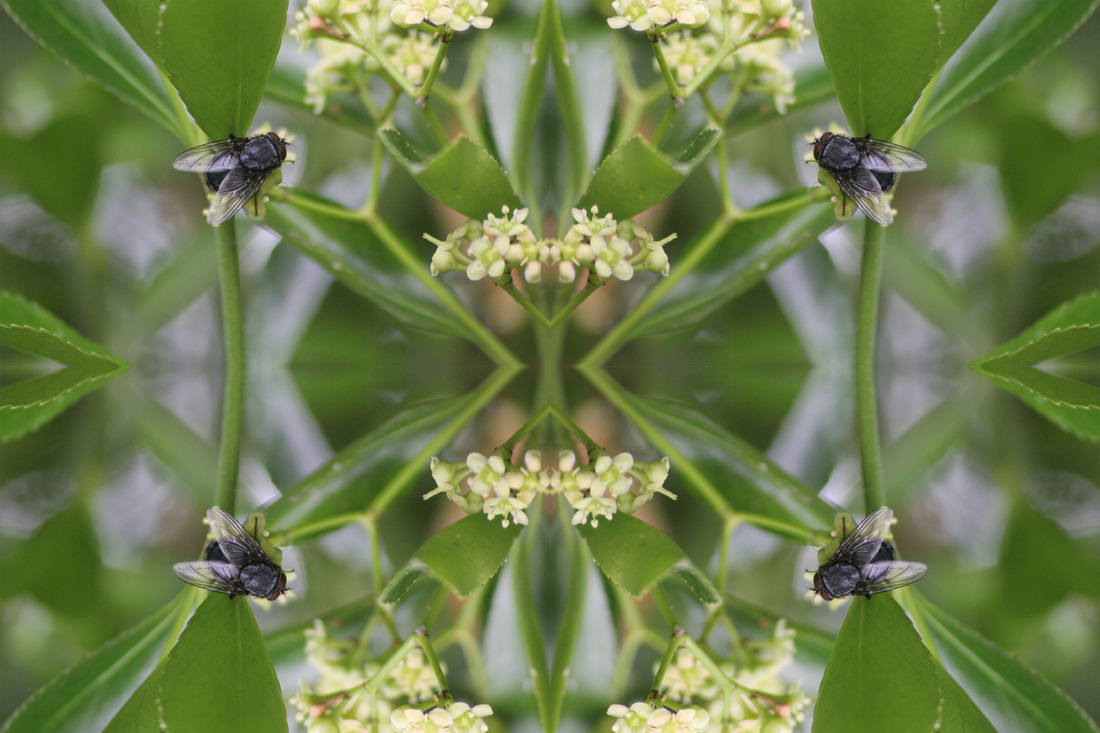
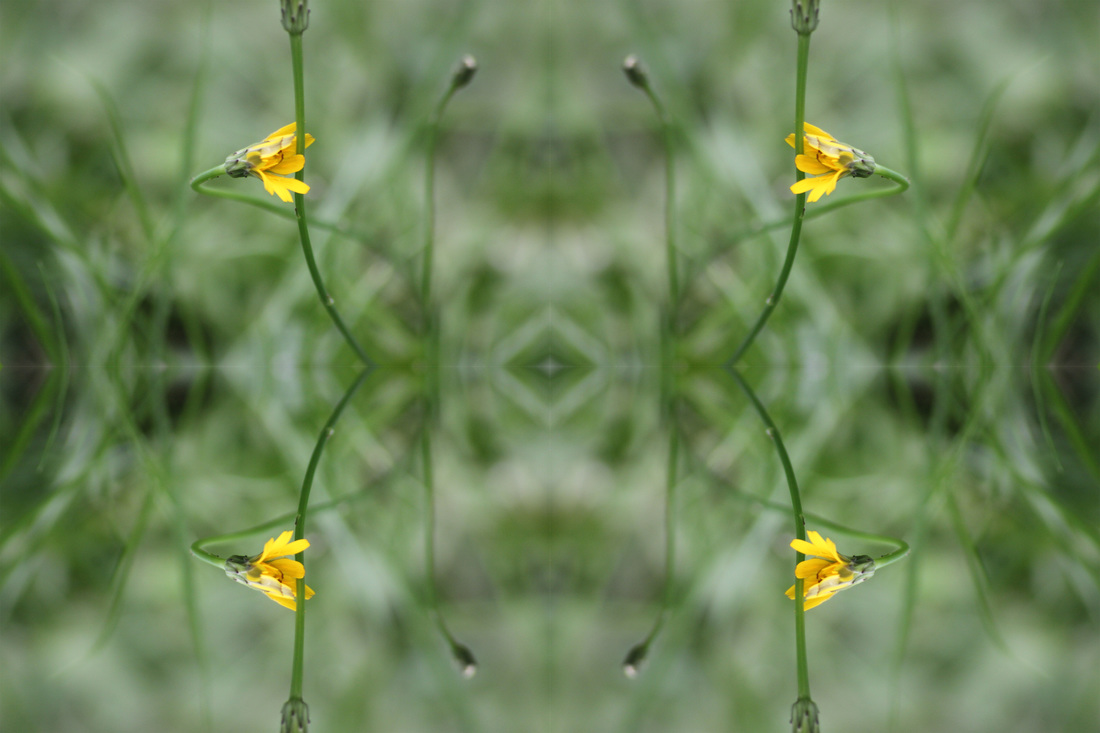
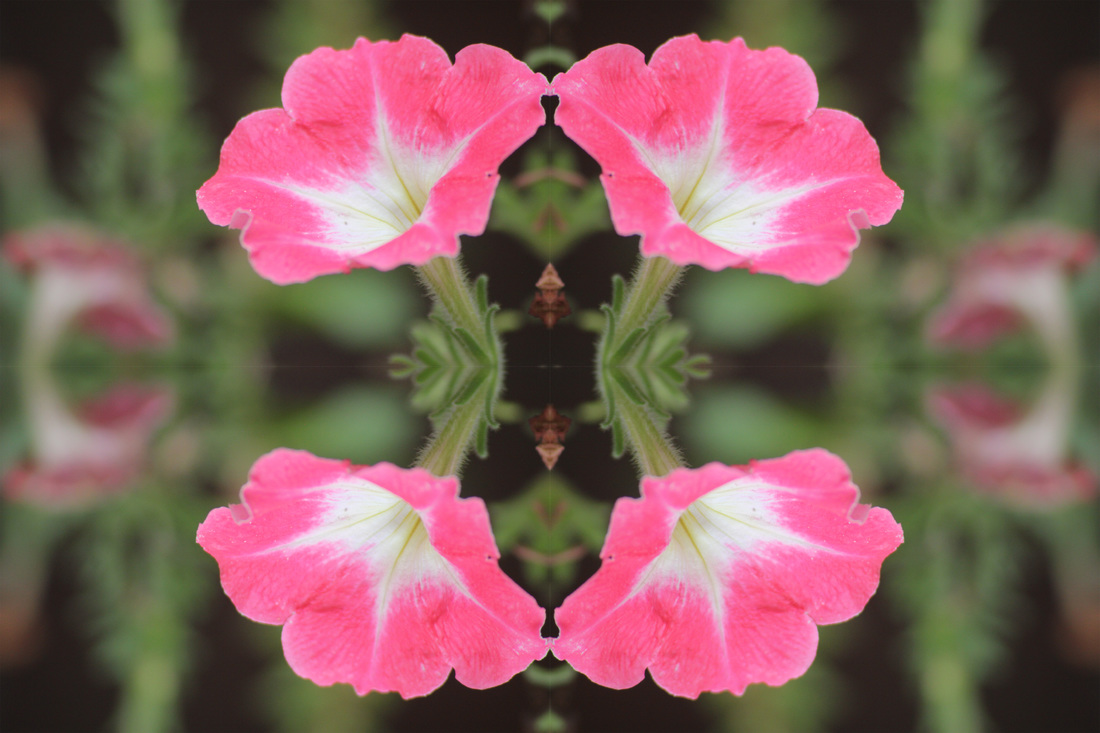
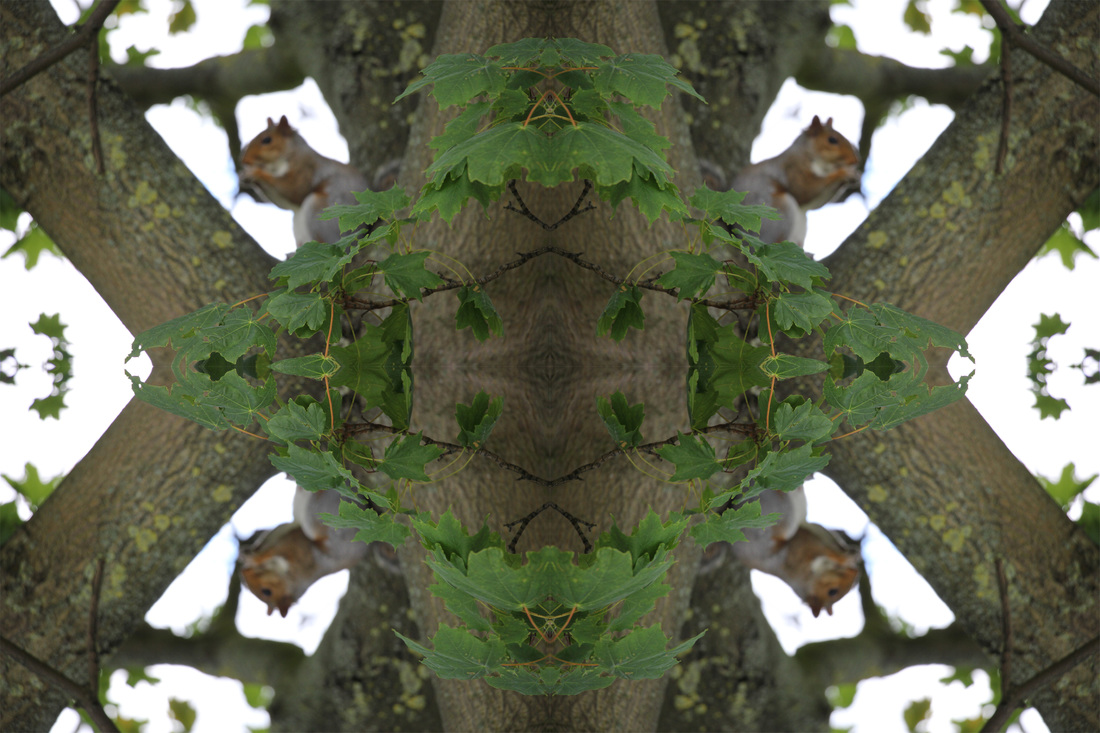
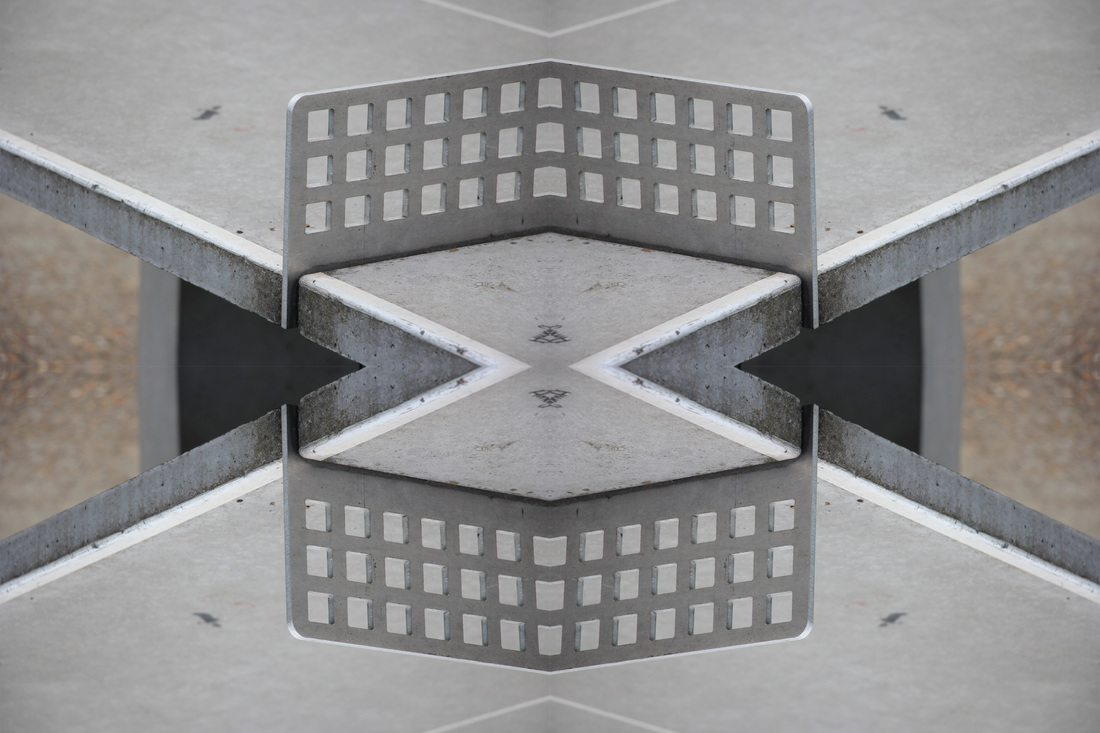
Thanks to photo editing software like Photoshop. We are now able to create digital versions of Rorschach test/blots. The best way to do this is to have the subject of the image in the corner because then you can connect them on Photoshop. I feel that digital rorschach's have the potential to create some fantastic abstract illusions. Especially if the subject in the original image is composed well. I think that the way to create some fantastic rorschach's is by using an image where the subject to create the illusion is on one of the side of the image. This way they can connect up and create some good illusions.

How I Made These Blots
There are 2 ways to make these kinds of Rorschach blots. Both of them involve Photoshop.
|
This is the longer, more detailed way to make these blots. This way is more precise and more likely to keep the illusion.
|
This is the quicker way to make them. This way is more prone to slight mistakes. If there are certain mistakes the illusion of Rorschach could be lost.
|
John Sargent Barnard


My ones
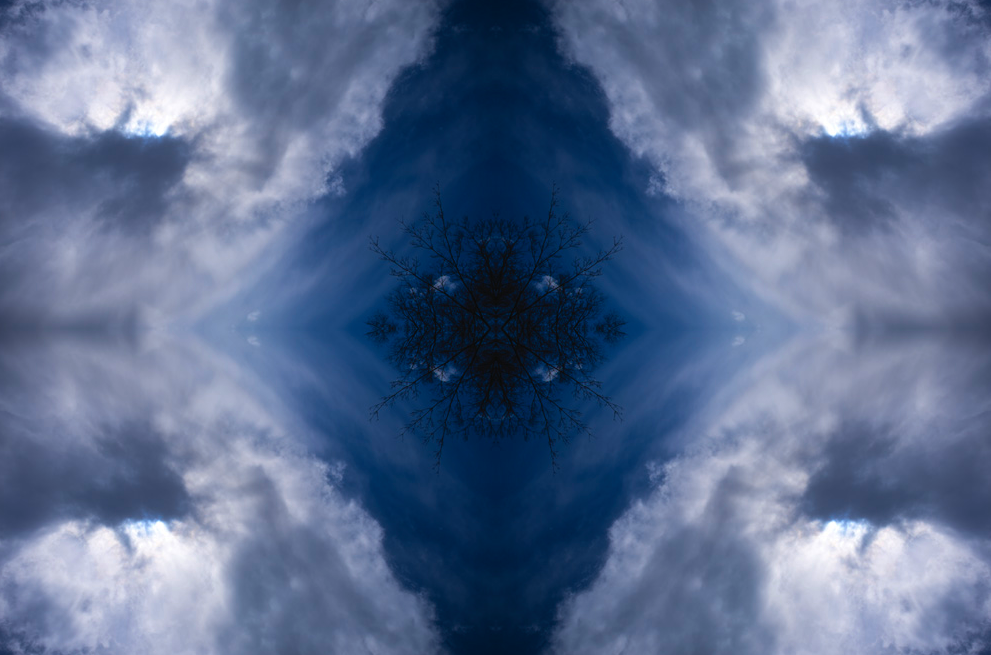
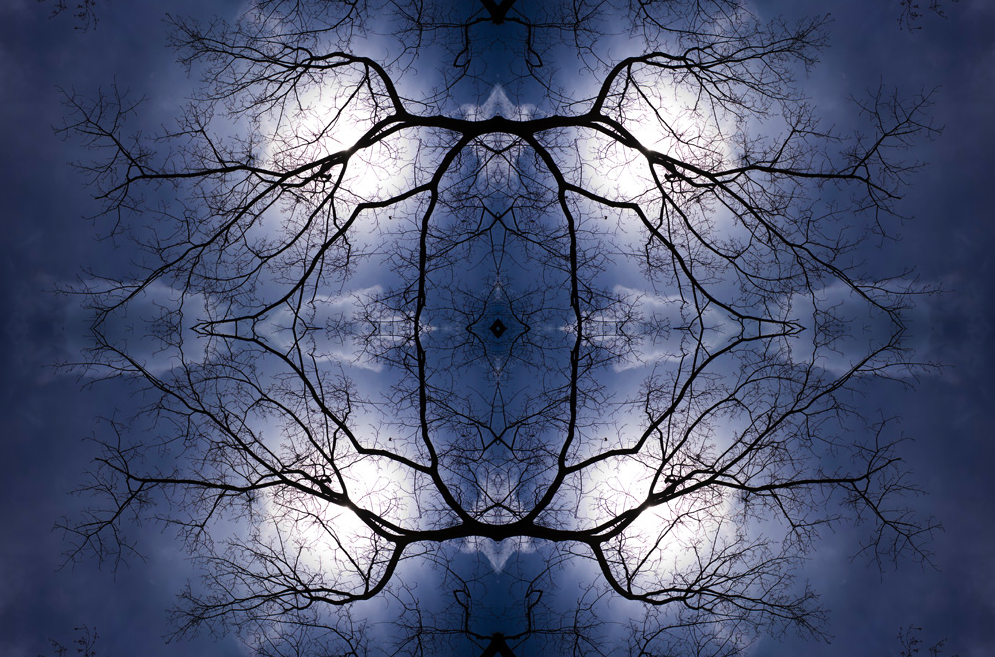
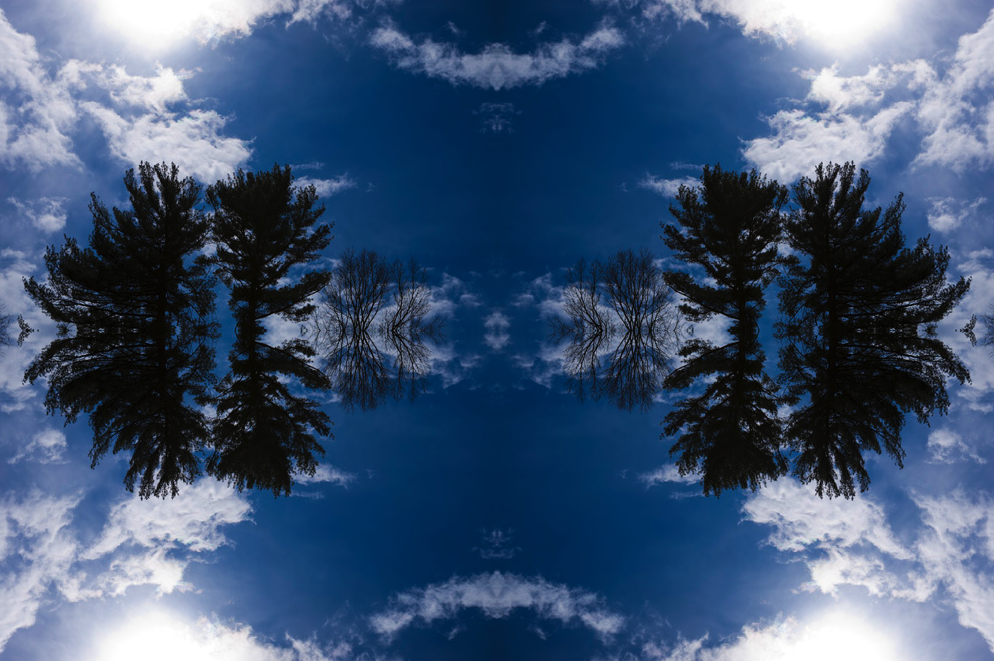
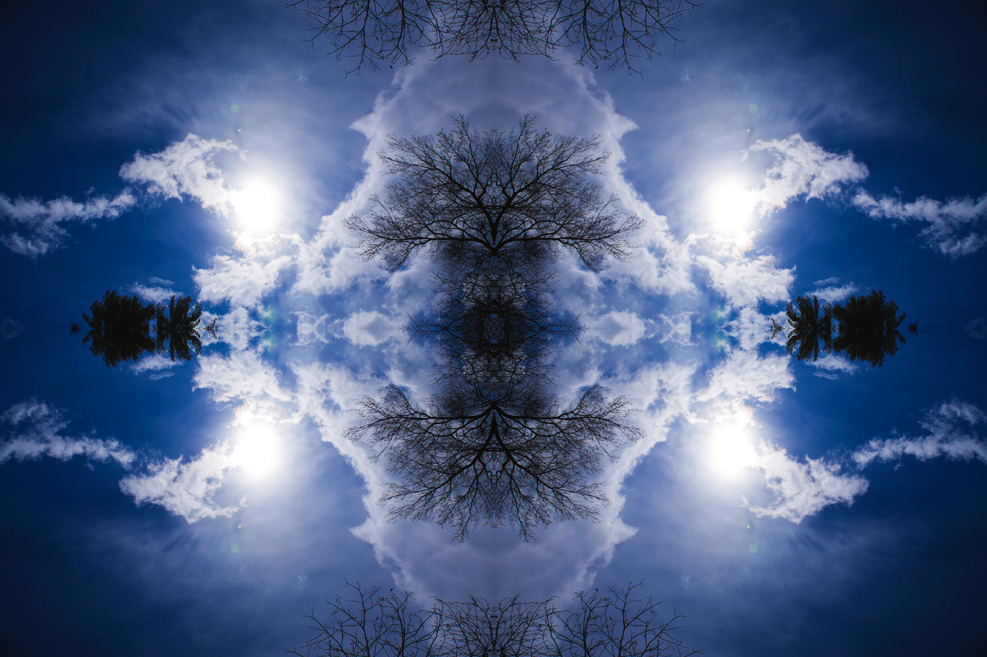
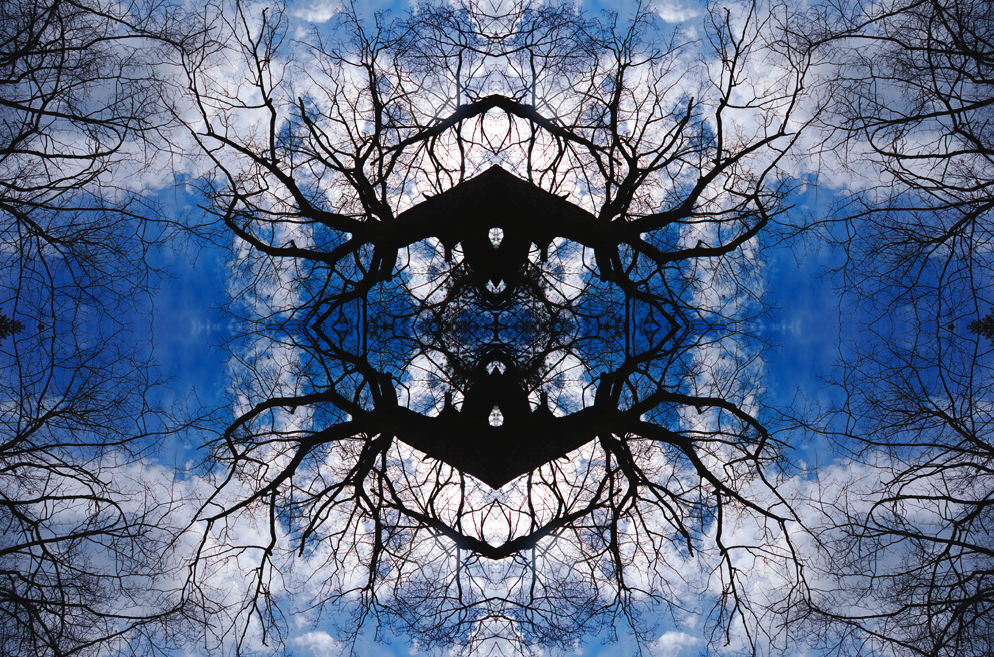
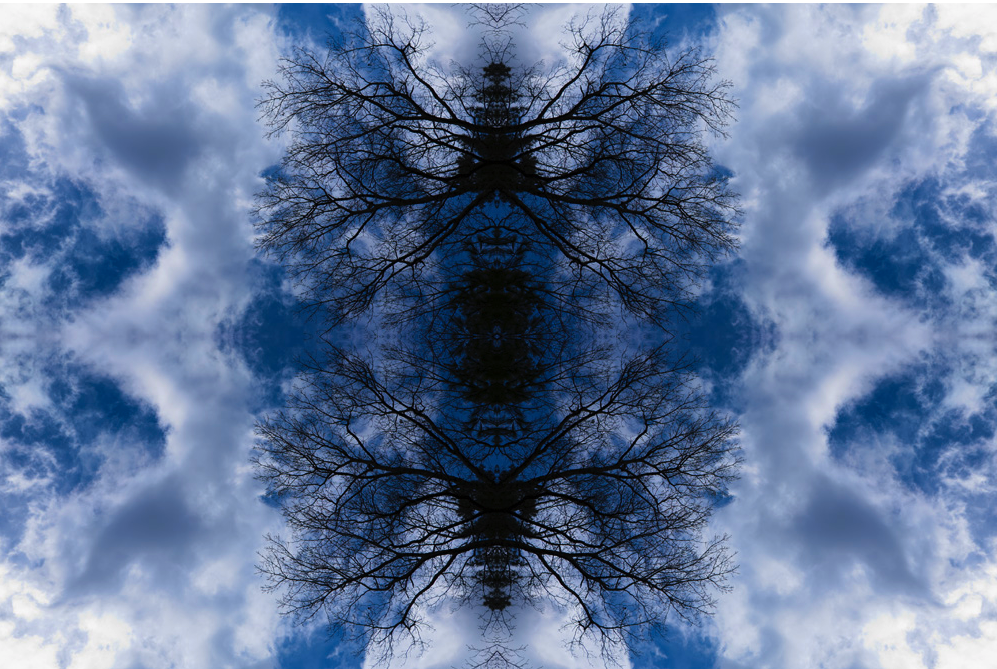
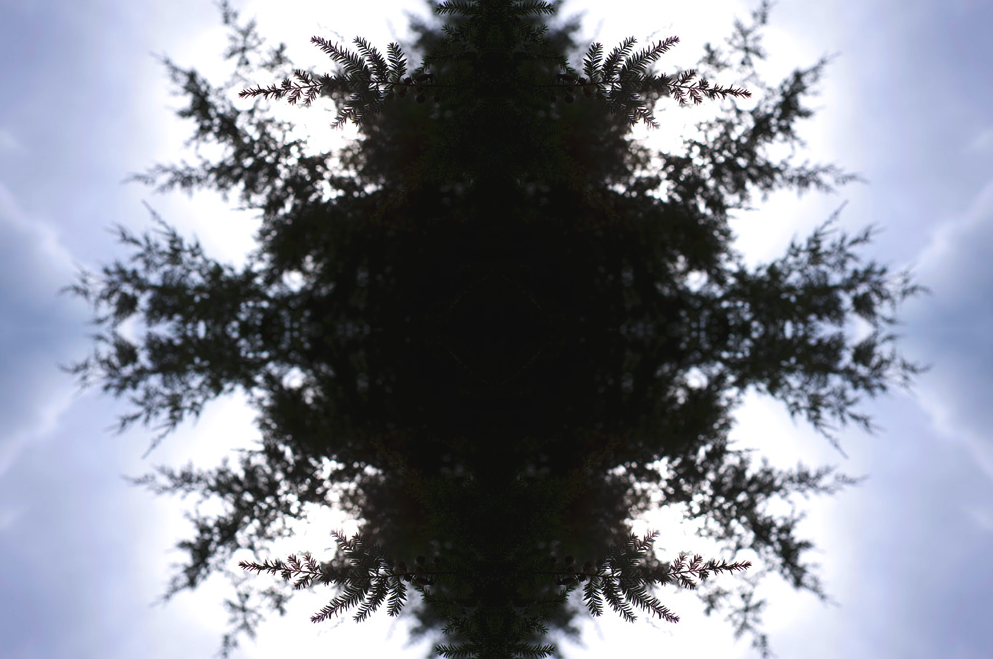
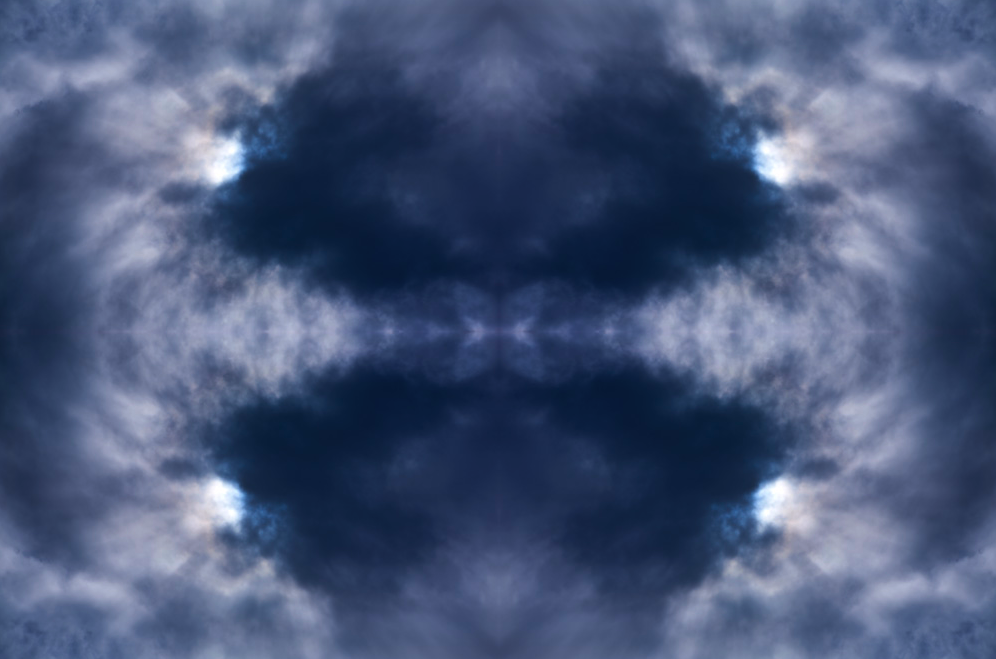
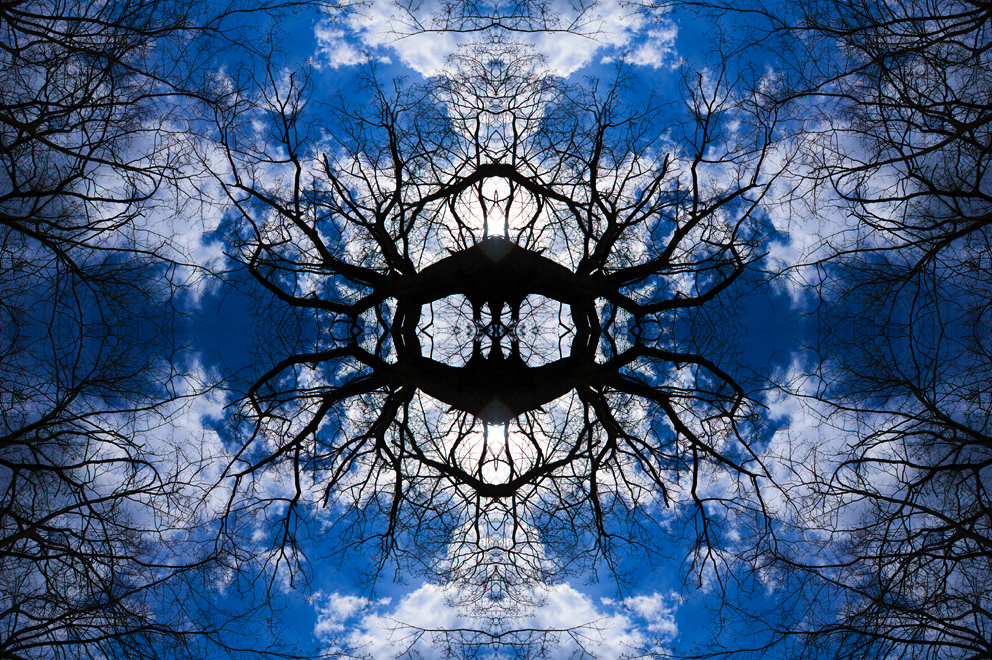
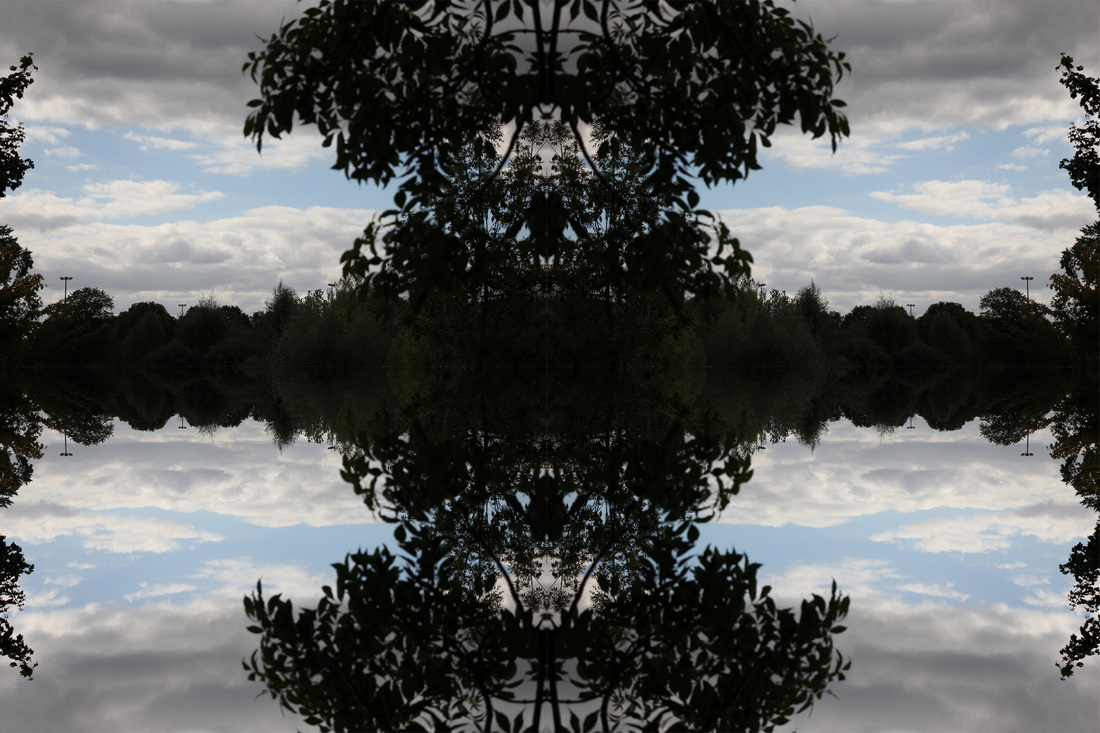
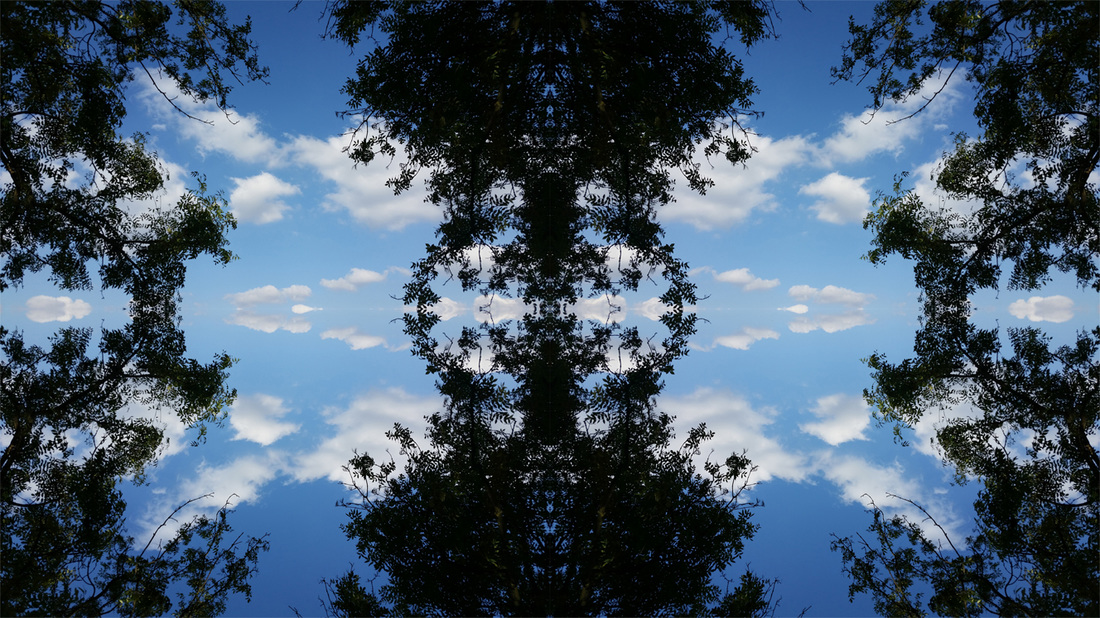
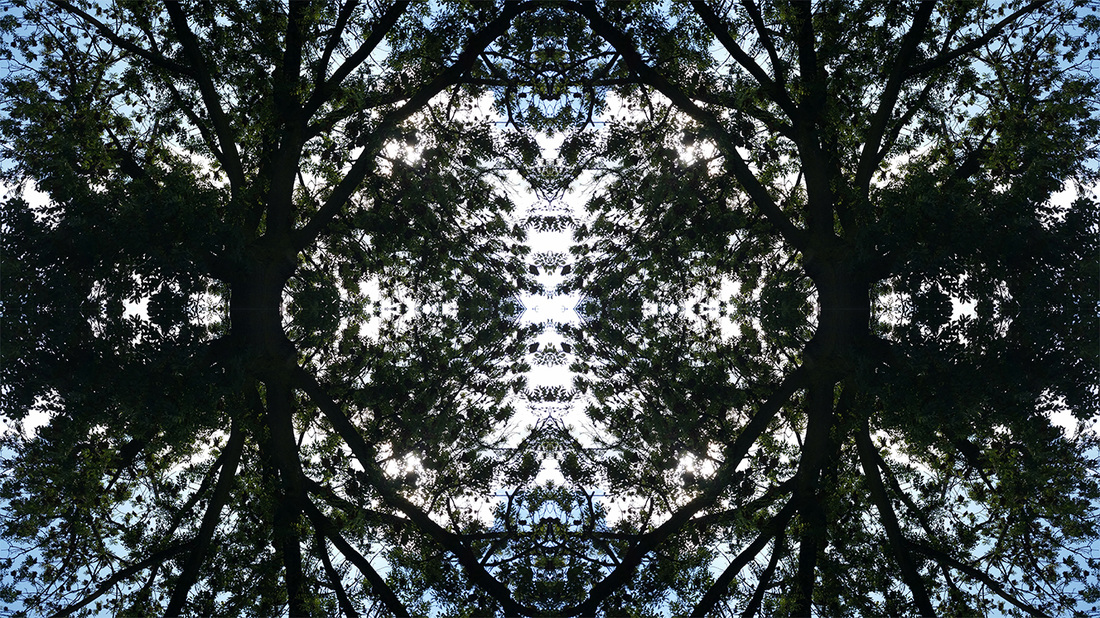
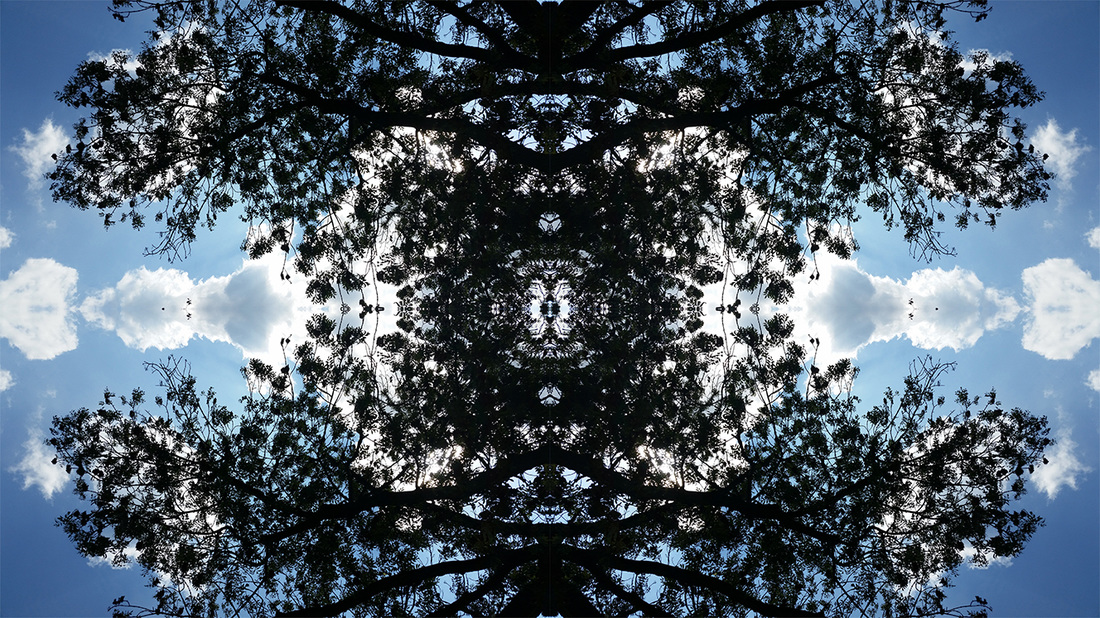
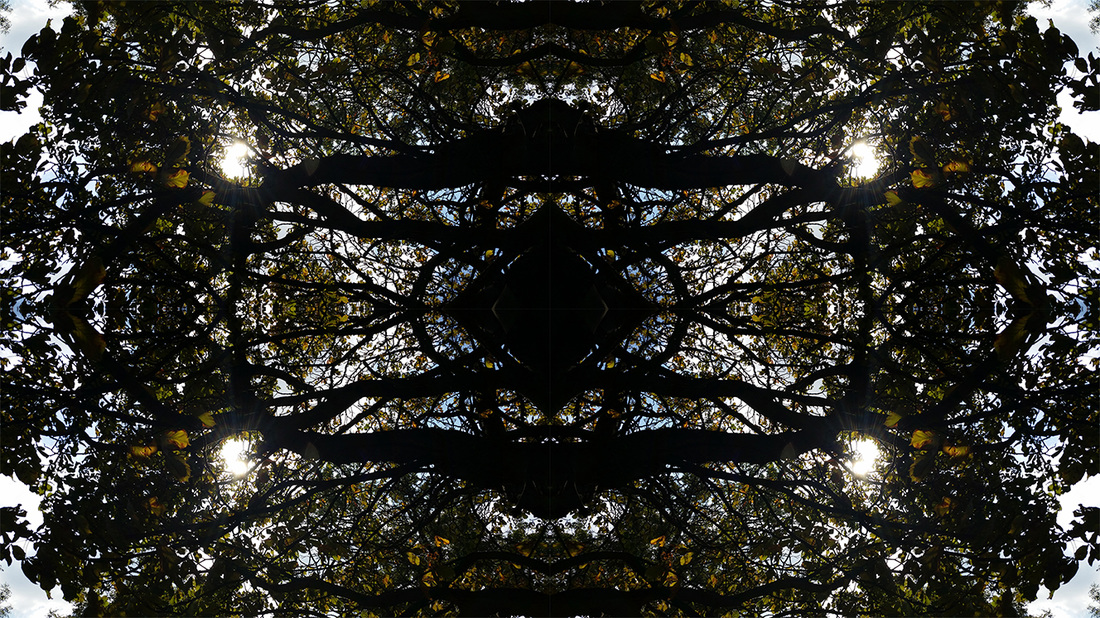
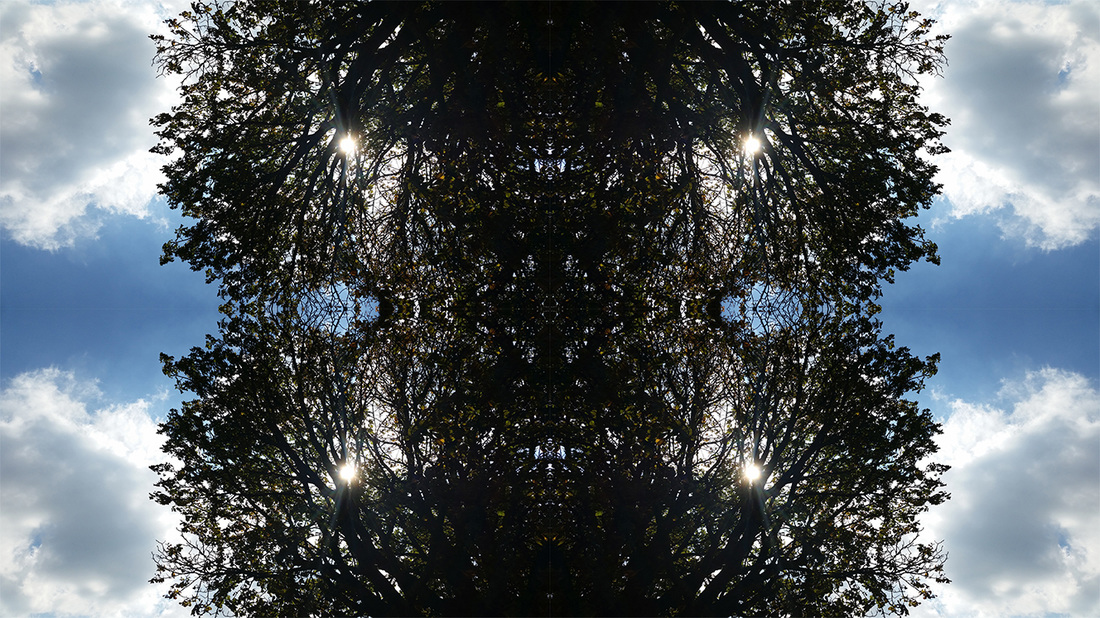
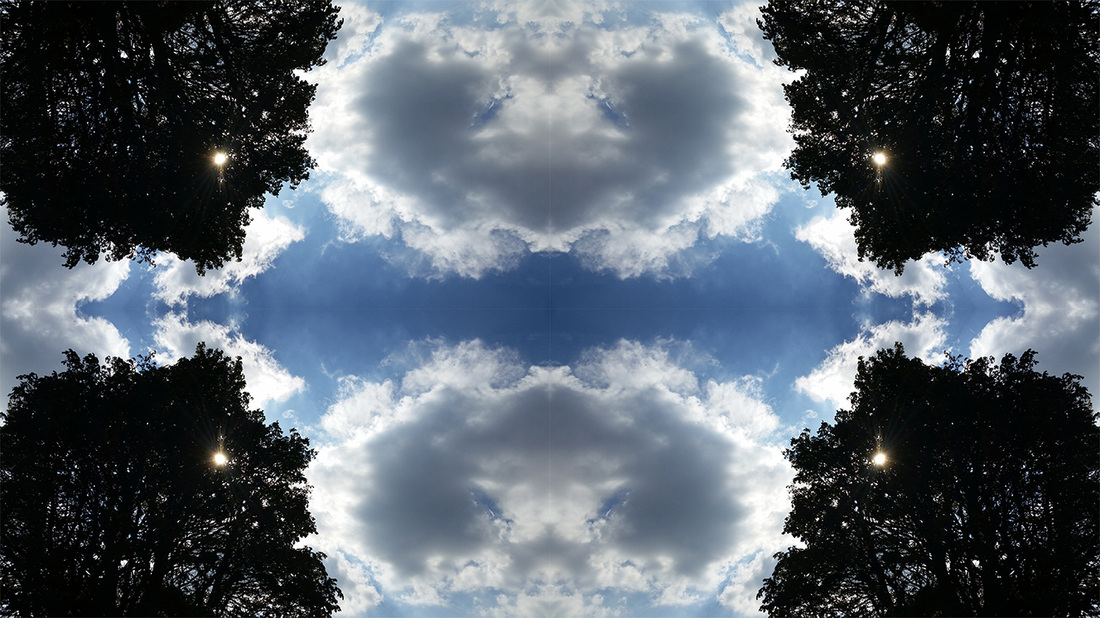
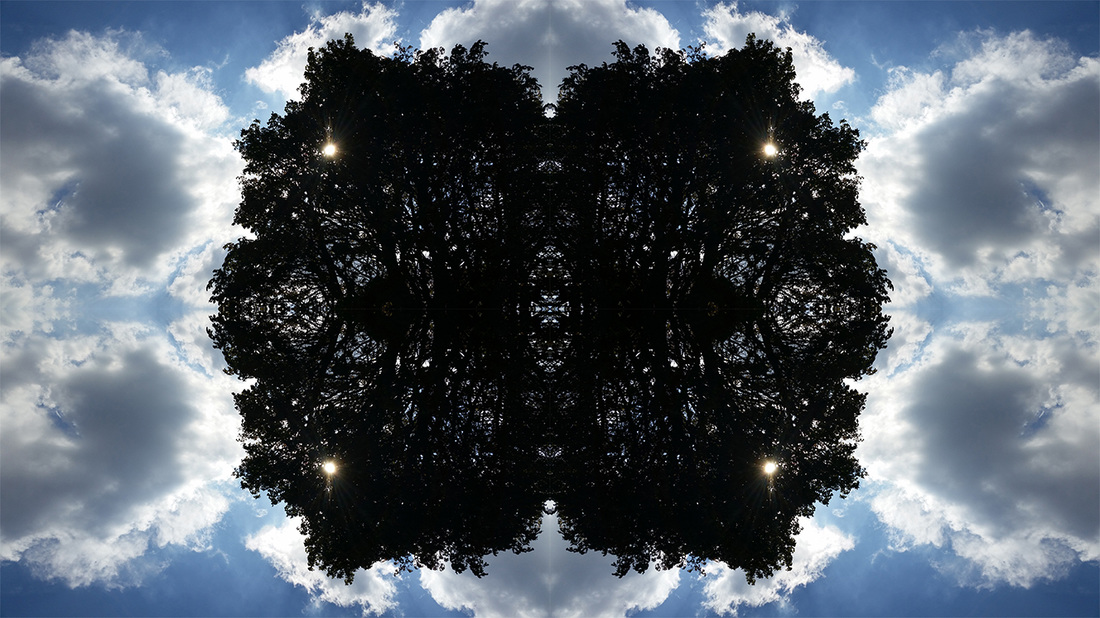
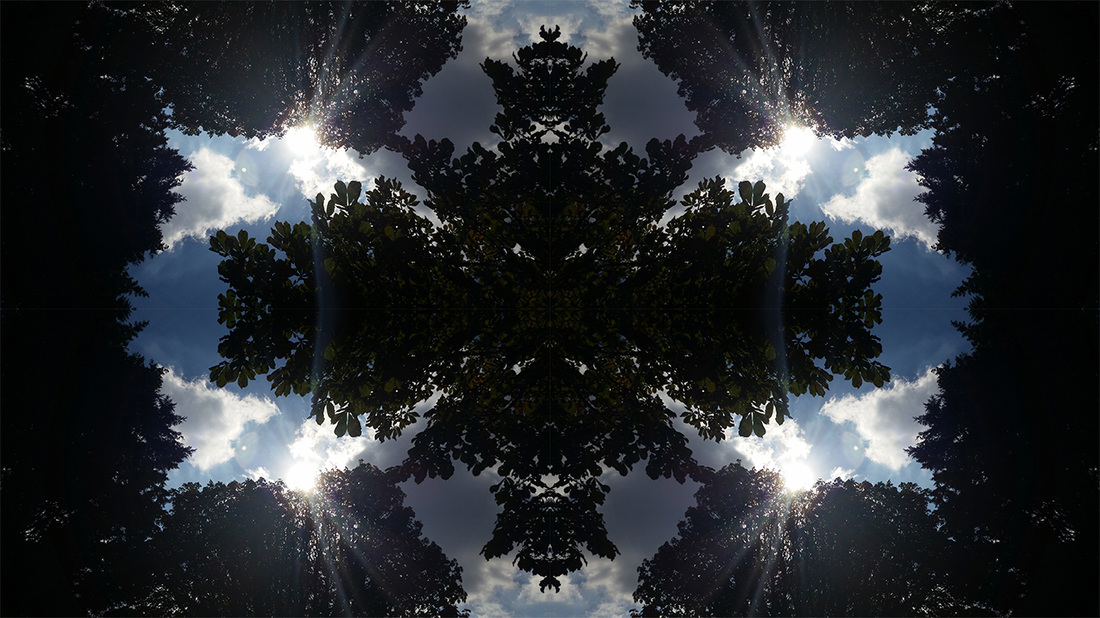
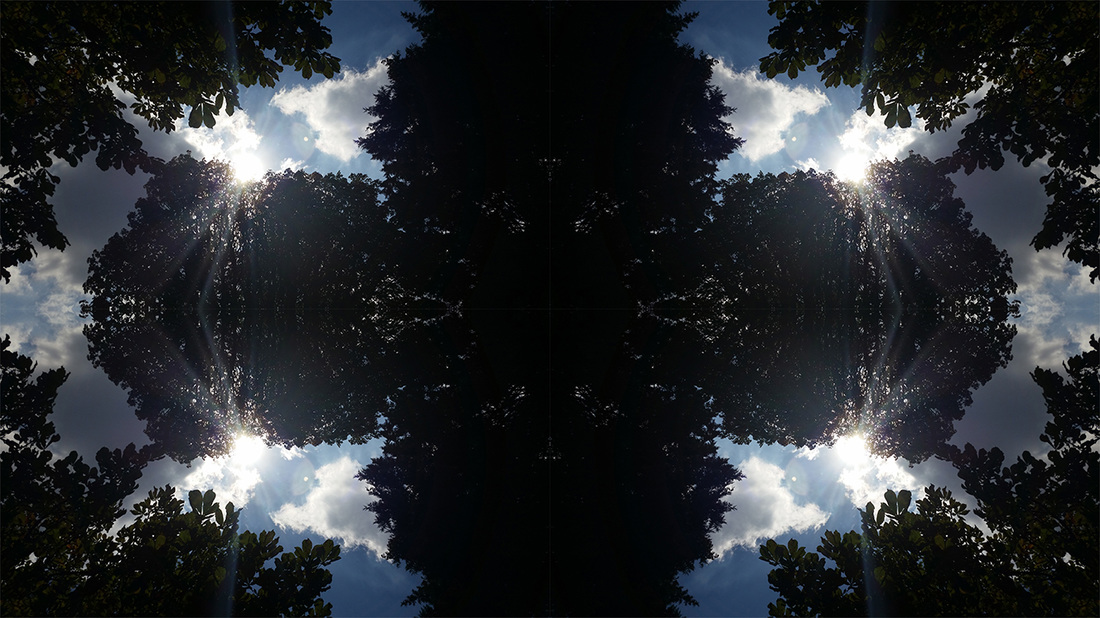
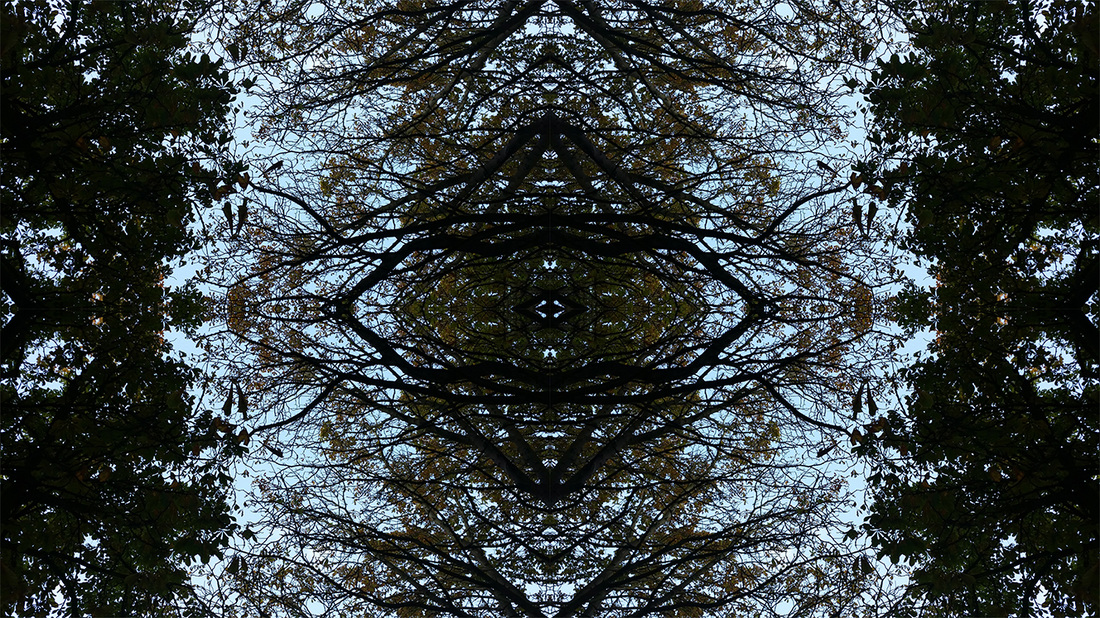
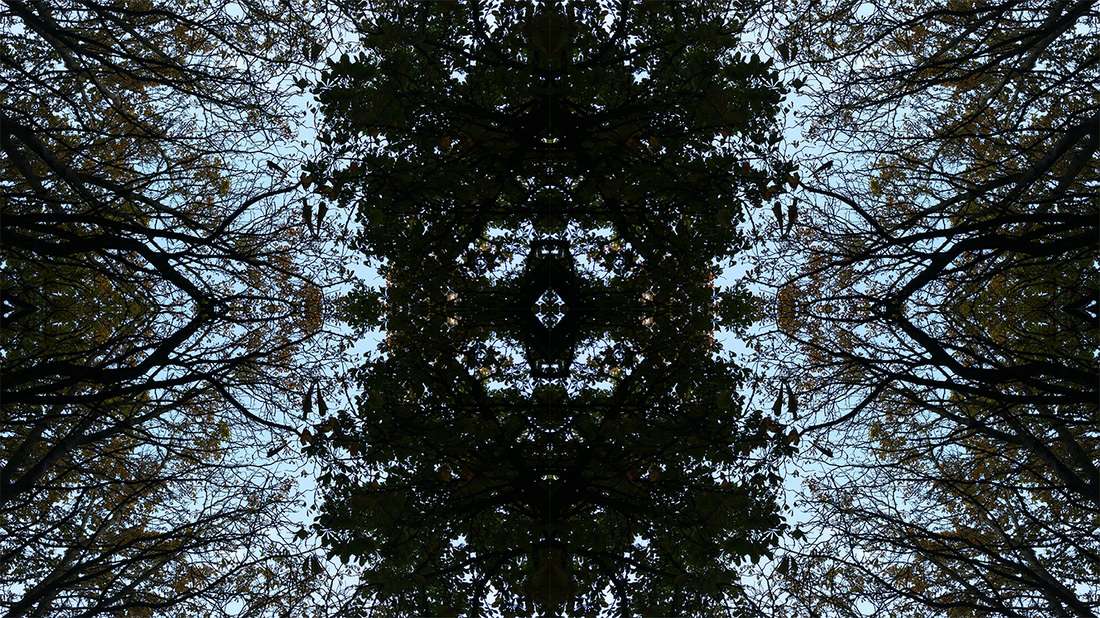
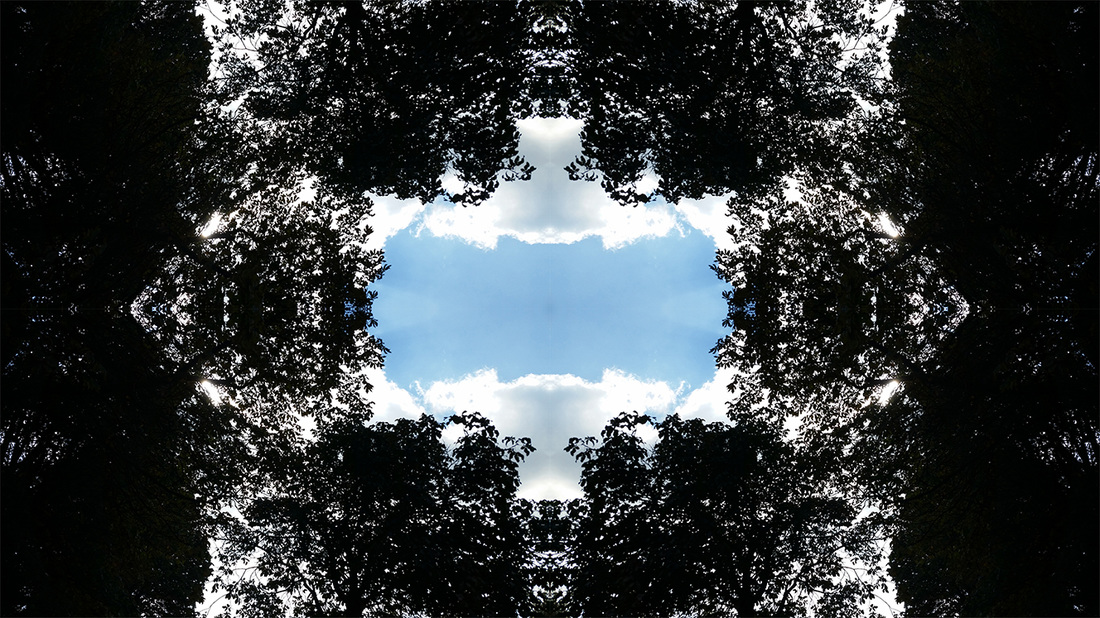
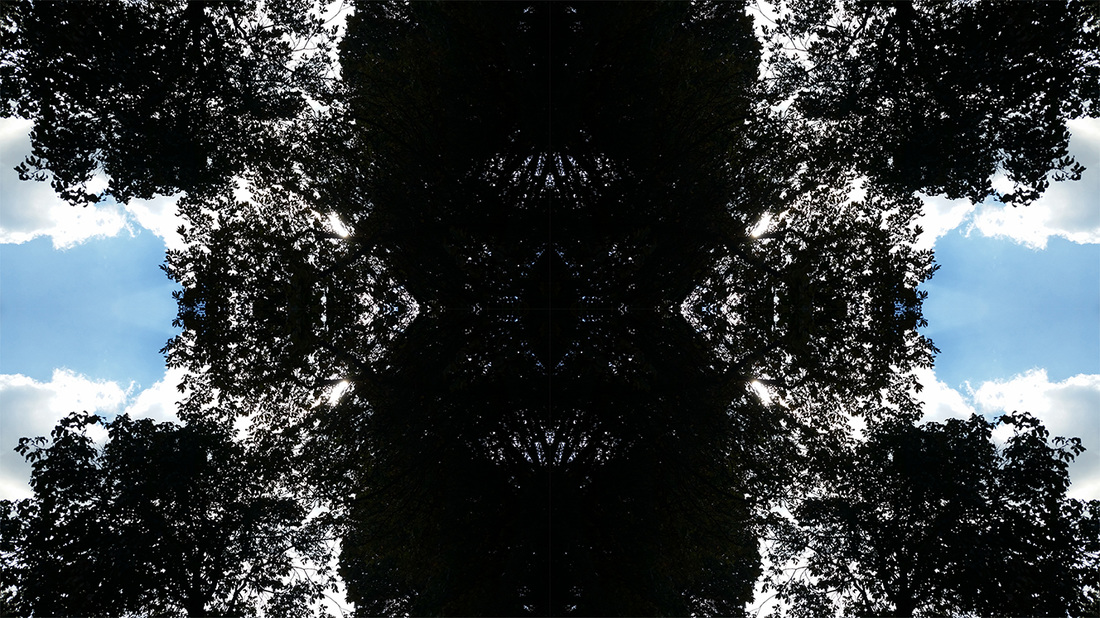
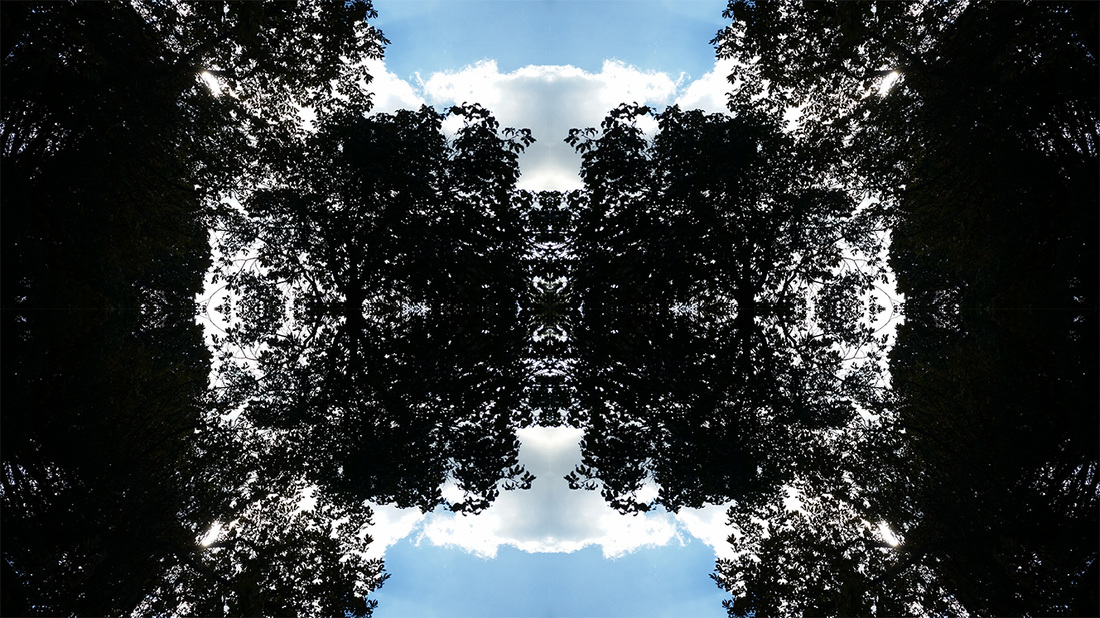
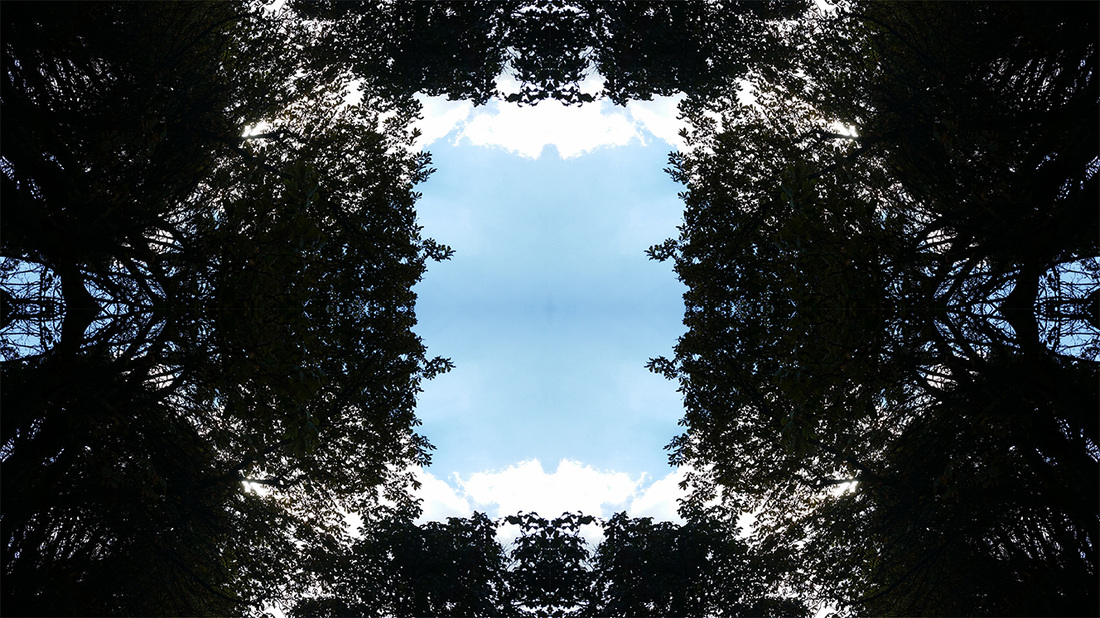
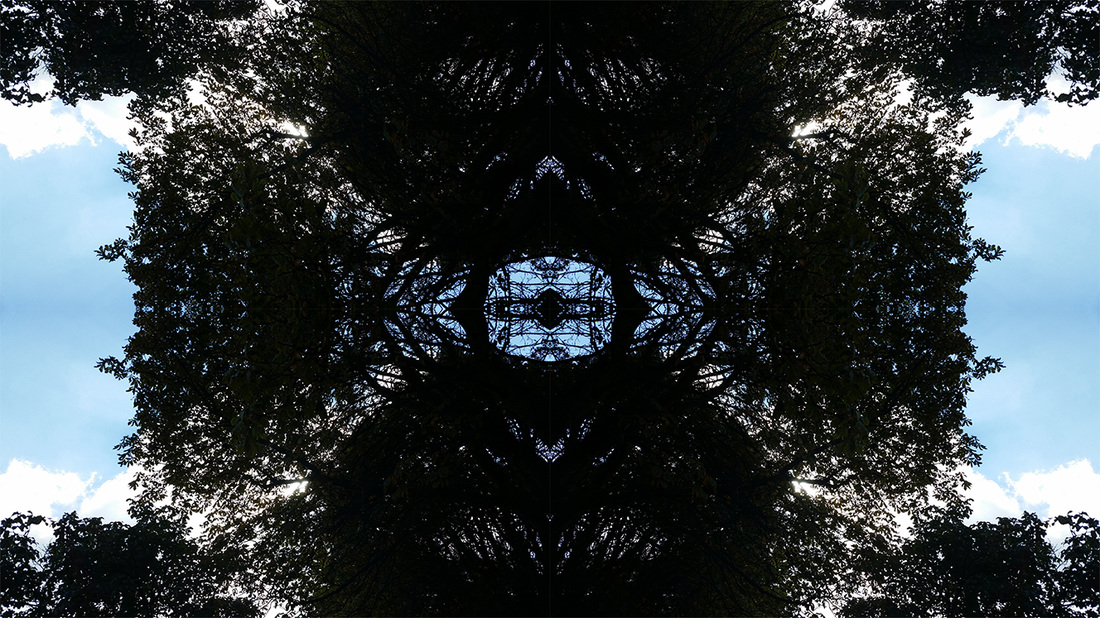
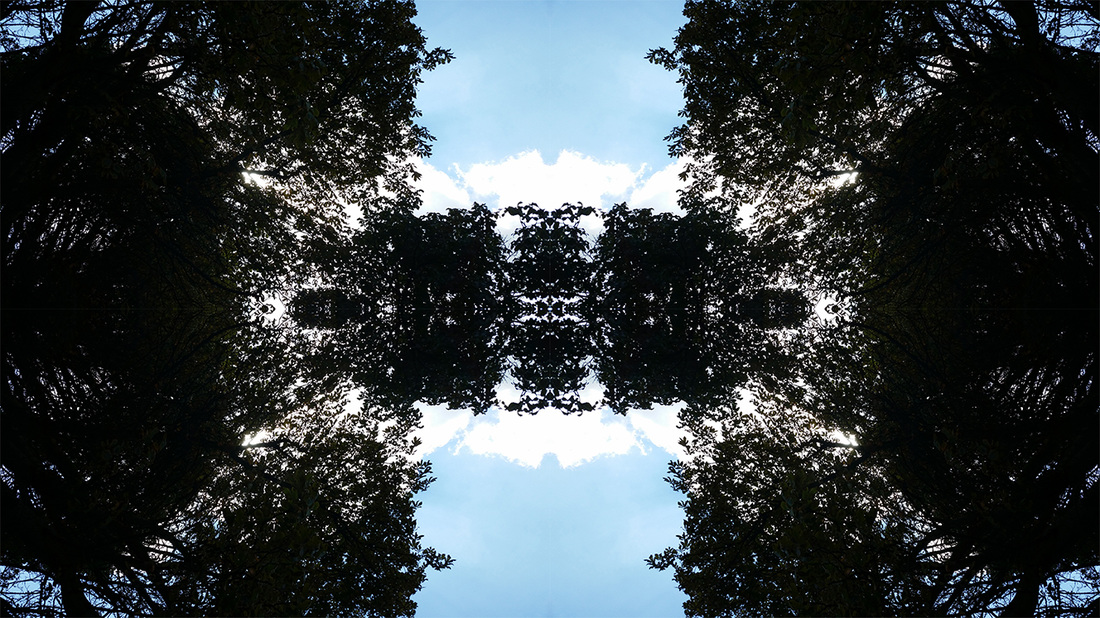
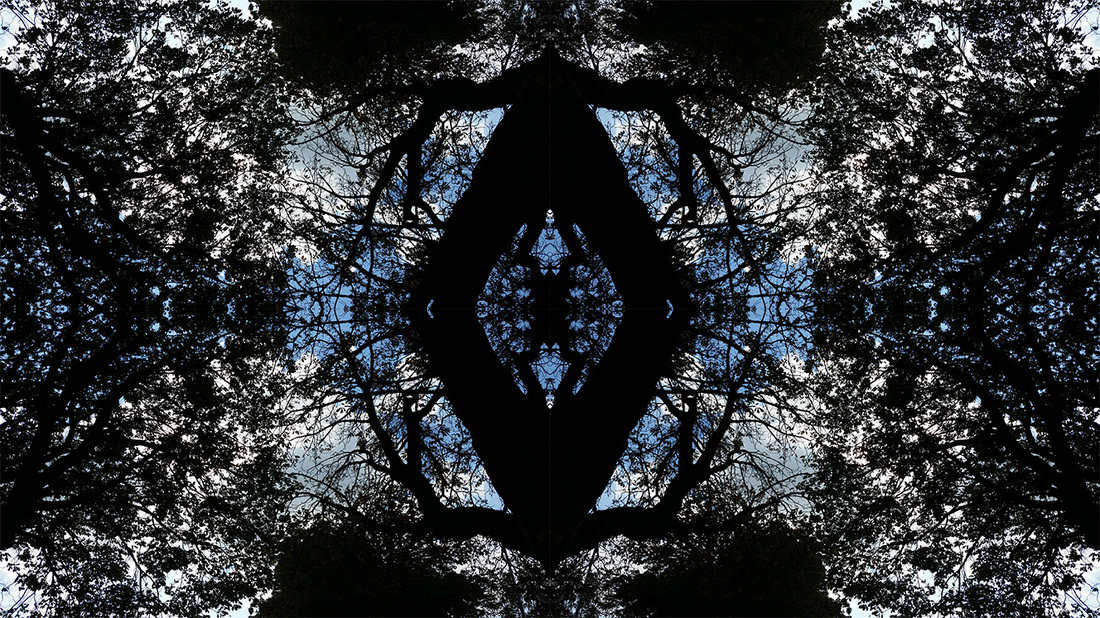
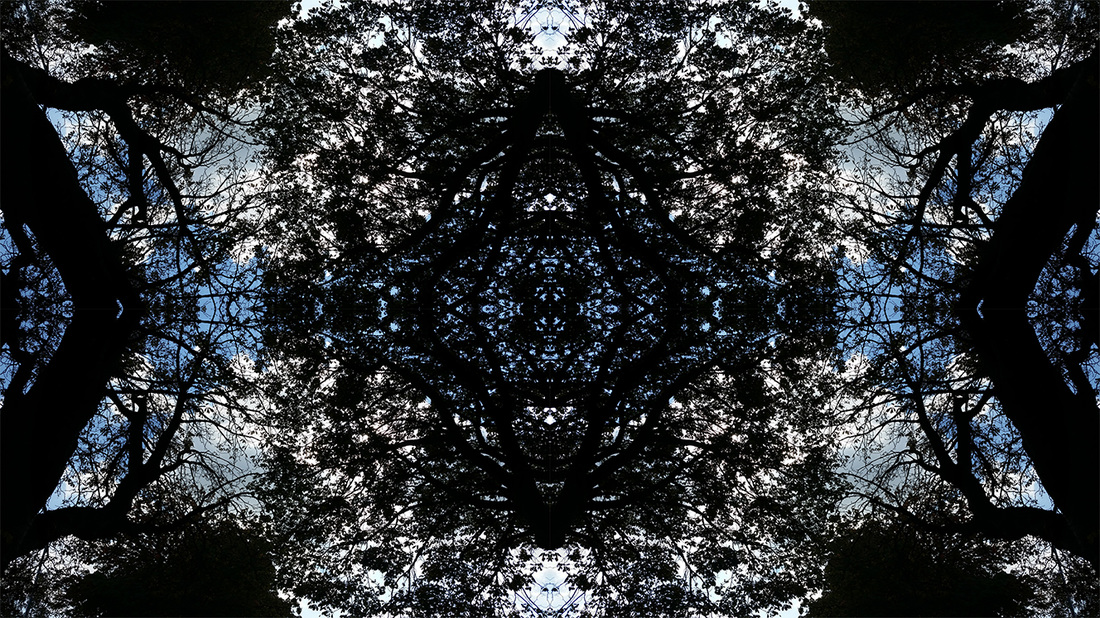
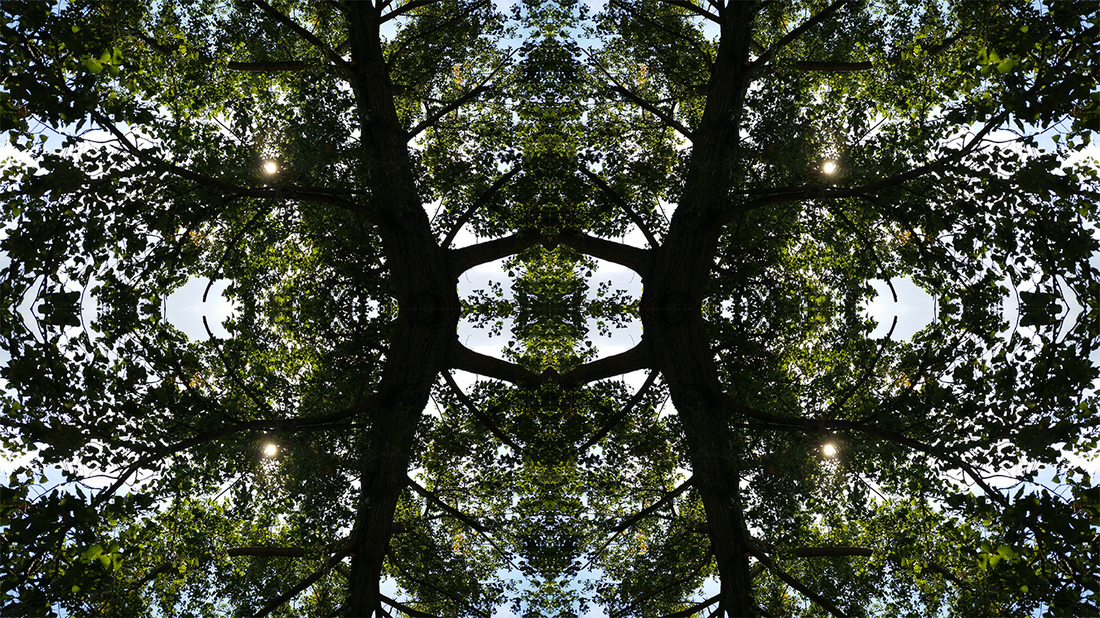
Below are 5 Rorschachs that I made. Ms Gibson believed that I should focus on the first and last one. Which was silhouettes. This is because the photos are already abstract when they are in silhouette form and they will look even more abstract when they have been turned into a rorschach.
Refined and Developed
At first I decided to mix a photographic Rorschach with a paper rorschach. I wanted to do this because I wanted to have an abstract frame around the already abstract images. So I had the image. Then I had the paper one. Cut out the black ink. Next I copied and pasted the white frame over the digital one. Then I flattened the layers so I could invert the whole image. Next I colour selected black border, then 'inverse' the selection so I could move the inside of the 'frame'. Then I mirrored the images once again. To give it another Rorschach feel. So below is a rorschached image of a rorschach. I felt this was good. However I felt I could do better wit the frame.
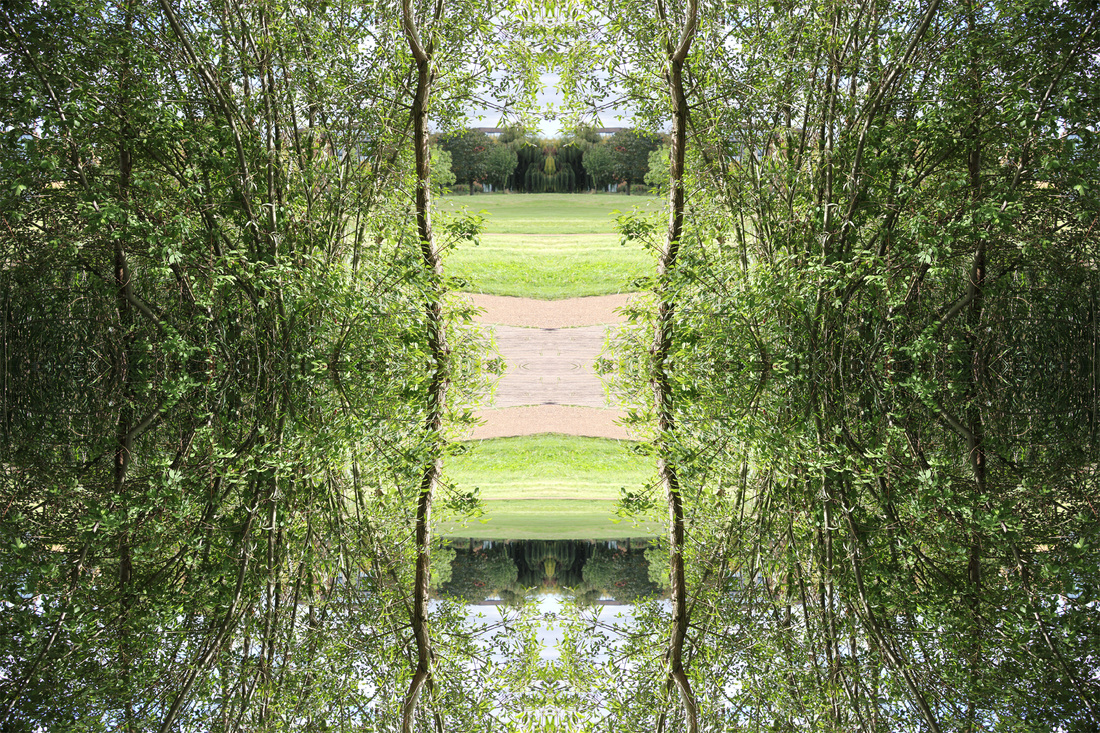
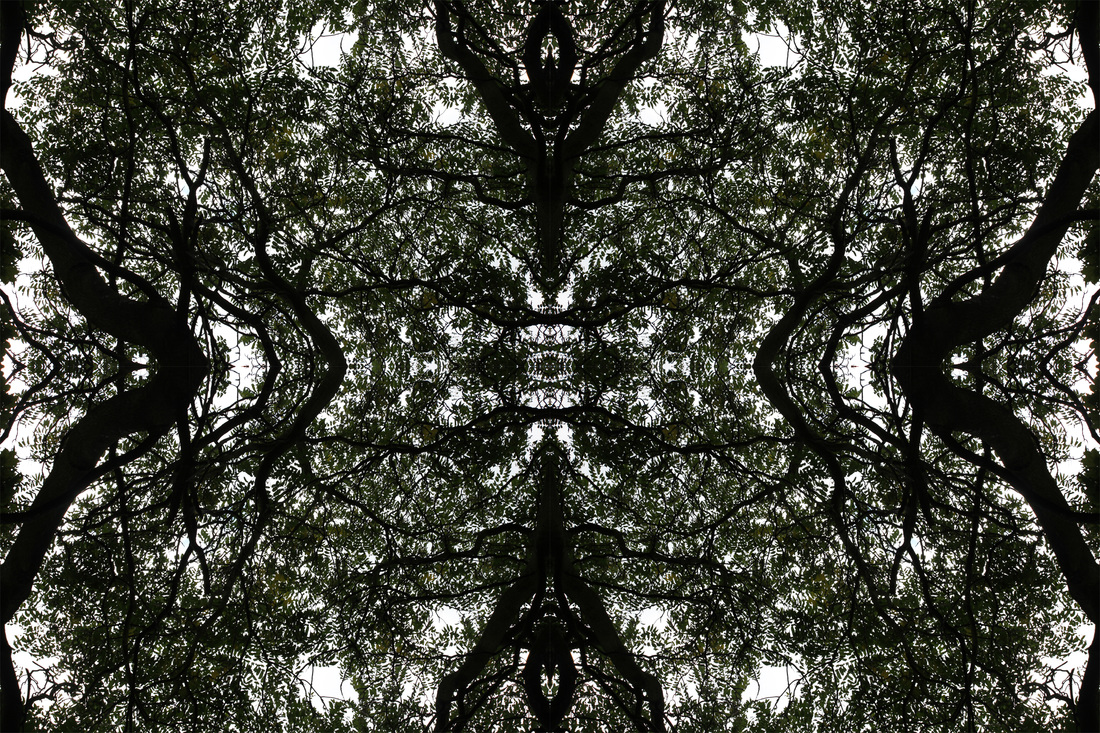
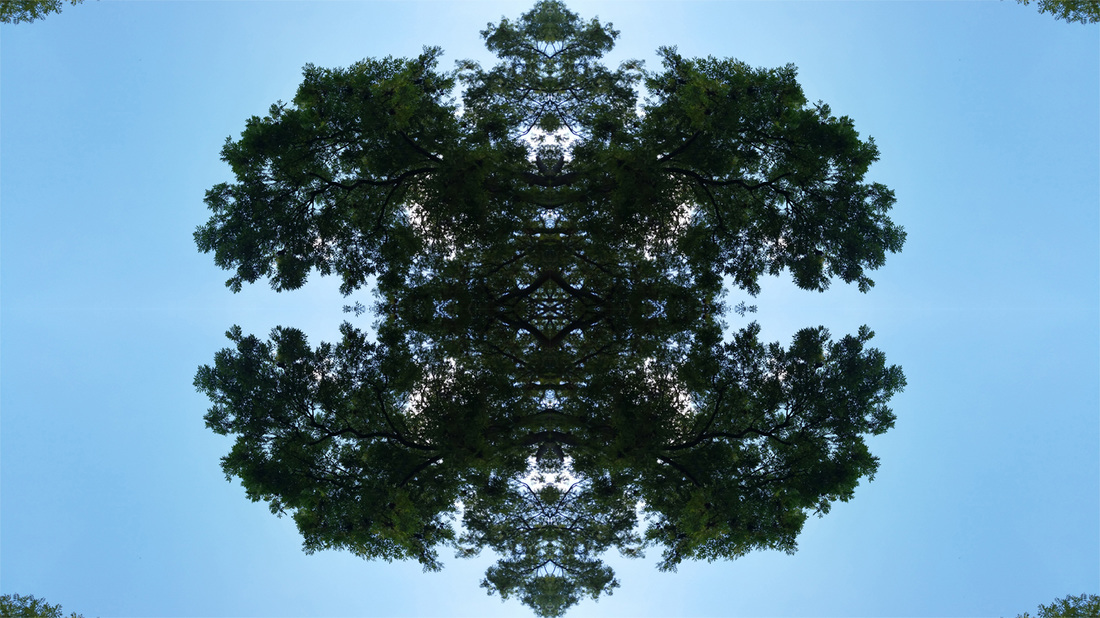
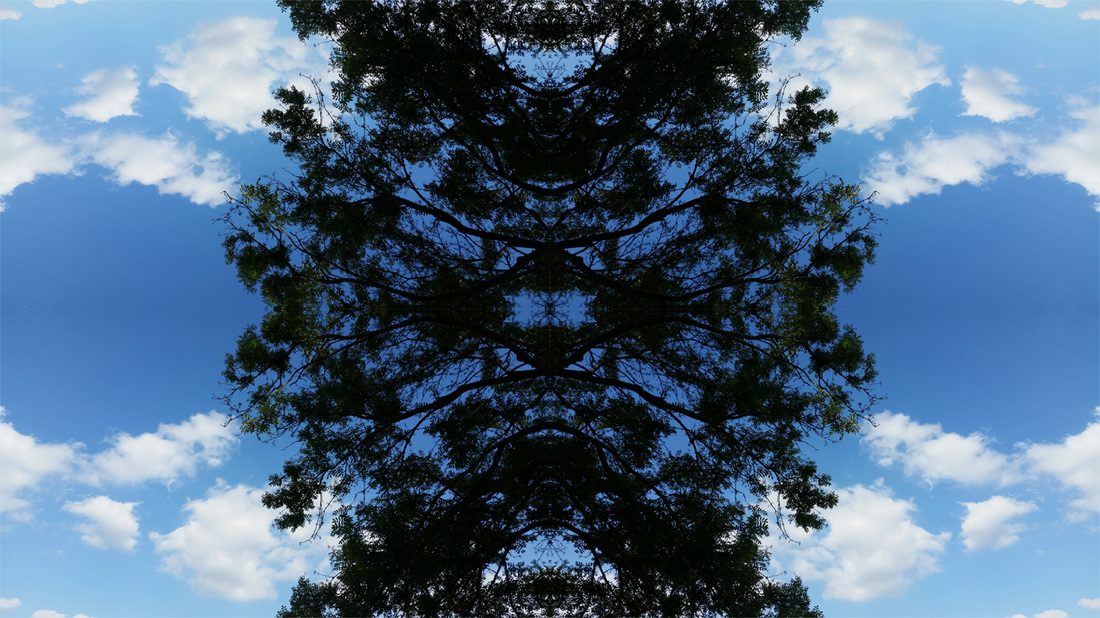
After receiving feedback from Ms Gibson. I went back to Sutcliffe park and took photos of branches looking up at the sky. Usually looking in the direction of the sun so the branches will come out in silhouette form. These lot really resemble the work of Barnards especially with that colour contrast between the blue sky and the
First Response
Out of all the ideas I have looked at in this personal investigation. The rorschach's have defiantly been my most favourite aspect of Serious Play. So this is probably going to be my first final piece. I have decided to mix a photographic rorschach with a paper one. This way I would bring the element of chance into this.
Digital with paper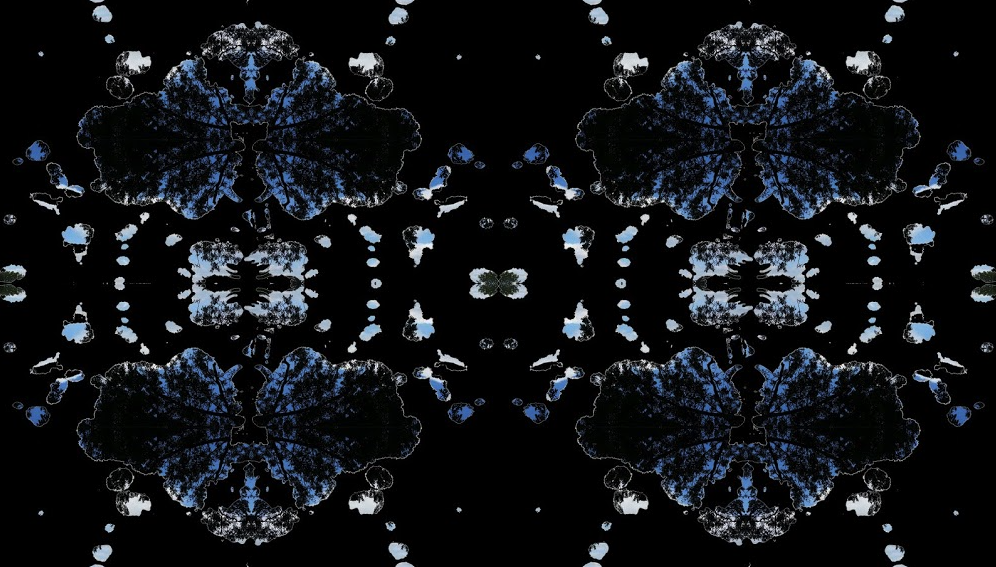
I had decided to use this Rorschach over a photographic one. I wanted to introduce this Rorschach with a digital one because the digital ones didn't really have an element of chance them. However when I introduced a Rorschach into them, the element of chance was there.
|
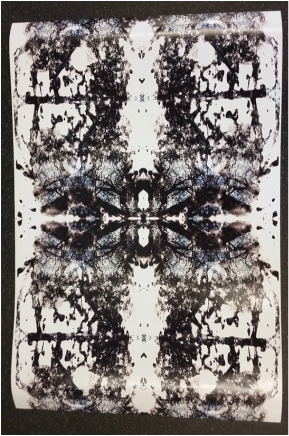
Digital with photogram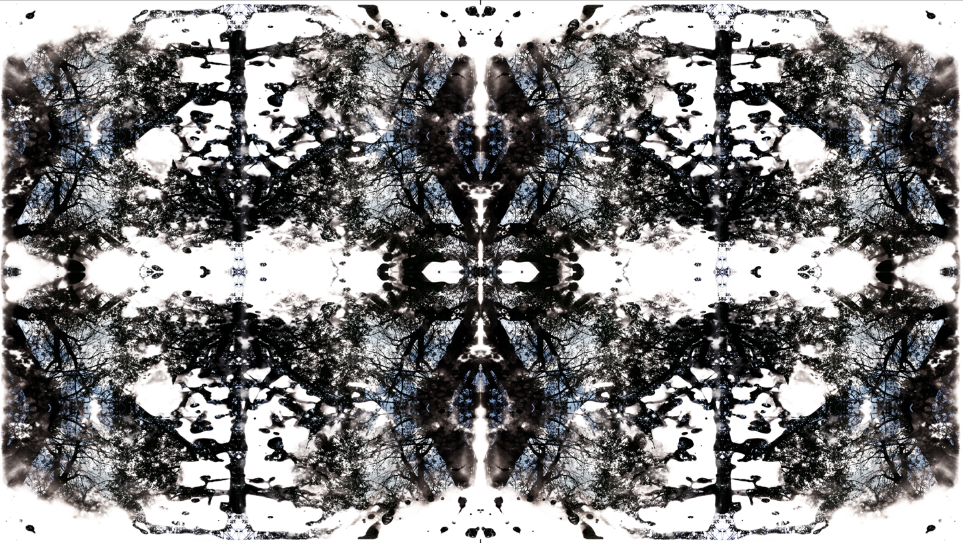
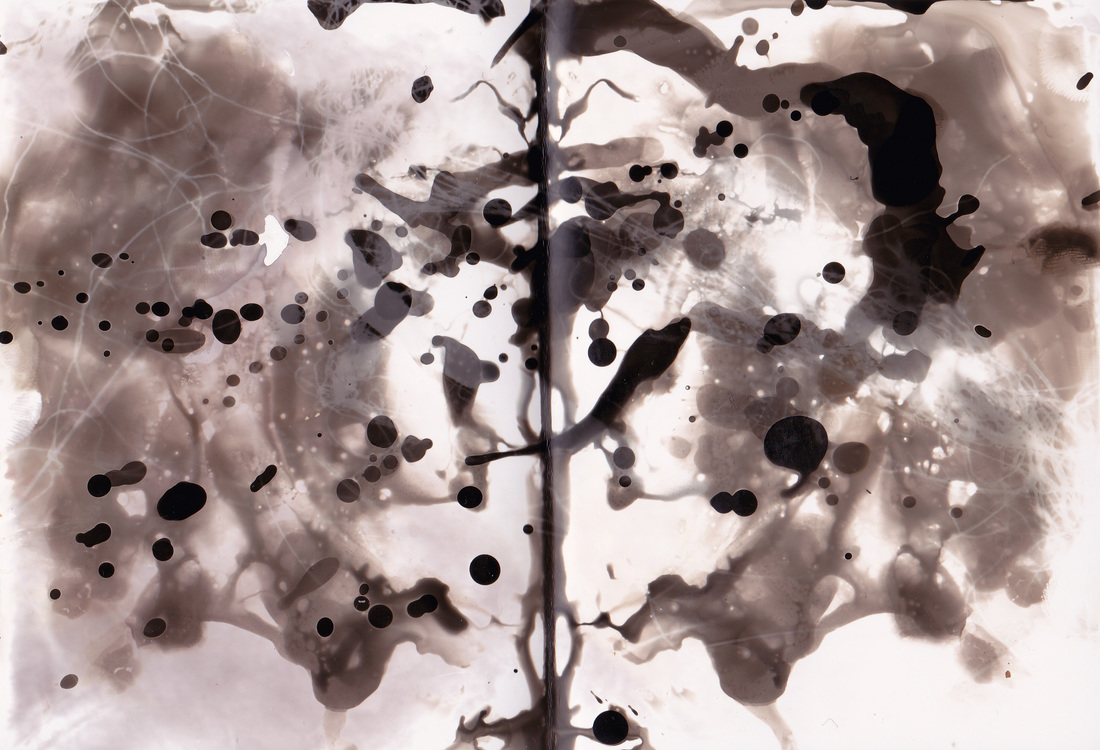
Next I did the same thing as the previous one. However with a photogram one. I used a photogram Rorschach. In my opinion the photogram one is much better. This is because the frame is more abstract.
|
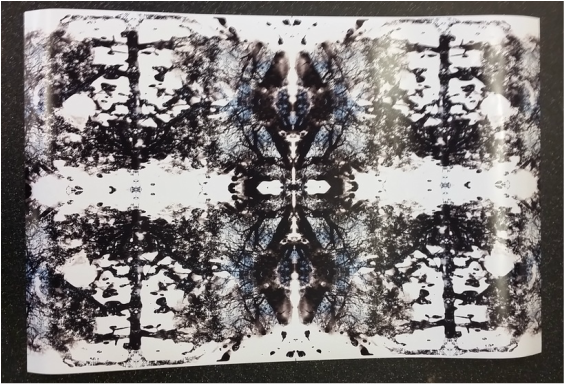
Ordering It
On Wednesday the 7th. I ordered the digital on photogram version from Photobox. I decided to order it because I wanted the photo to be enlarged. So I tried this at school but it didn't work. So I decided to purchase one from Photobox. I went for 30" by 20". I decided to go for this size because I wanted to get it on a normal A1 mount board. However they didn't have A1 printing at Photobox. Which I didn't mind because the bigger it is. The more expensive it will be. As it was dispatched on the 7th. It was expected to arrive any working day from the 9th.
|
I have decided to upload 2 photos of my first response to Surrealism. The reason why is because Mr Nicholls believes that this first responses works best in portrait. However I think that it works slightly better in landscape. I perfectly understand why sir prefers the portrait one. It is because this image has been flipped multiple times, so the image is perfectly symmetrical, regardless of whether you look at it in portrait or landscape.
|

Then me and Sir thought to ourselves, could it be displayed diagonally as well. So we have decided that when it will be put up in the Tallis VMA gallery in July, we will roll a dice to decide which way it will go on the wall.
Below is a slideshow of how I made my final piece. These aren't the same photos that I used for the final piece, however they show you the process of what I did and that is the main thing.
