Photo that caught my eye
|
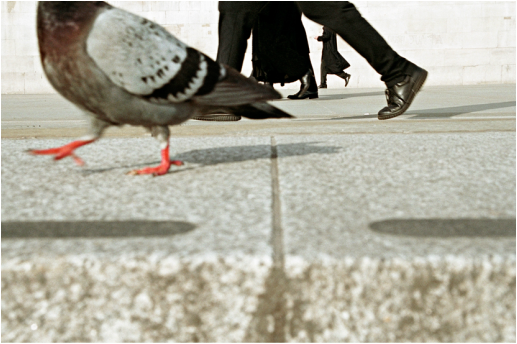
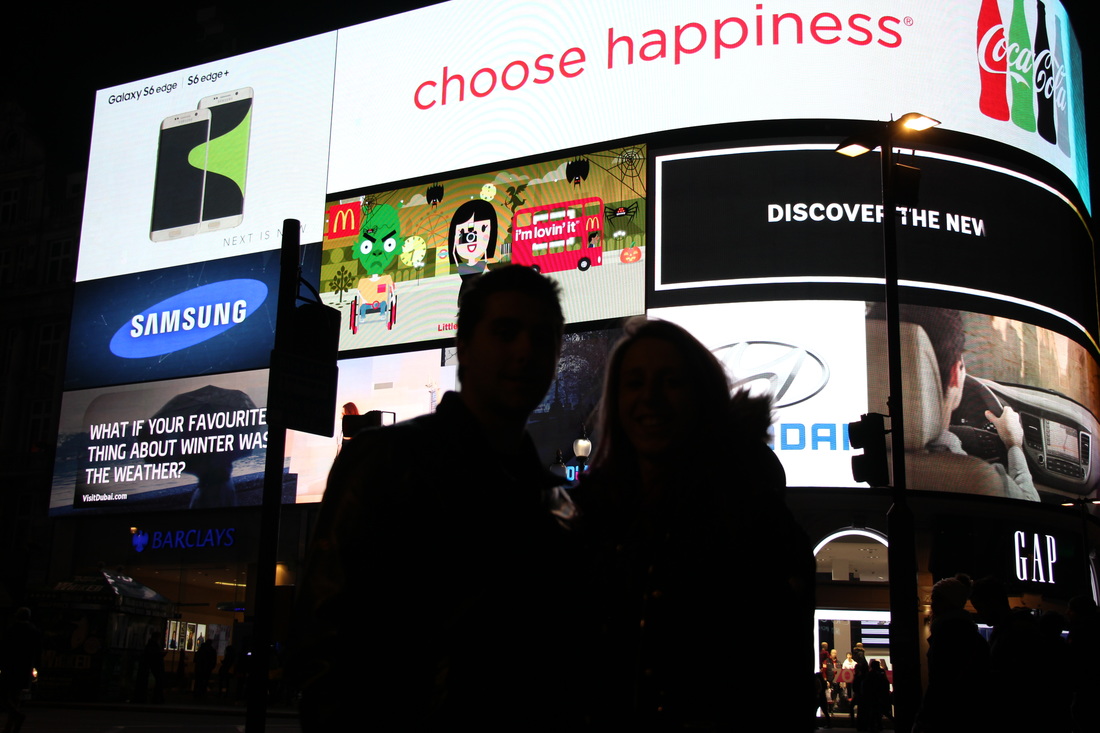
Whereas the people are further way from the camera compared to the pigeon. So the pigeon will look large. The second thing that I really like about this image is the sought of cement. it appears to be perfectly in the middle, or really close to the middle. I'm sure that Matt Stuart didn't intend thisWhen I was looking through the Dream City page on the PhotoPedagogy site. We were asked to look at 8 photos street photos and think about the similarities or the differences between them. However this photo really caught my eye. This photo was taken by a photographer called Matt Stuart, he took this on Bond Street in London. It looks like this set of photos were taken after the year 2000. Stuart takes his street photos on a Leica MP with a 35mm 1.8 lens.
|
The first reason why this image caught my eye is because the play with perspective. Stuart clearly held his camera down at a low angle, maybe he held it in the road, in line with the pavement. As a result of this low angle. The viewer will think that we are looking at a massive pigeon. I really like this idea of playing with perspective. We can also tell how close the pigeon is by looking at the focus. The pigeon is out of focus, so this shows us that the pigeon is too close to the lens, if it was a bit further away, the pigeon would be in focus and the people would be out of focus. If this photo was taken with the 35mm Leica lens that Stuart claims to use. The pigeon must be closer than 2.3 inches from the camera. The 2nd thing I like about this image is the line in the middle. This line appears to be concrete and it is nearly in the middle. I'm sure that Matt Stuart didn't intend this. Staurt wouldn't of seen the image when he would of taken it. He would of just put the camera at a low angle, then press the shutter. Then he would of had to wait for the negatives to be developed then enlarged.
Matt Stuart
|
|
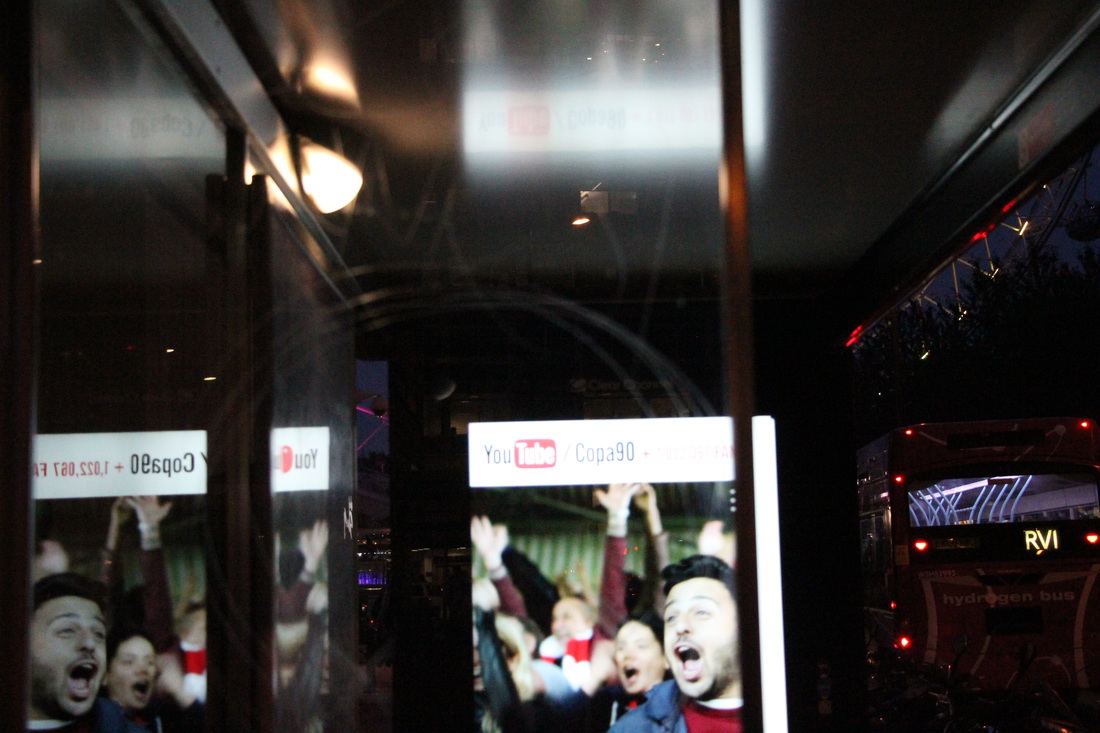
Whilst looking through his website. I have assembled photos that I liked from his site.
|
Walls
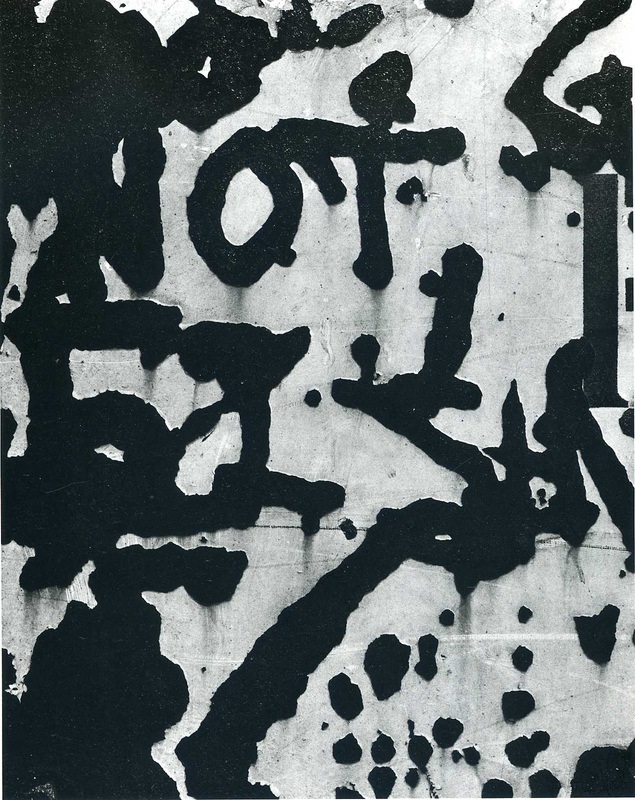
BrassaiBrassai tended to focus on graffiti on the walls.
Looking at the photos of Graffiti. I had another idea. I remembered there is a tunnel in London, that is filled with Graffiti, Leake Street. I could go there and get loads of photos of different grafitti, which if they are layered over each other, they could appear abstract. Also getting photos of the whole tunnel could feel getting photos of a dream, something that doesn't seem right.
|
Aaron Siskind |
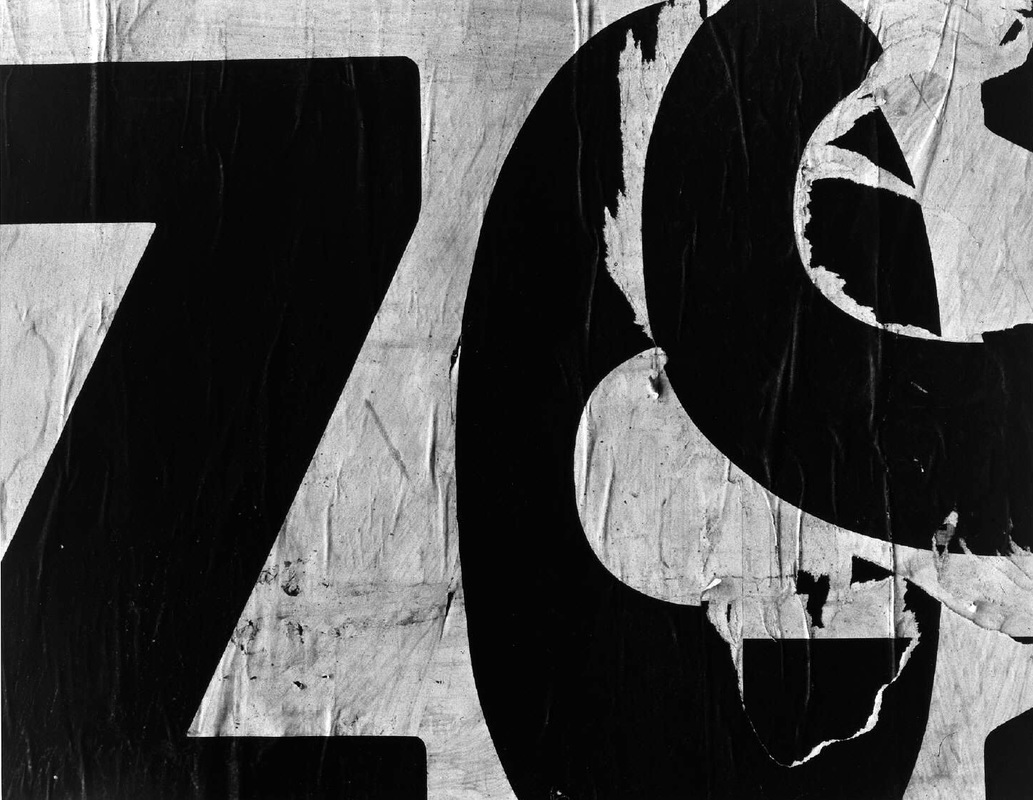
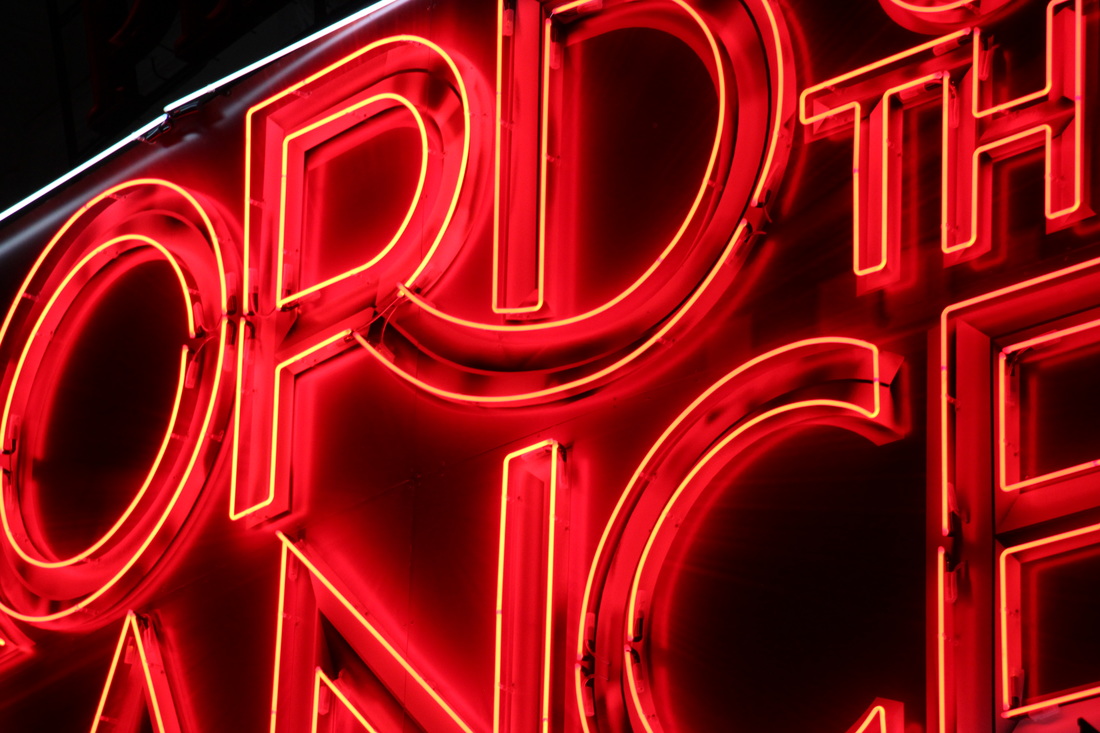
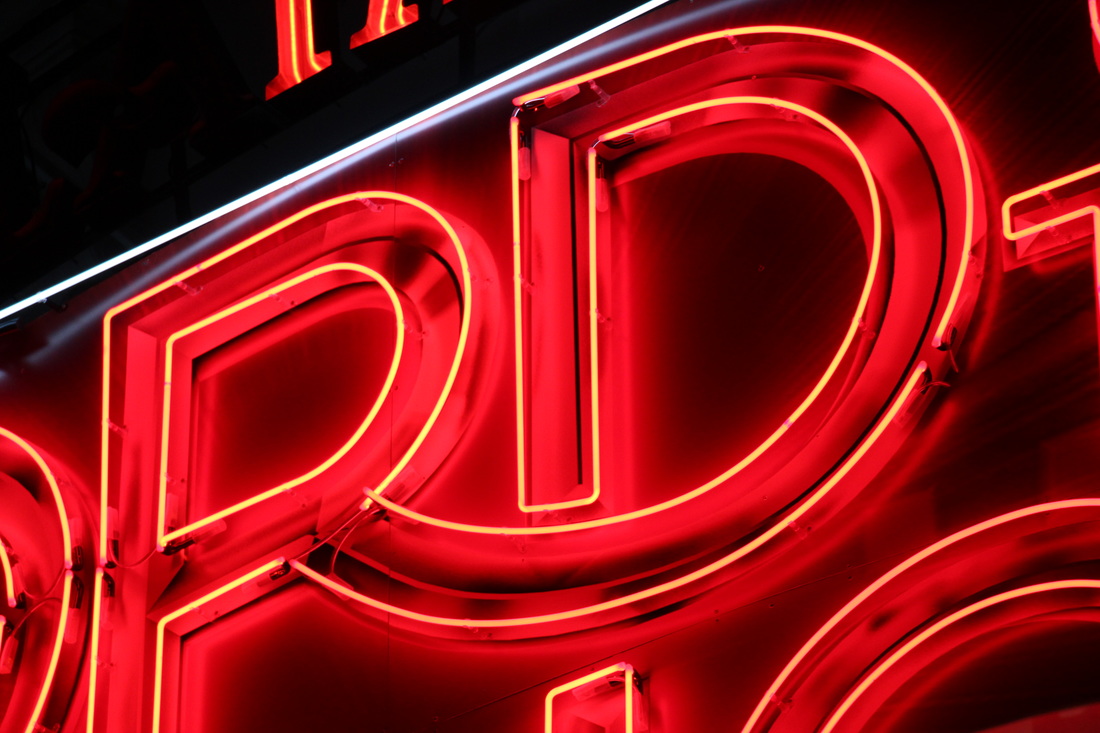
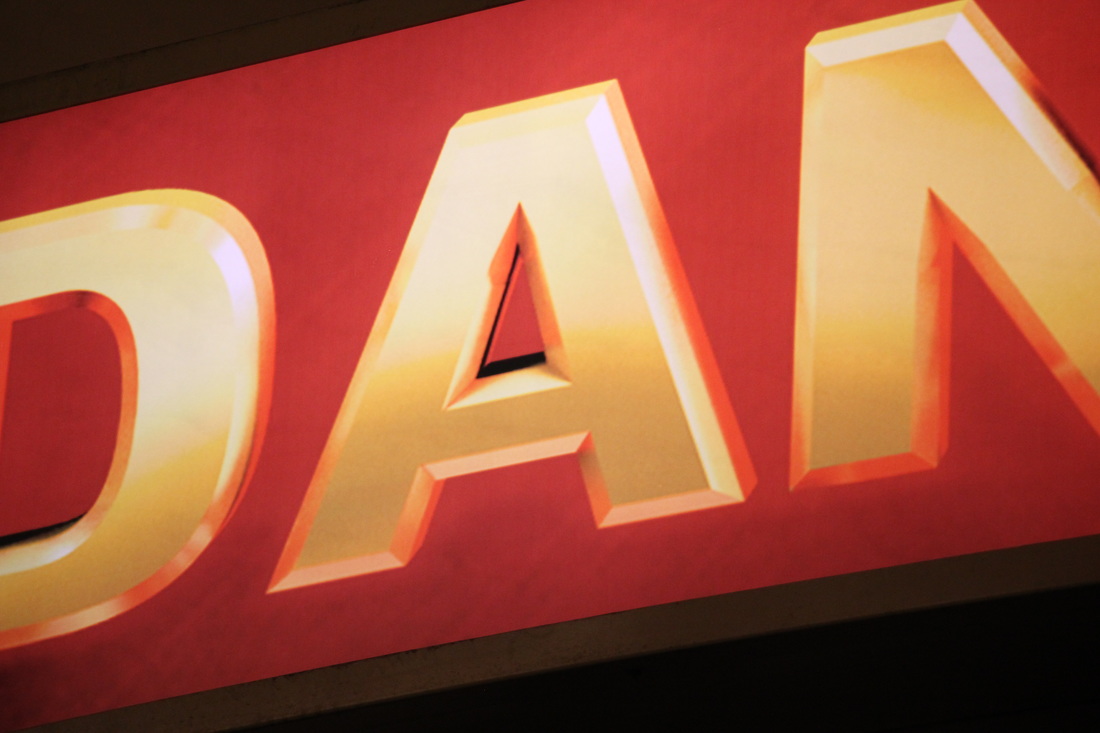
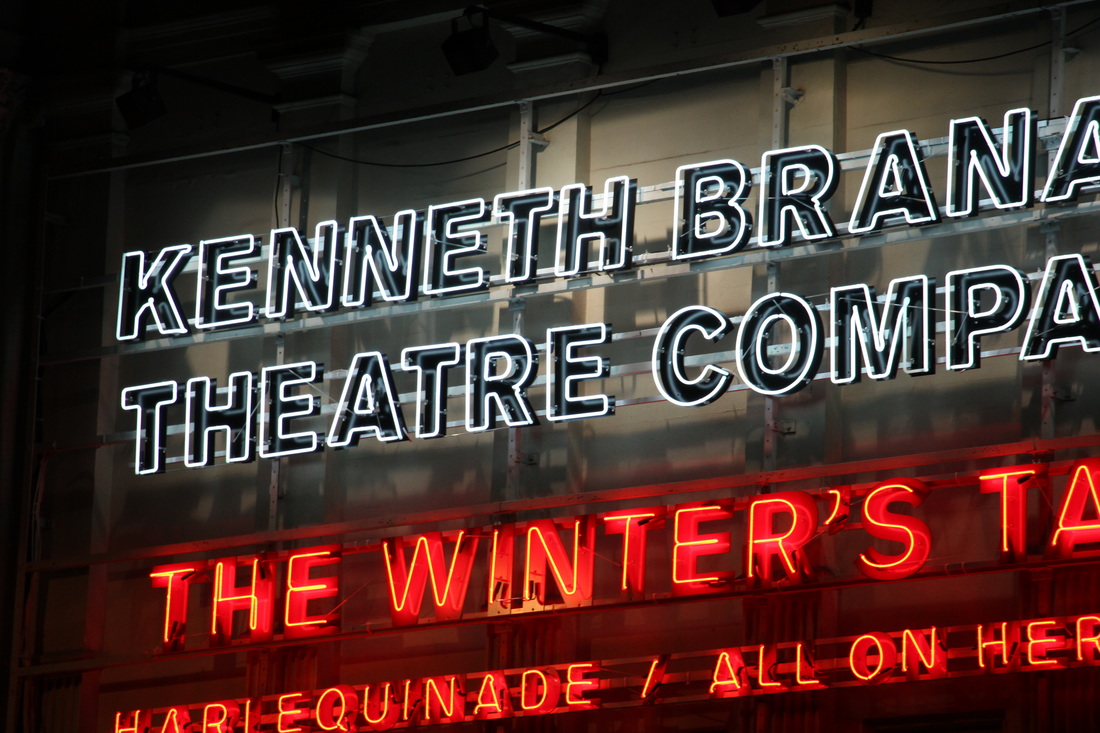
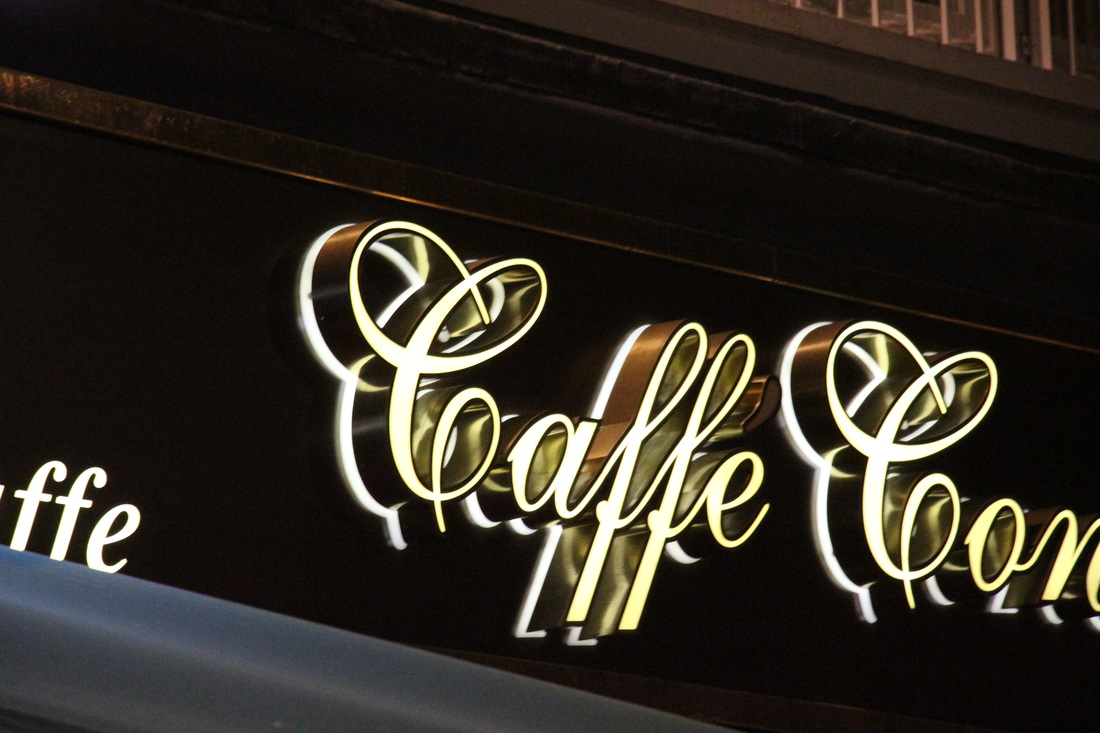
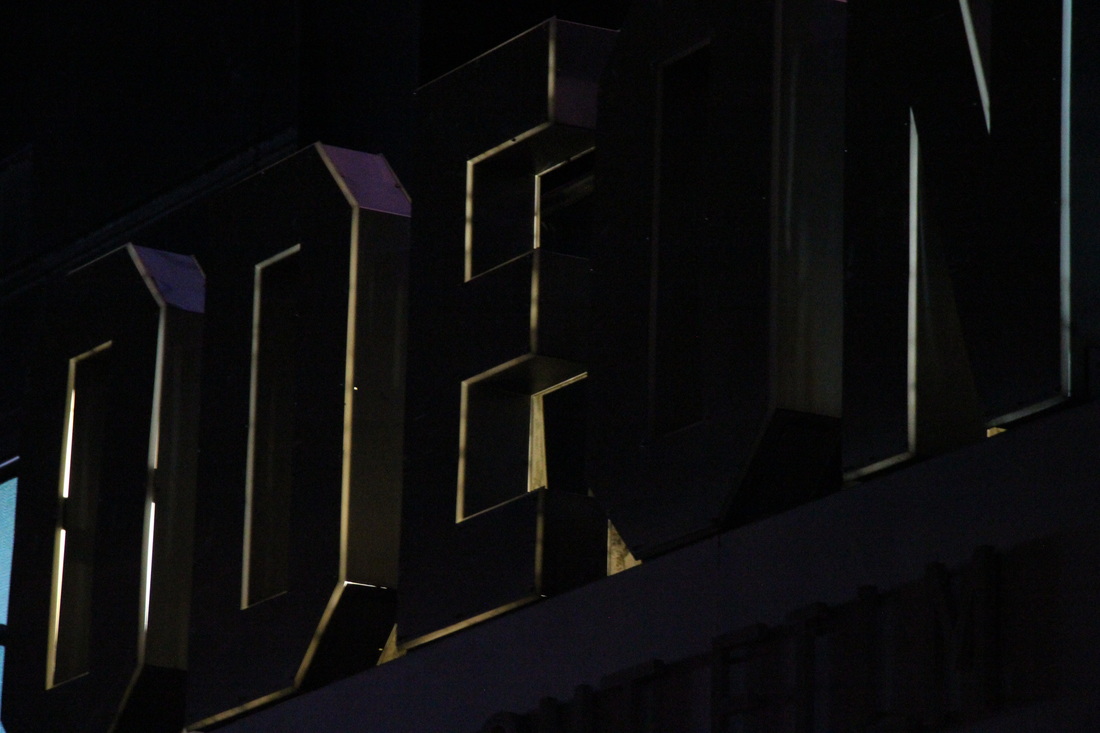
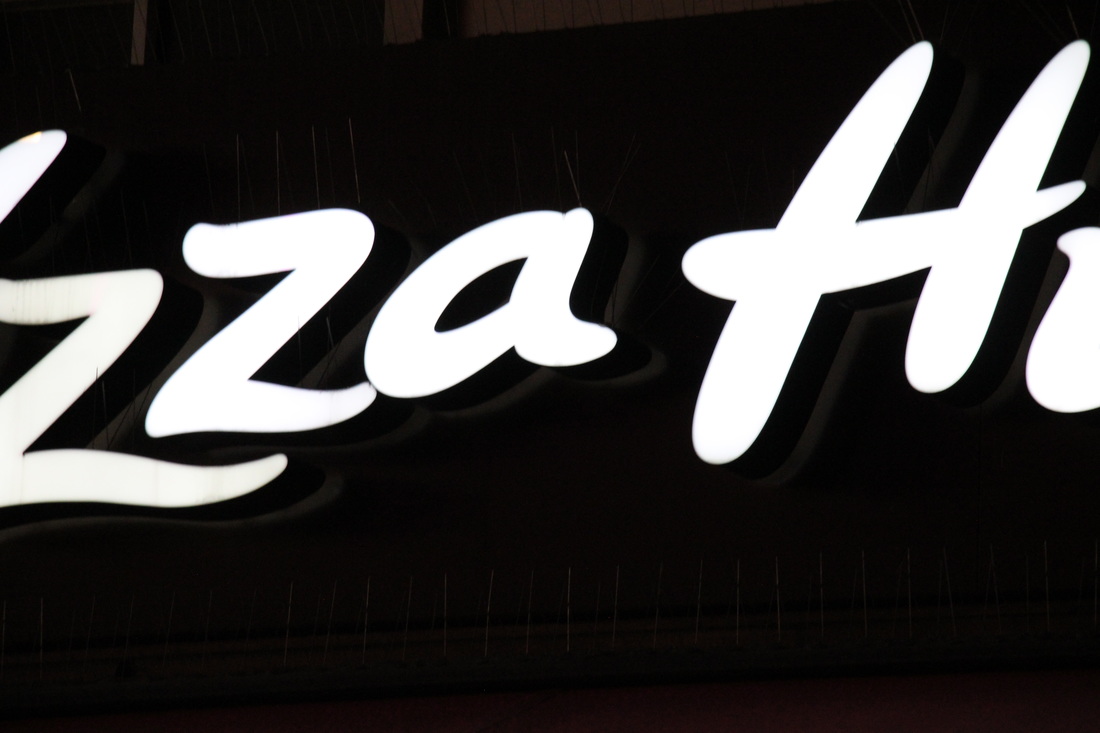
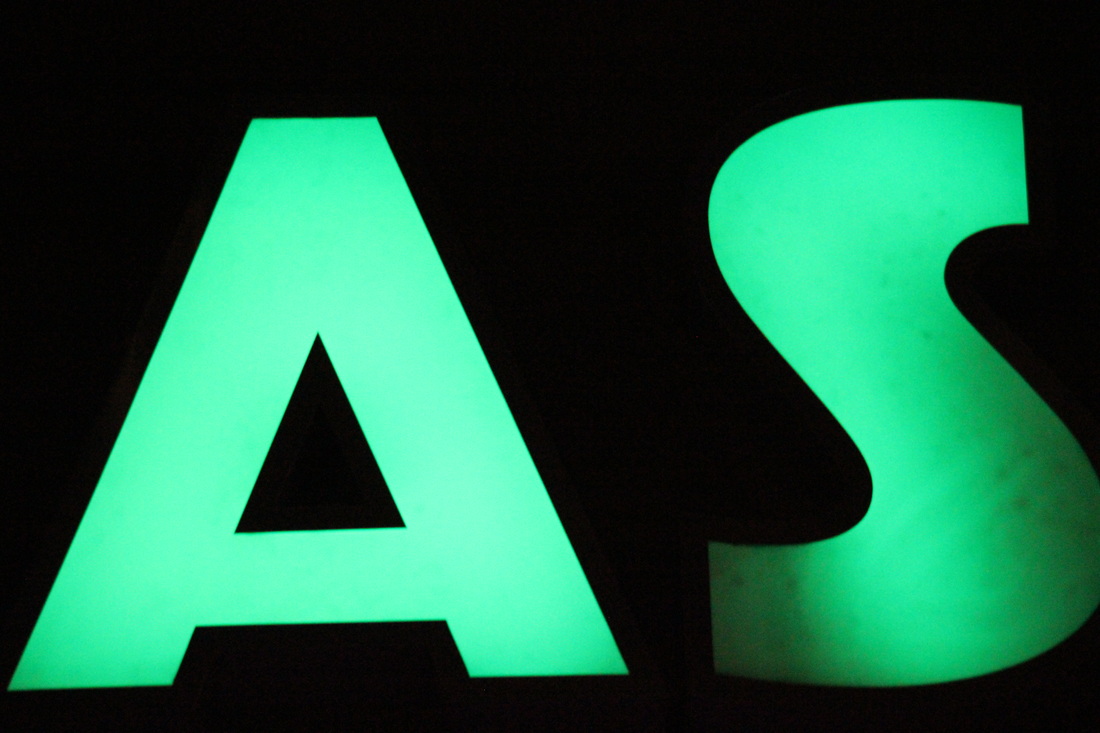
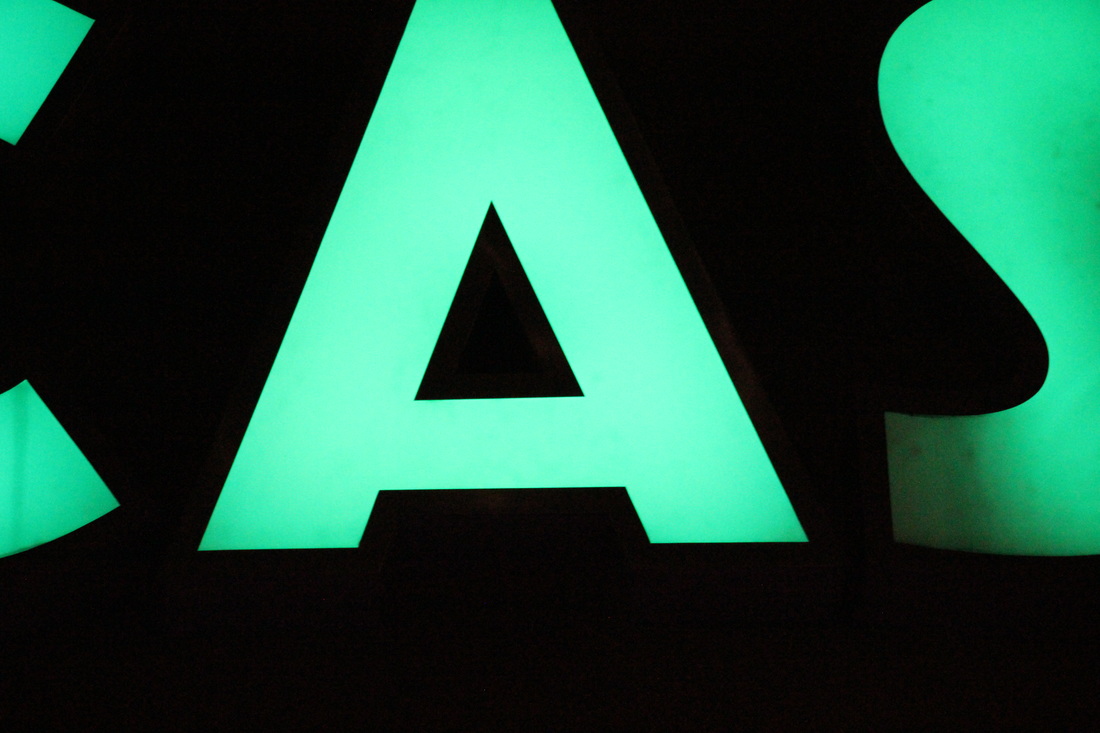
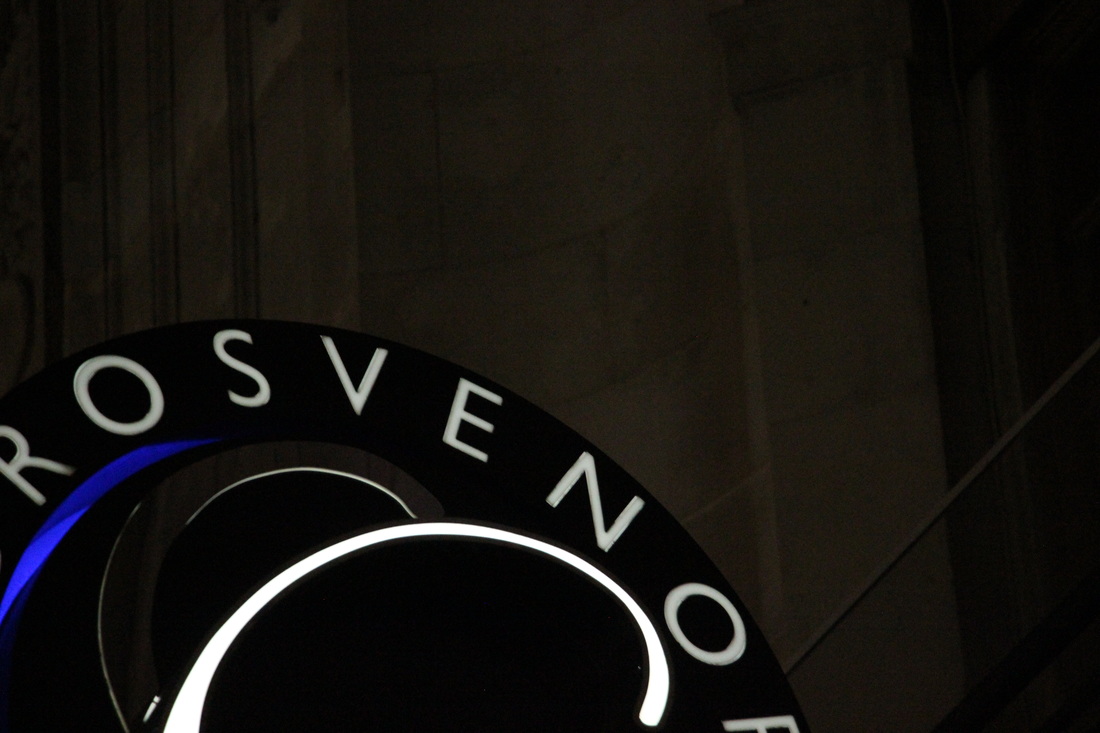
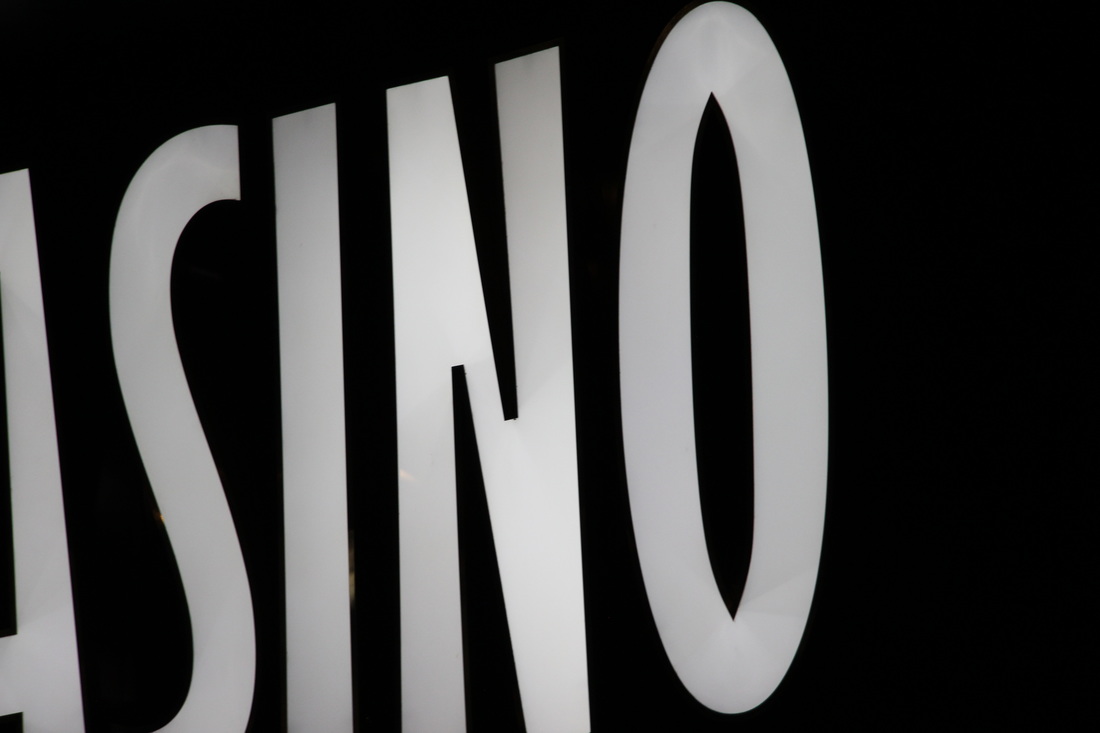
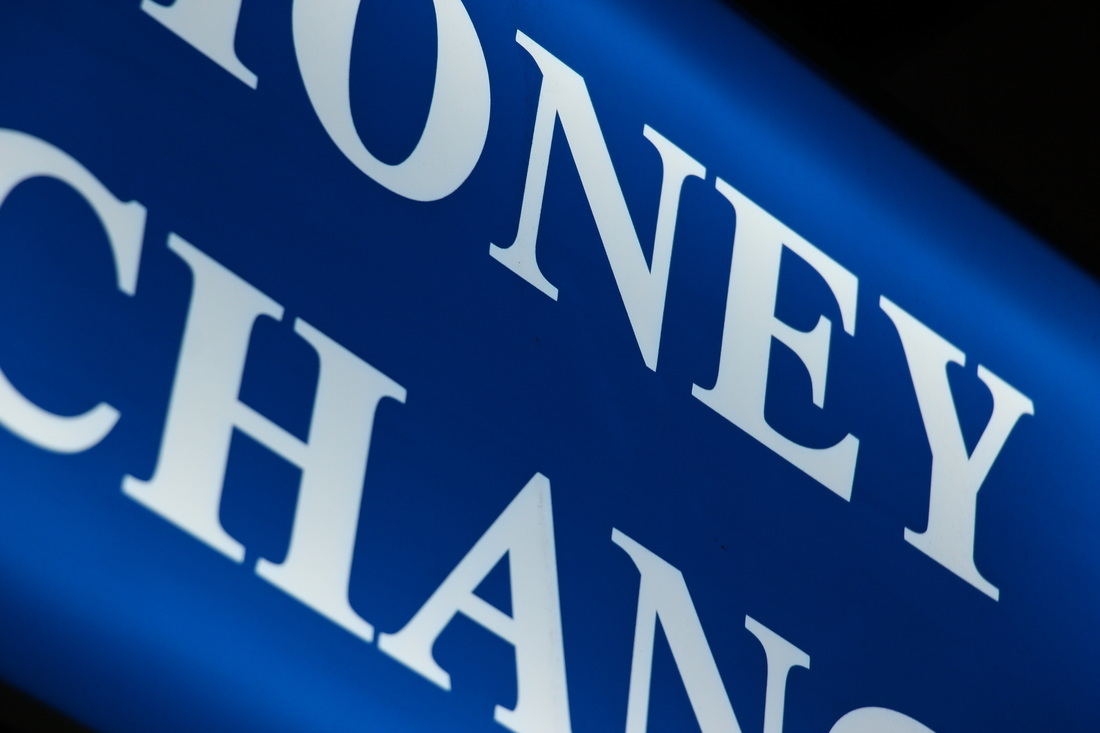
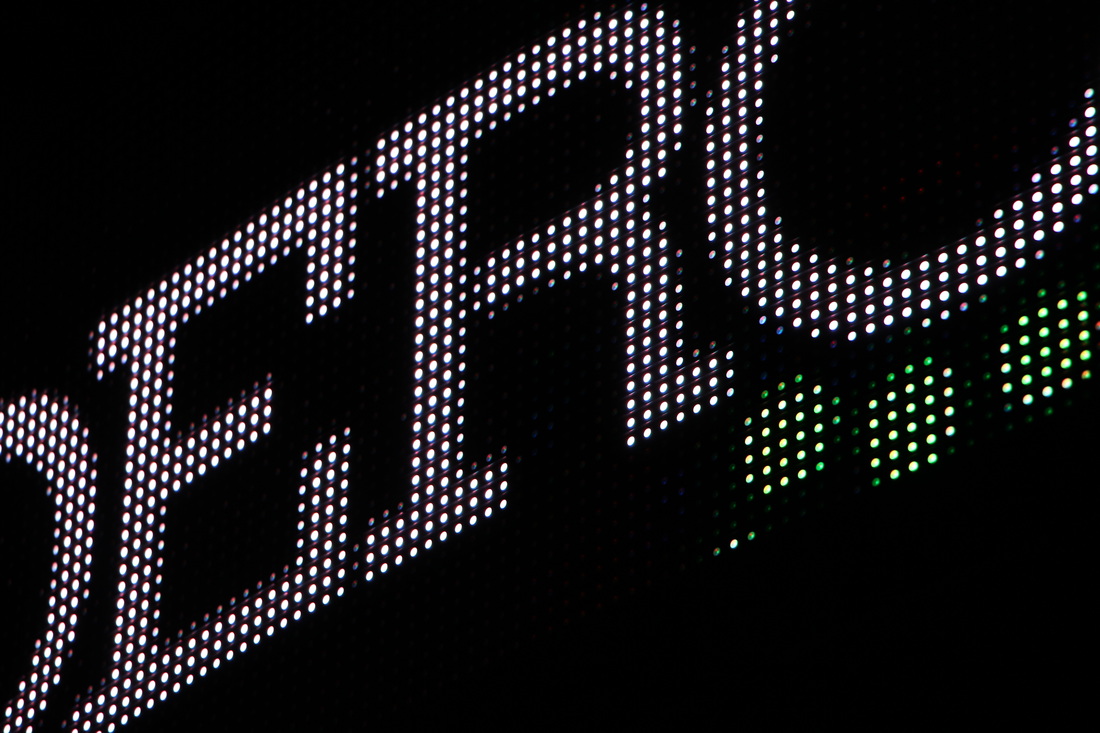
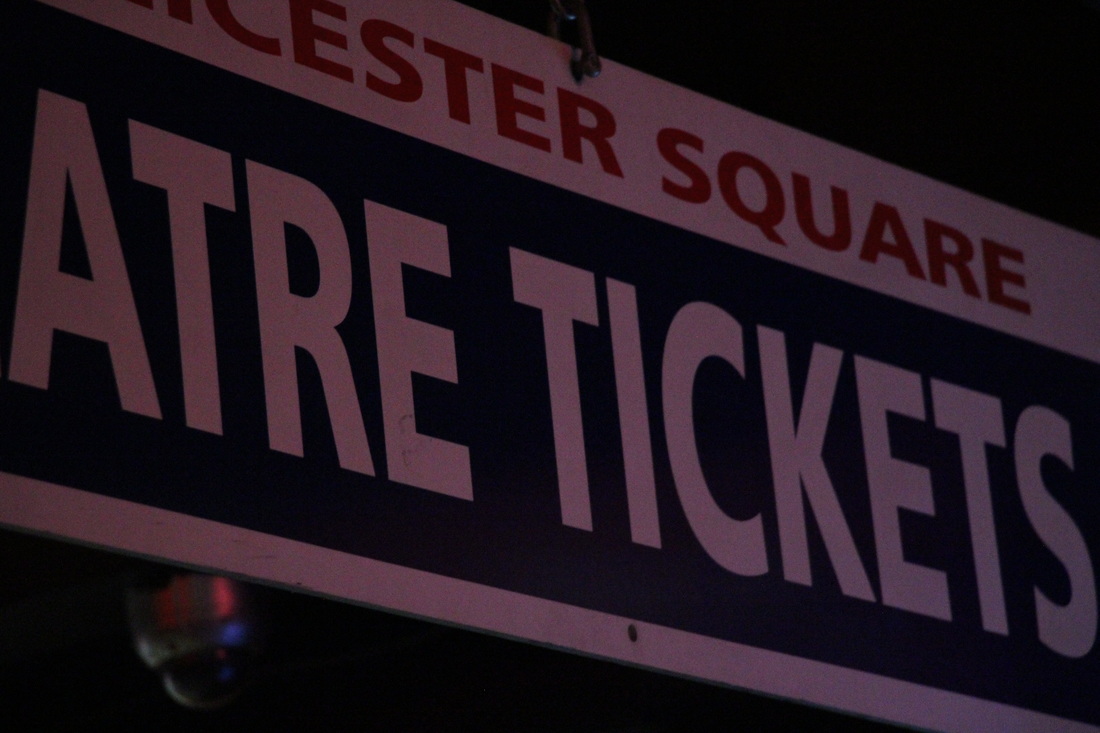
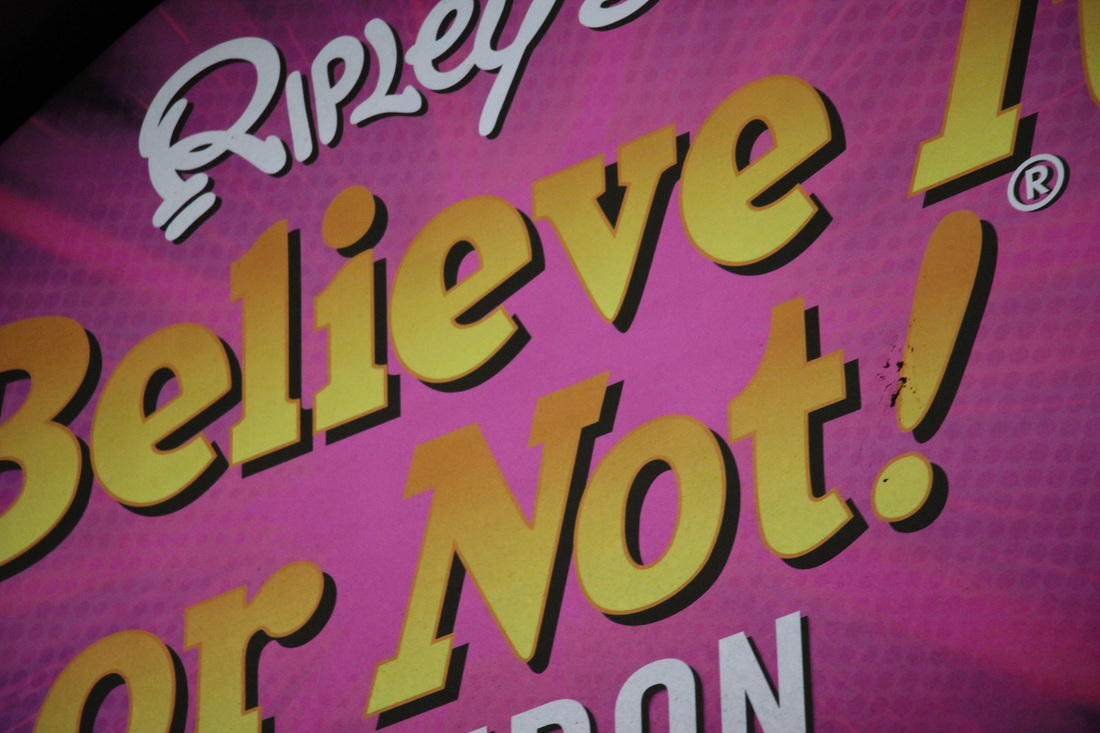
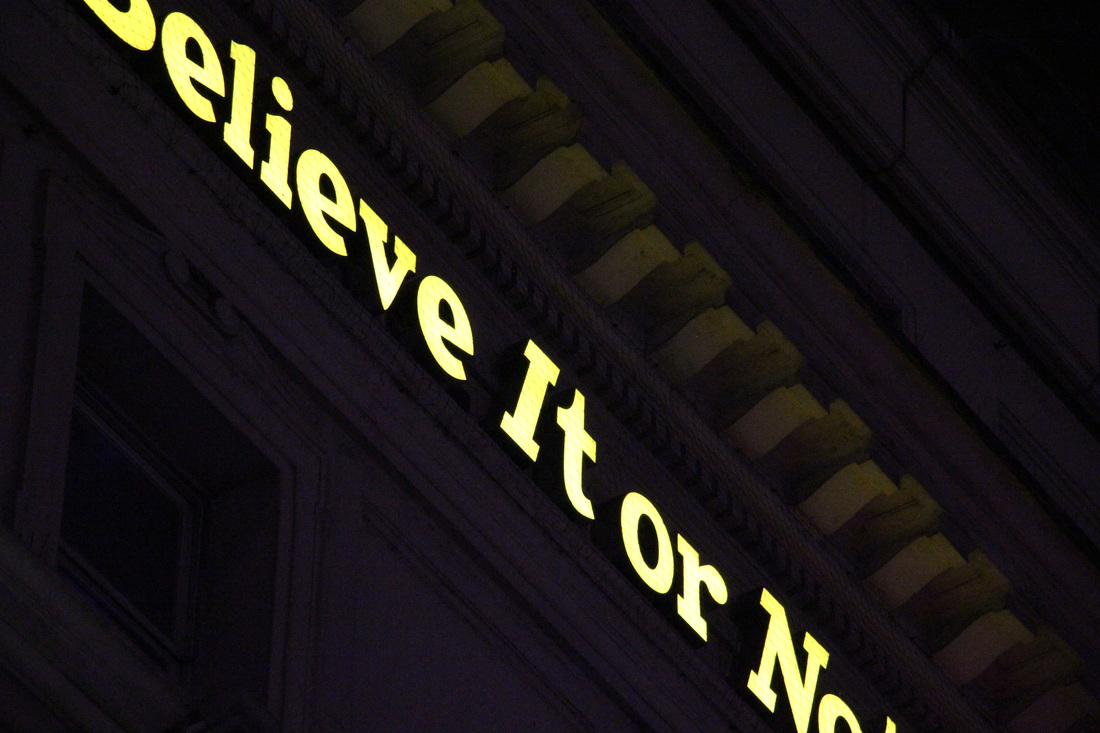
At first I decided to do a photo-shoot based on the work of Aaron Siskind. I zoomed in on certain objects on walls. At first I thought this photo-shoot wouldn't be successful because it was getting dark. However we went past Leicester Square and the theatre district. So there was loads of Neon signs I could zoom in on.


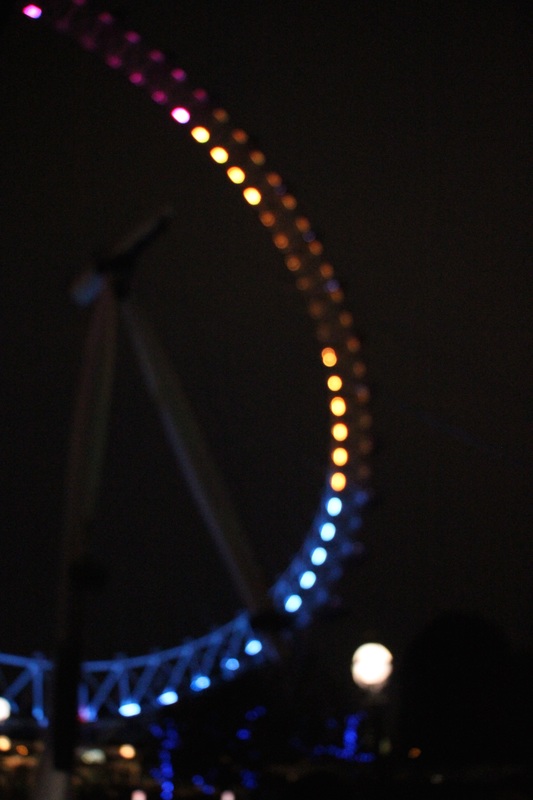
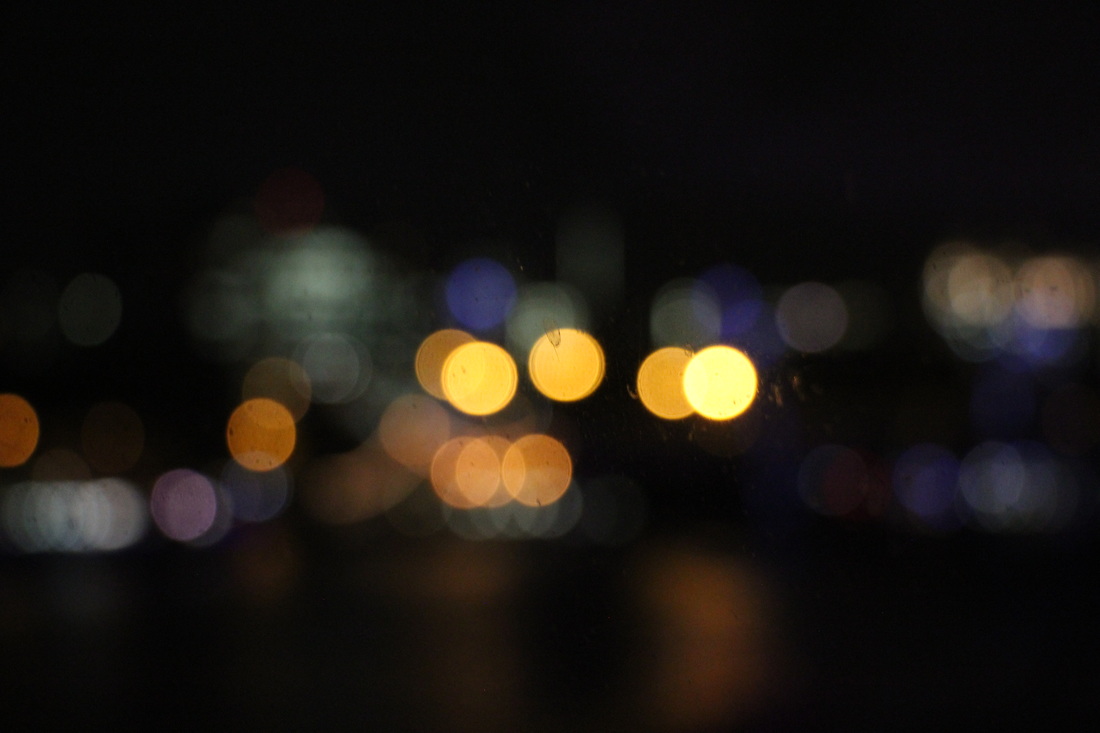
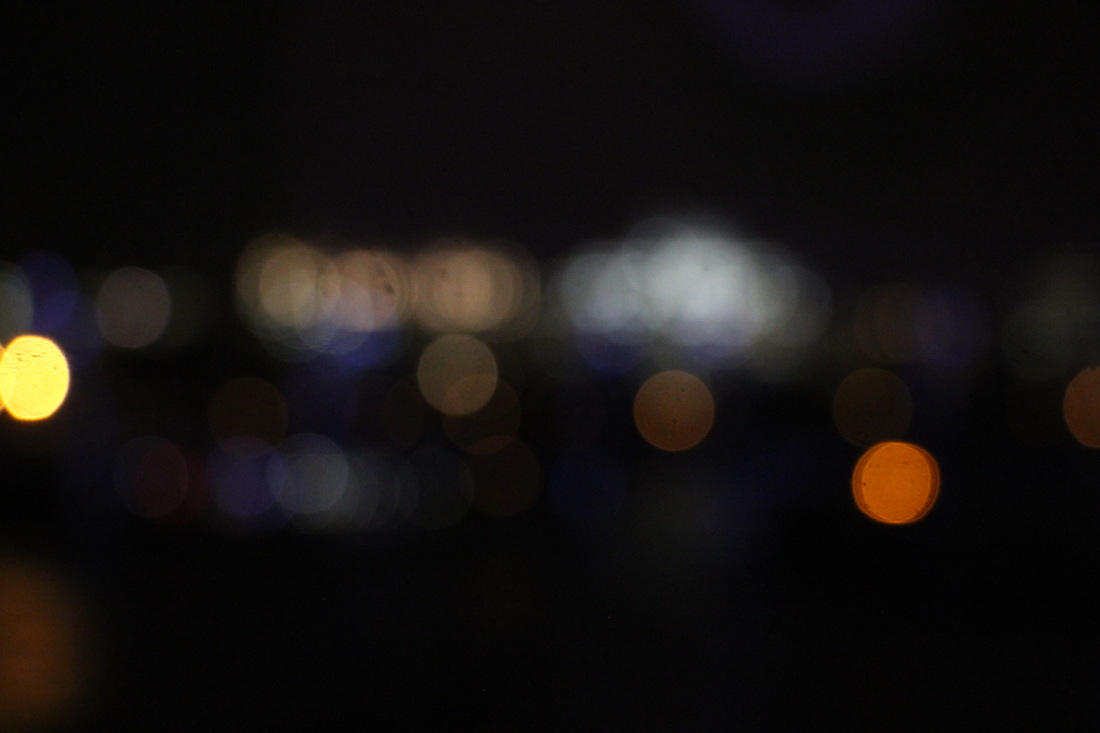
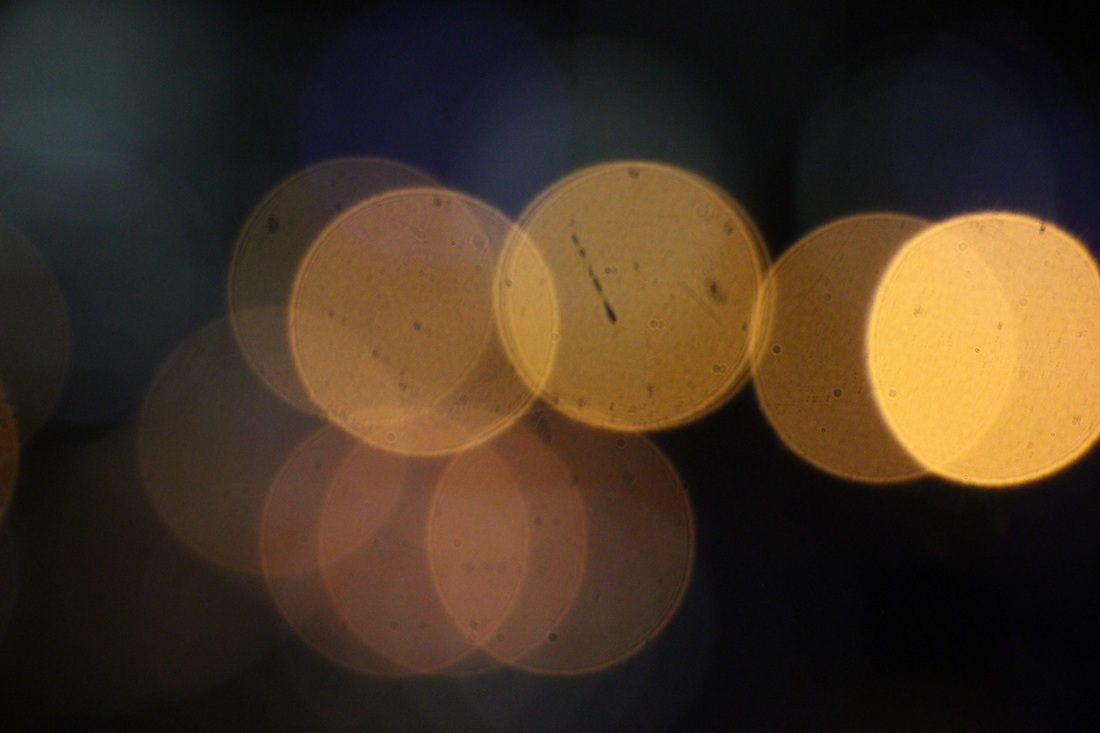
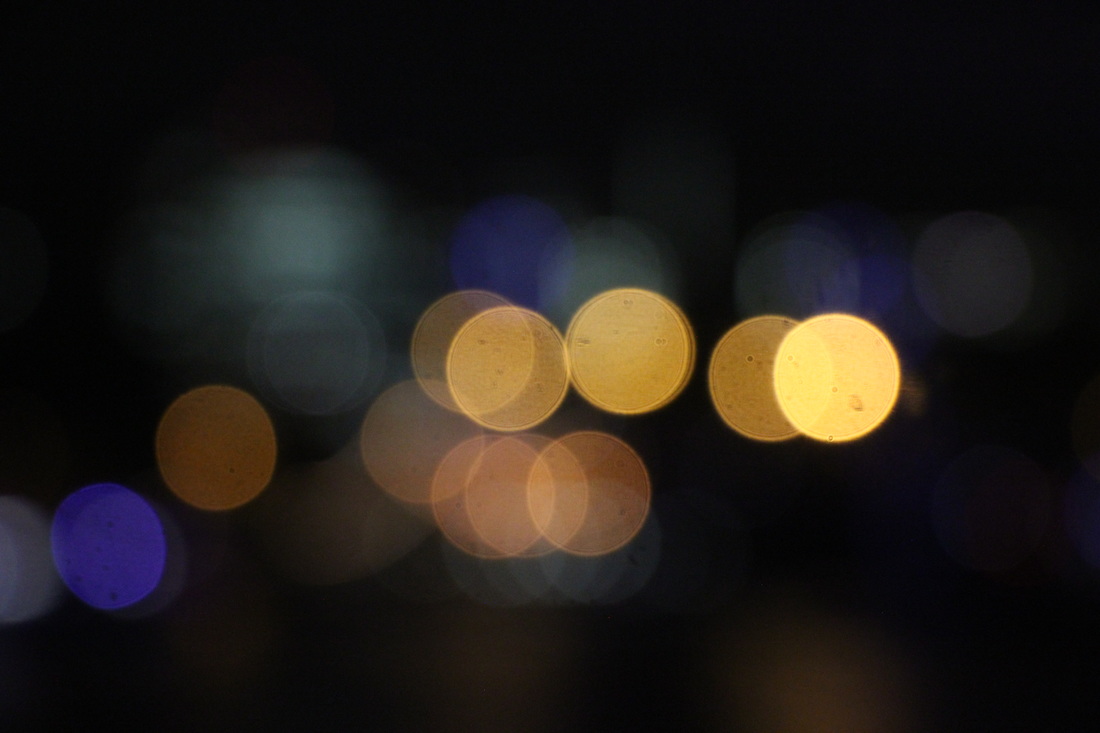
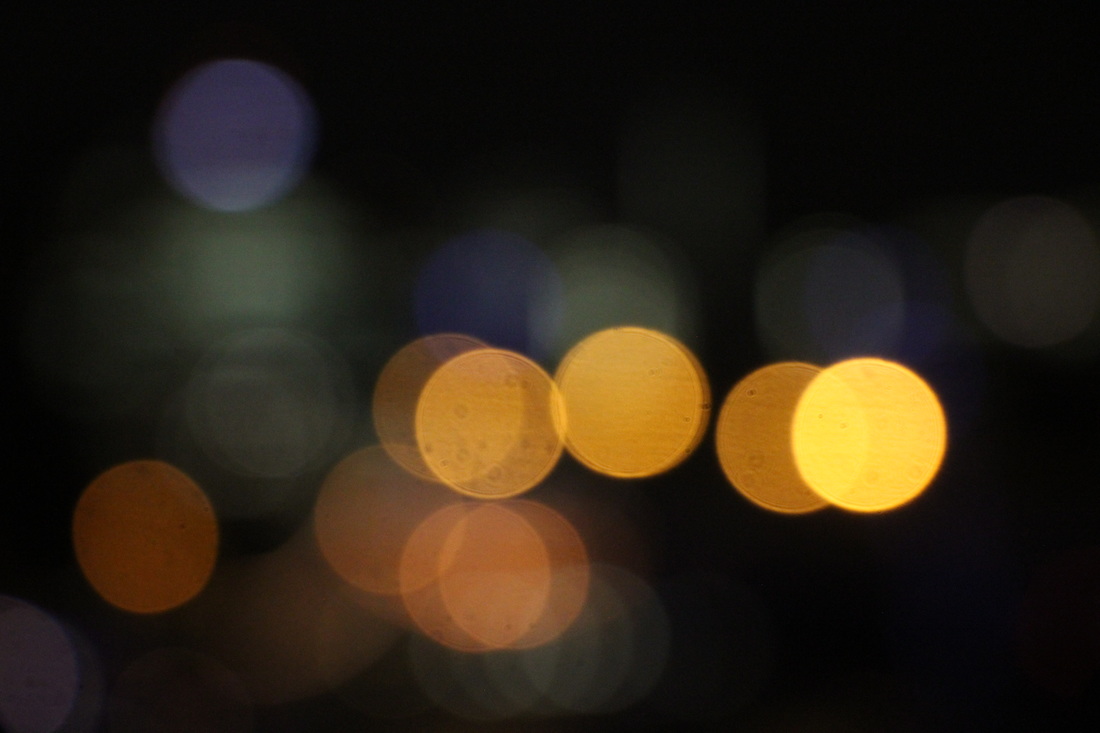
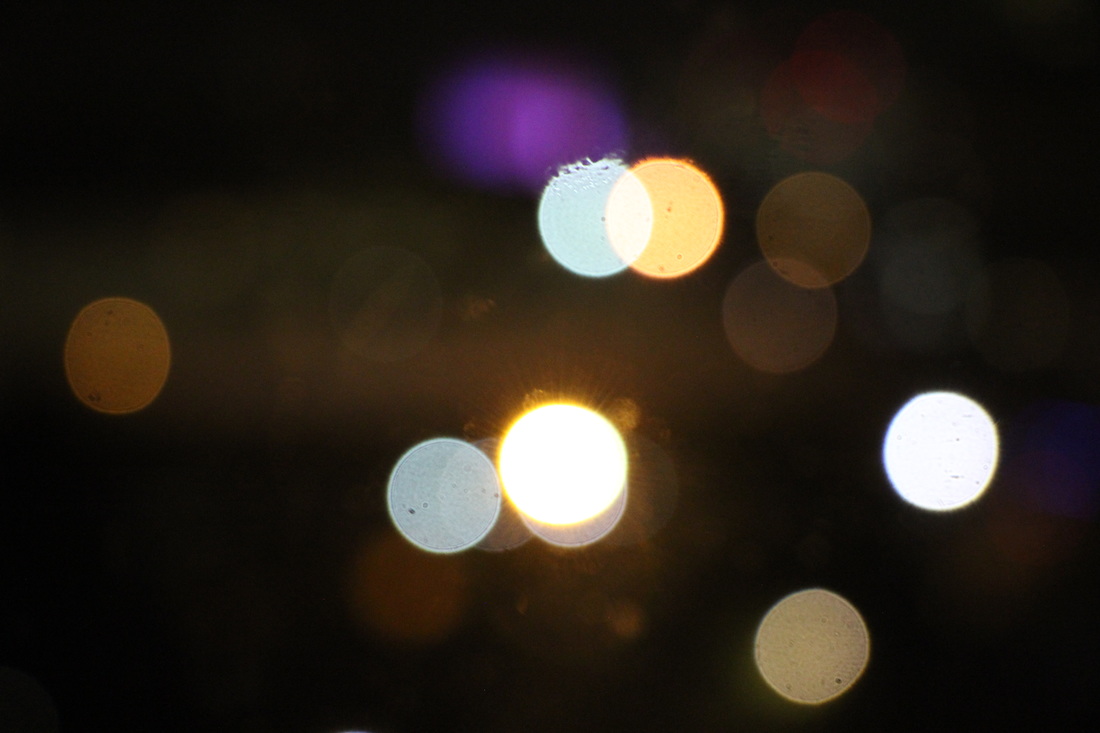
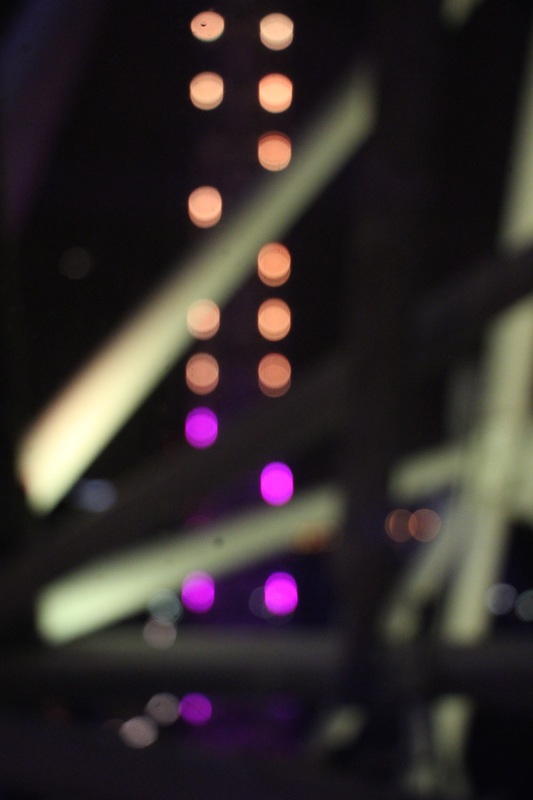
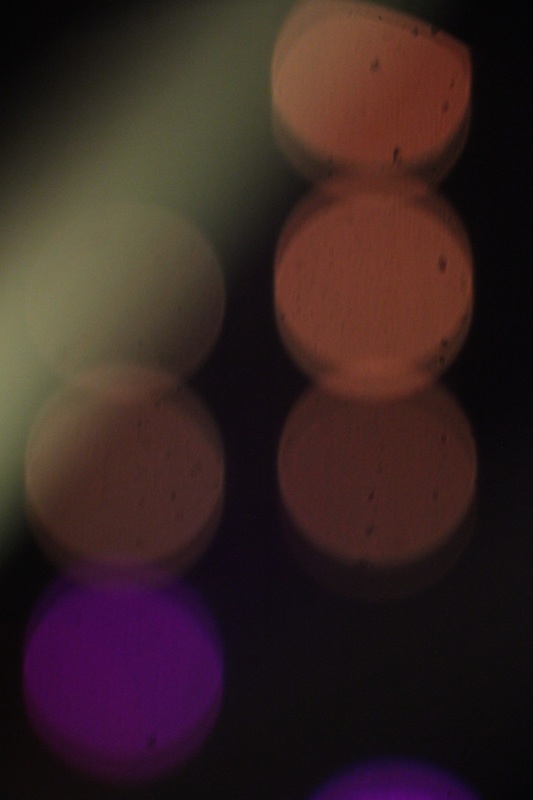
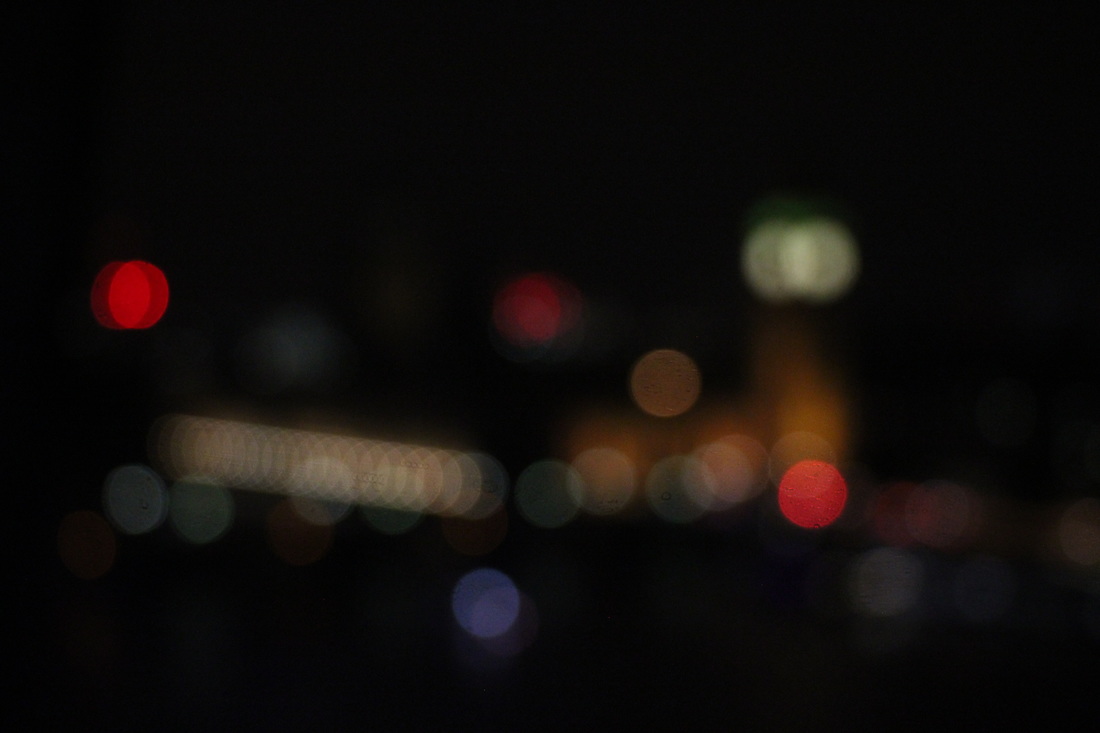
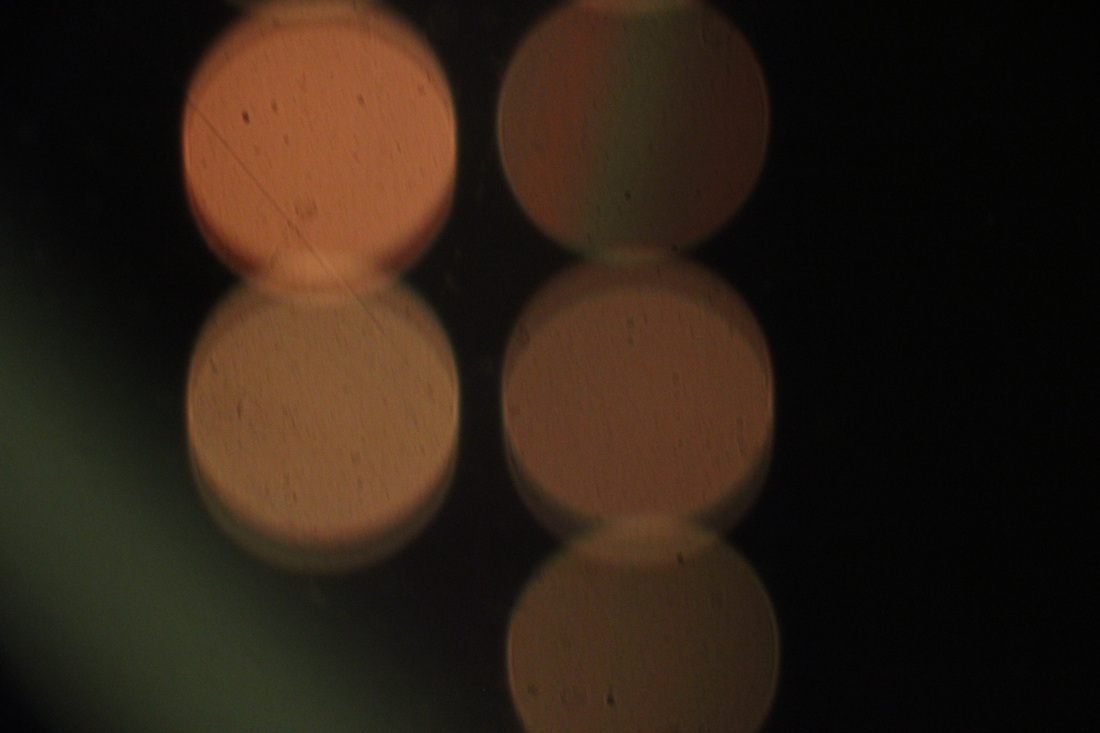
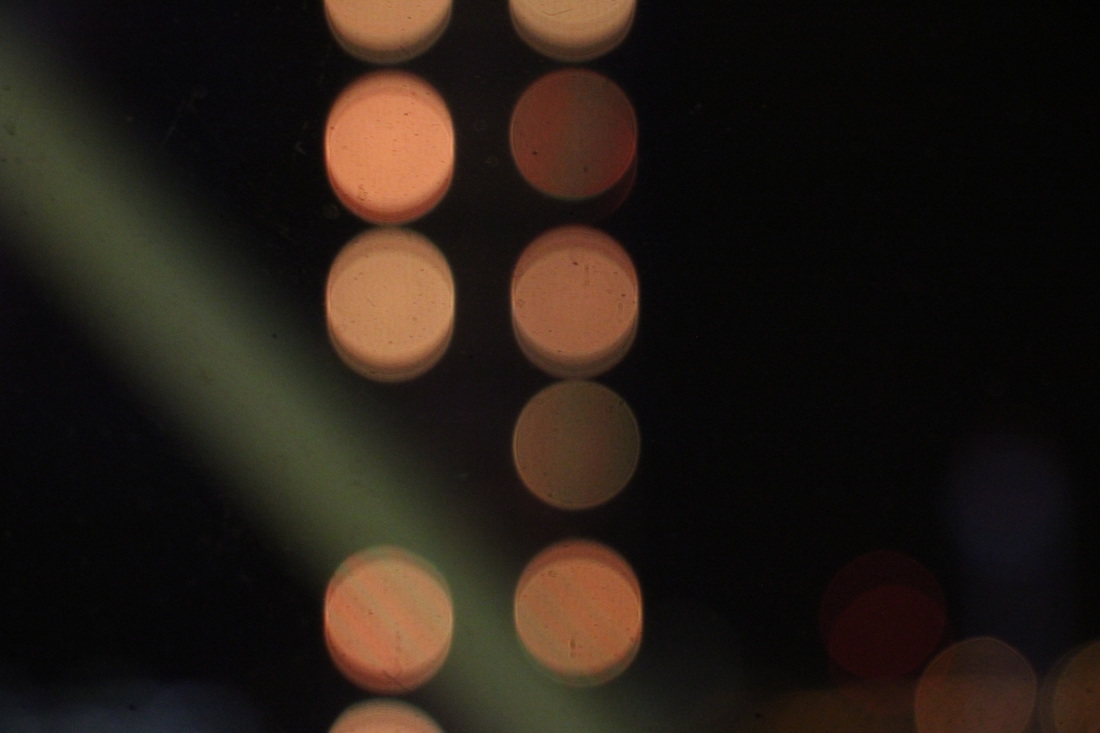
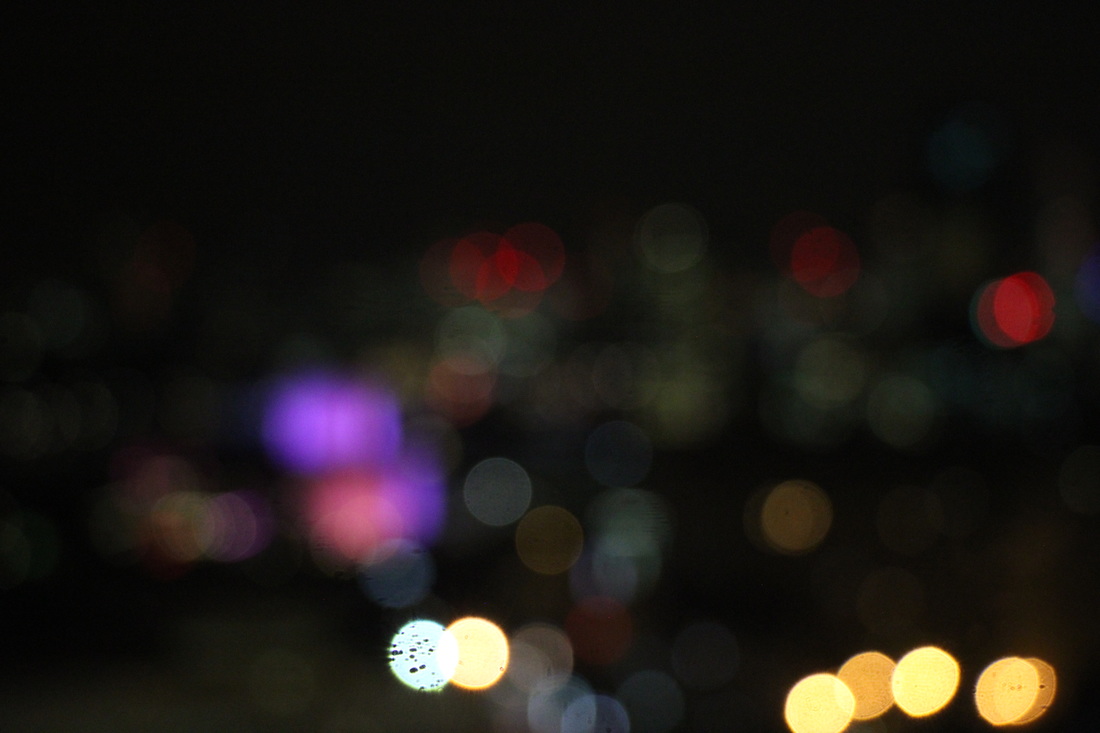
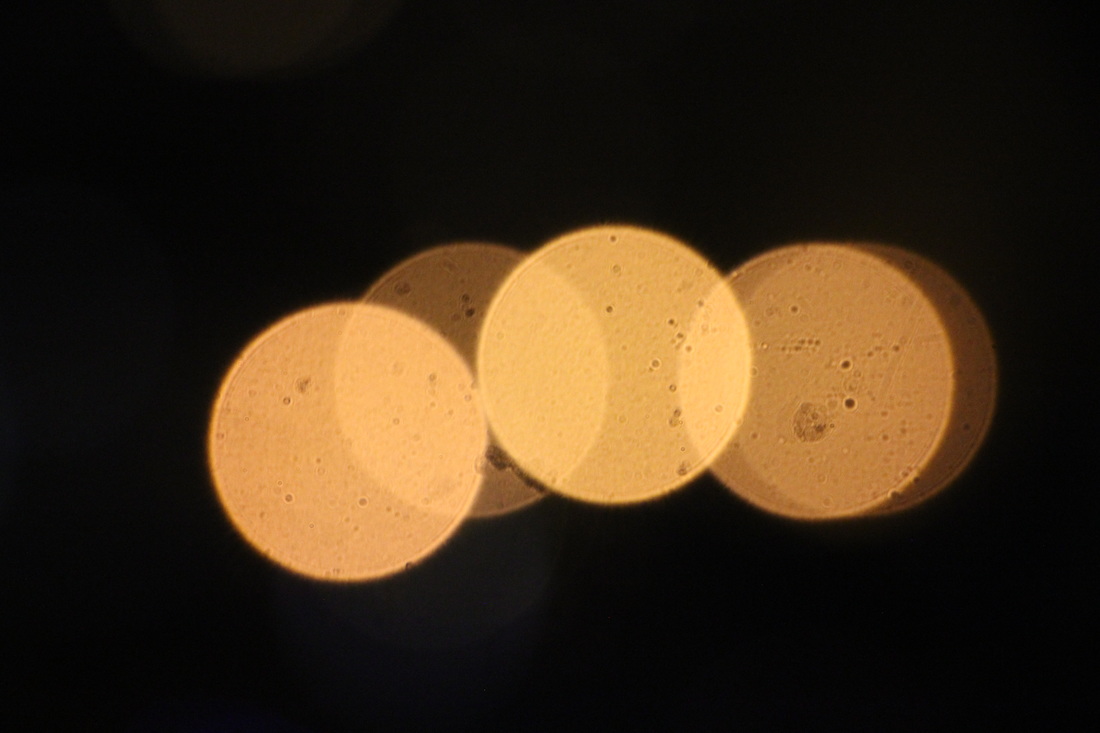
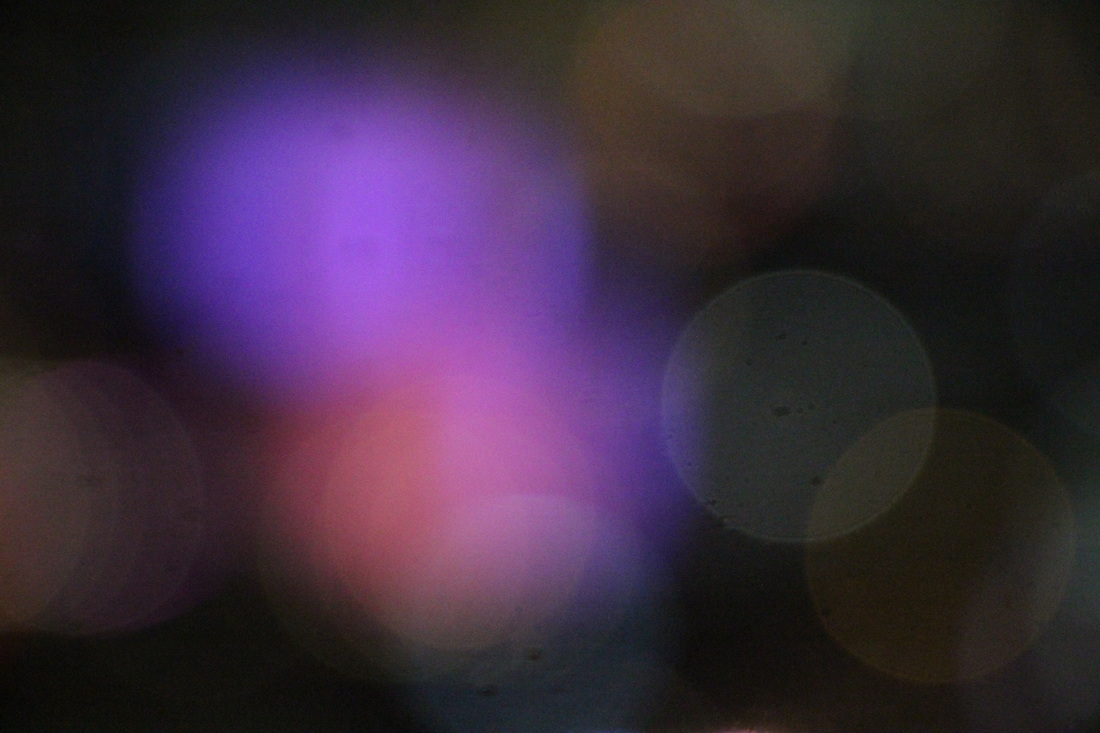
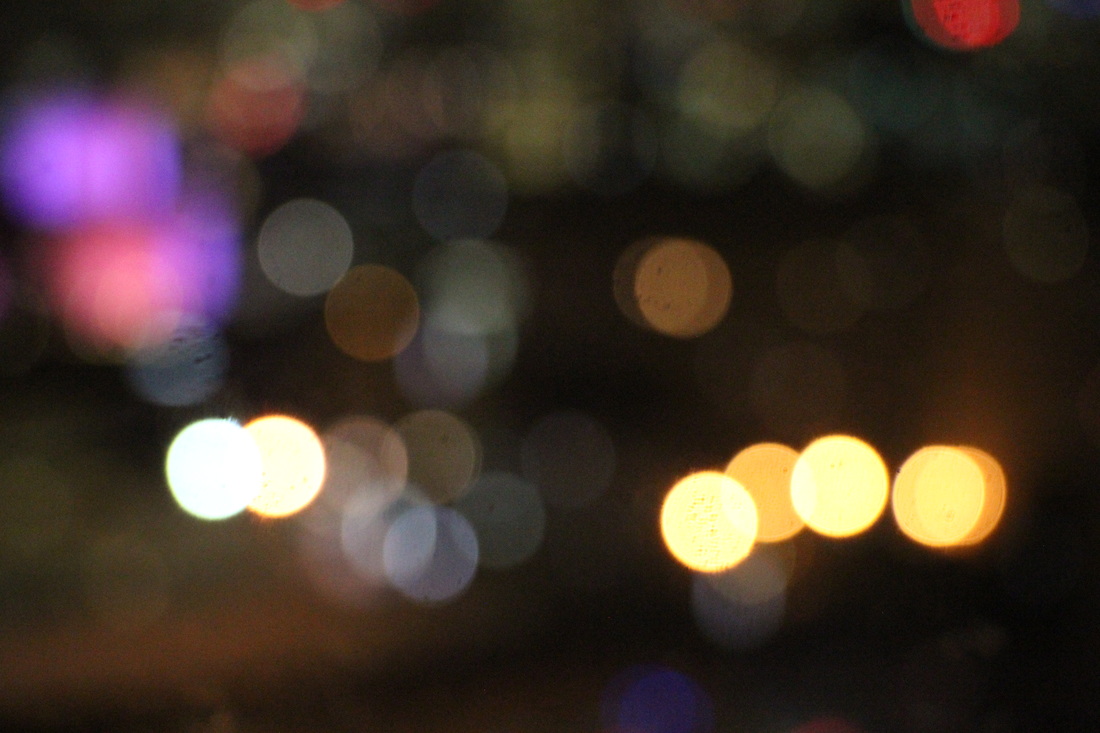
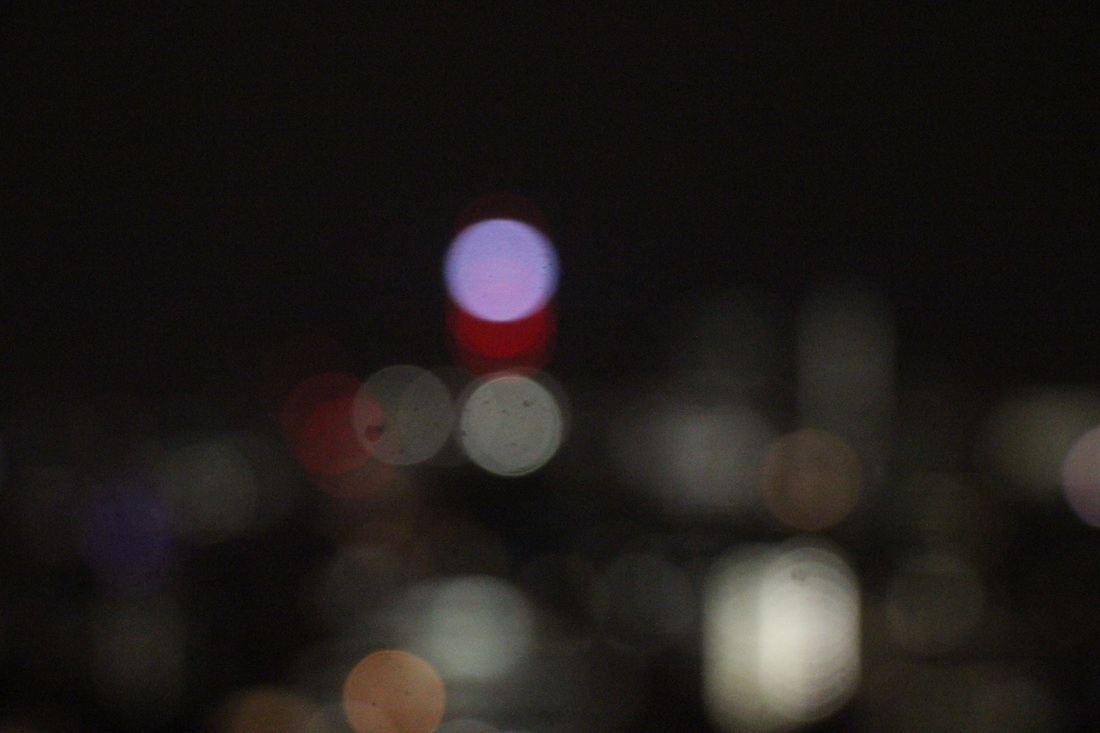
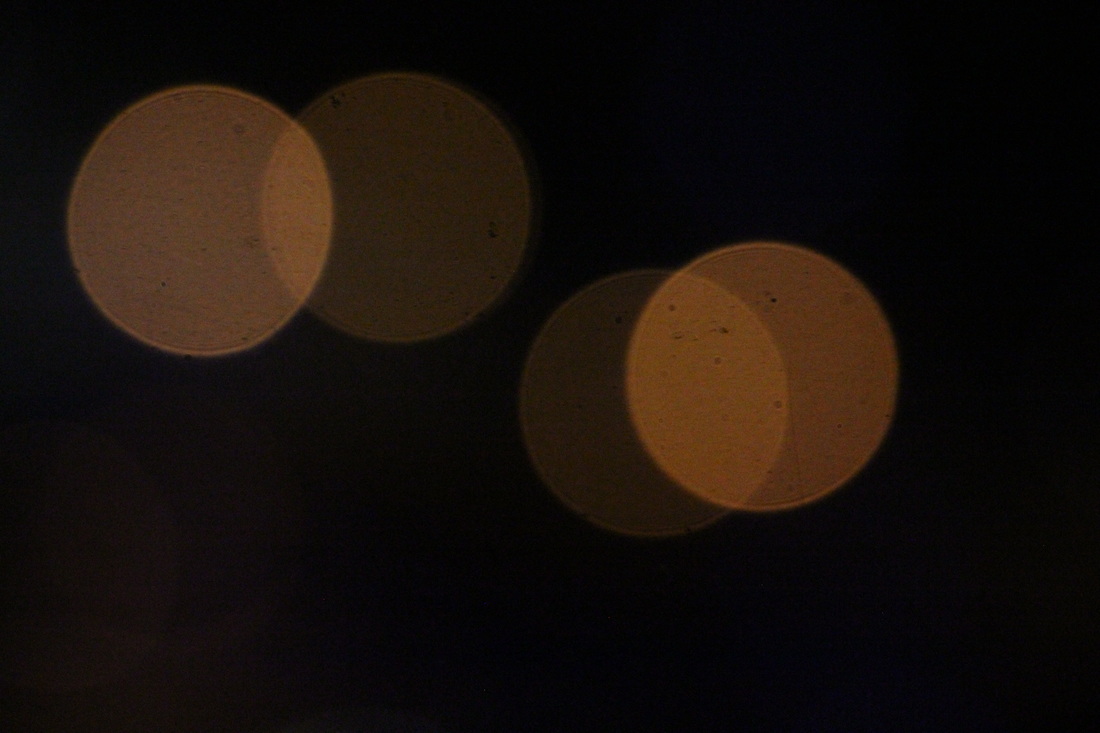
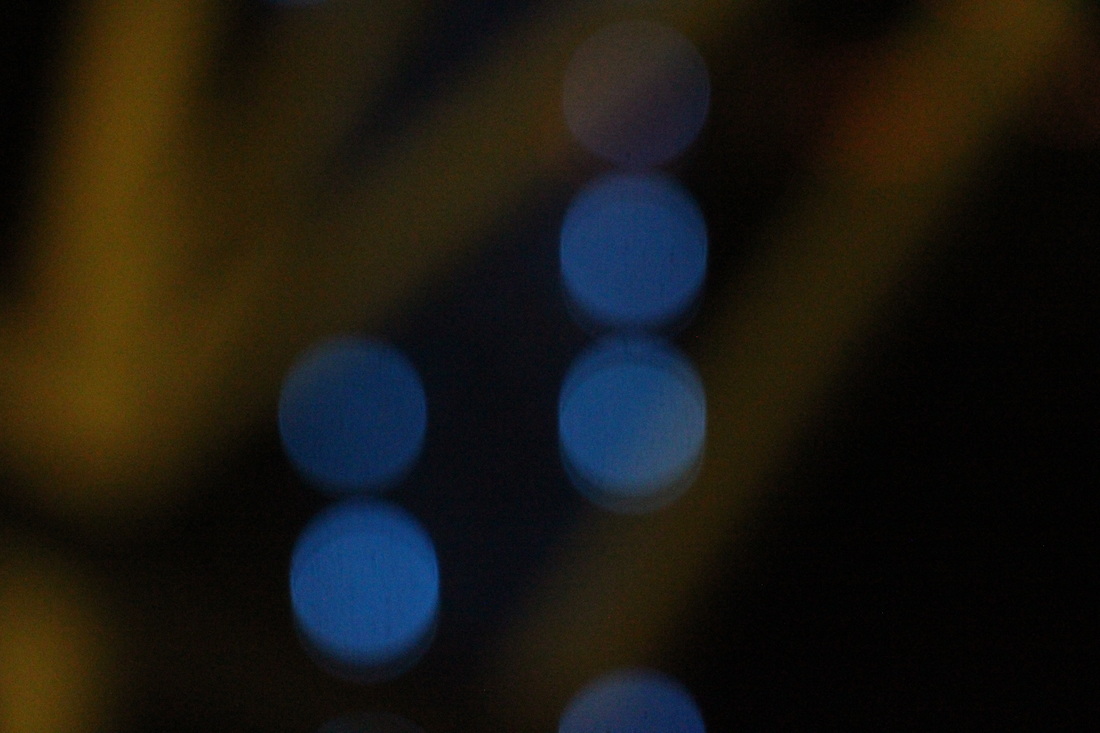
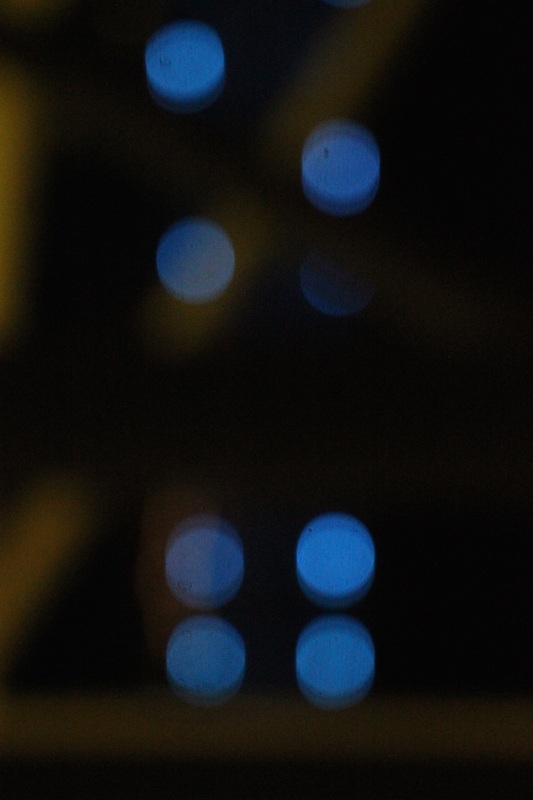
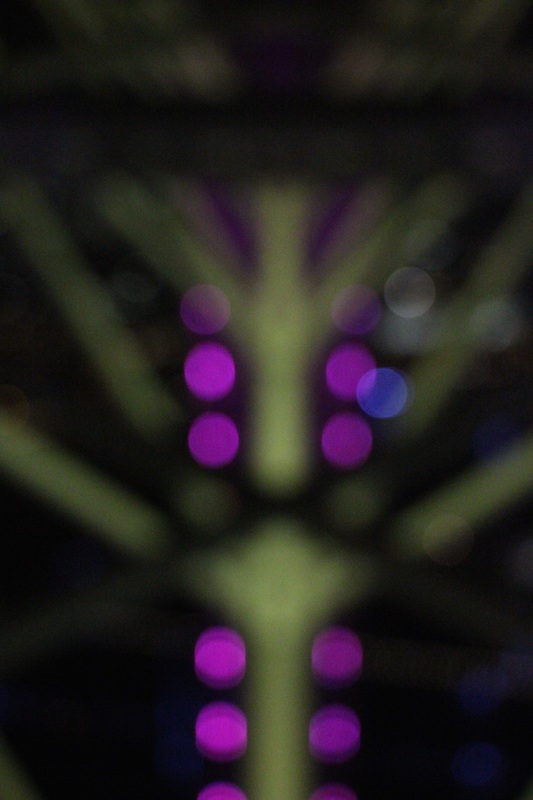
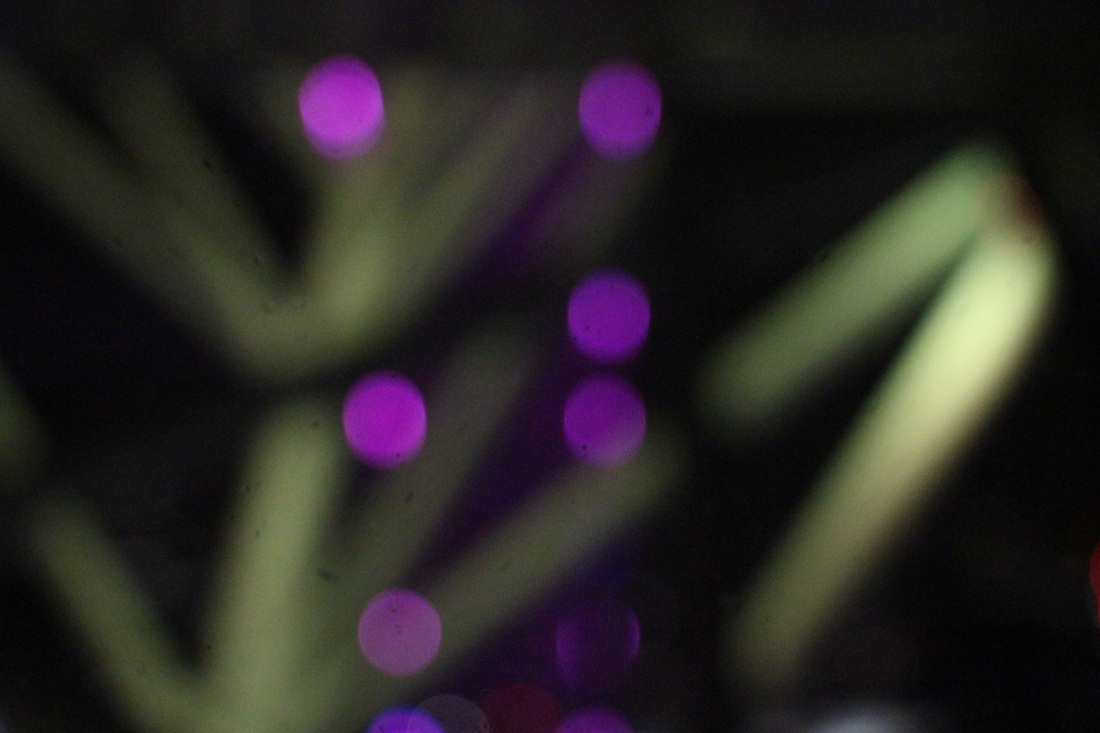
Camera Bokeh
How do these link?
The reason why I believe these photos link is because when I here the word dream, I think of stuff being blurry, being out-of-focus. Another thing I think of in dreams is bright colour. So I thought I should put the 2 together in a series of photos. I took these photos from the London Eye, overlooking the London sky line at around 7:30pm. I simply pointed the camera over the brightest areas of London. Then I rotated the focus dial on the lens as far as it could go. As a result there is circular Bokeh effect. The reason why the light is circular is because the light is coming through a circular aperture. If the aperture was a in a square shape, the light would be in a square. A triangle aperture would equal triangular light etc. The first photo you see was taken by mistake. It was dark, so focusing was tough on the 550D. So it took a photo of the Eye out of focus and I was really drawn to the circular light. Which is how I thought of this idea.


Pinhole Photography
Editing
I decided that these photograms were already Surreal. However I believed they could be made more surreal. So I put the best ones into Photoshop and have decided to play around with the images. Especially with the Brightness/Contrast and Inverting the images. the main problem I had with these was the taking the image themselves. The length of the exposure was ok, however, there was quite a bit of camera shake, this is because it is hard to open the lens cap of a pinhole camera and to keep it still. So the next time I make some pinhole photos. I'm going to is
- Make sure my exposure is consistent.
- Think of anything I can use as a lens cap. I might simply use my hand as the lens cap, if it means there isn't any camera shake.
|
|
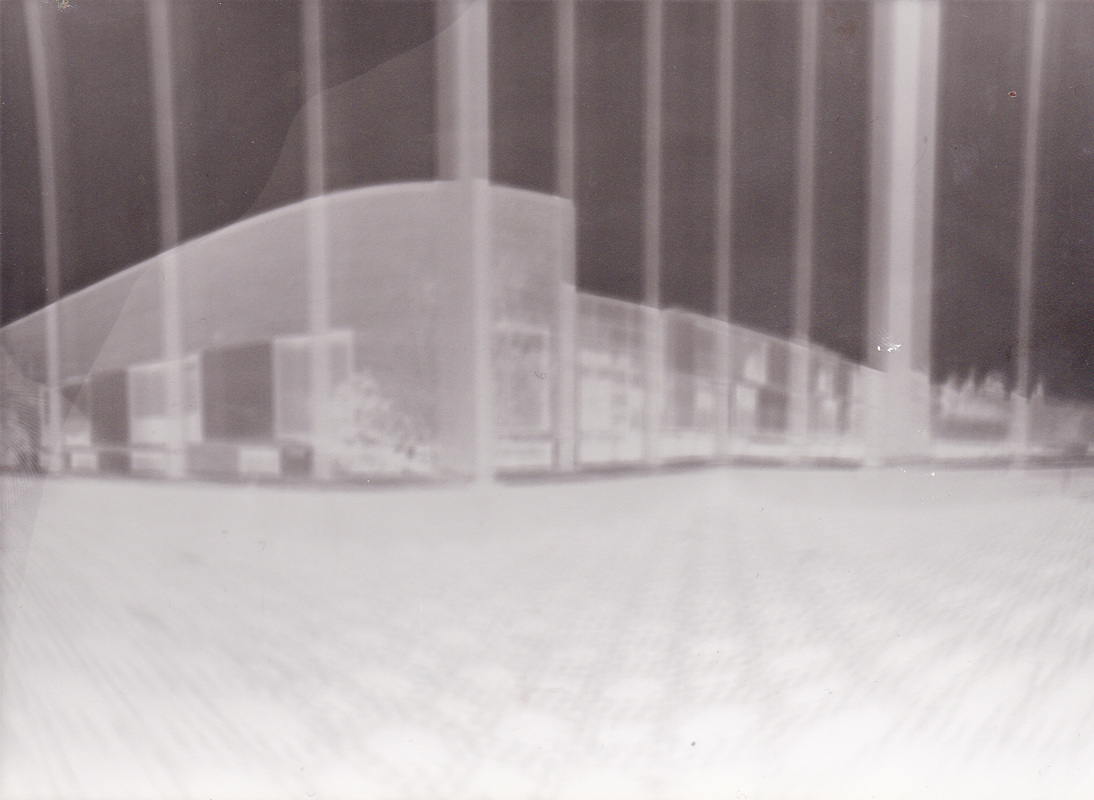
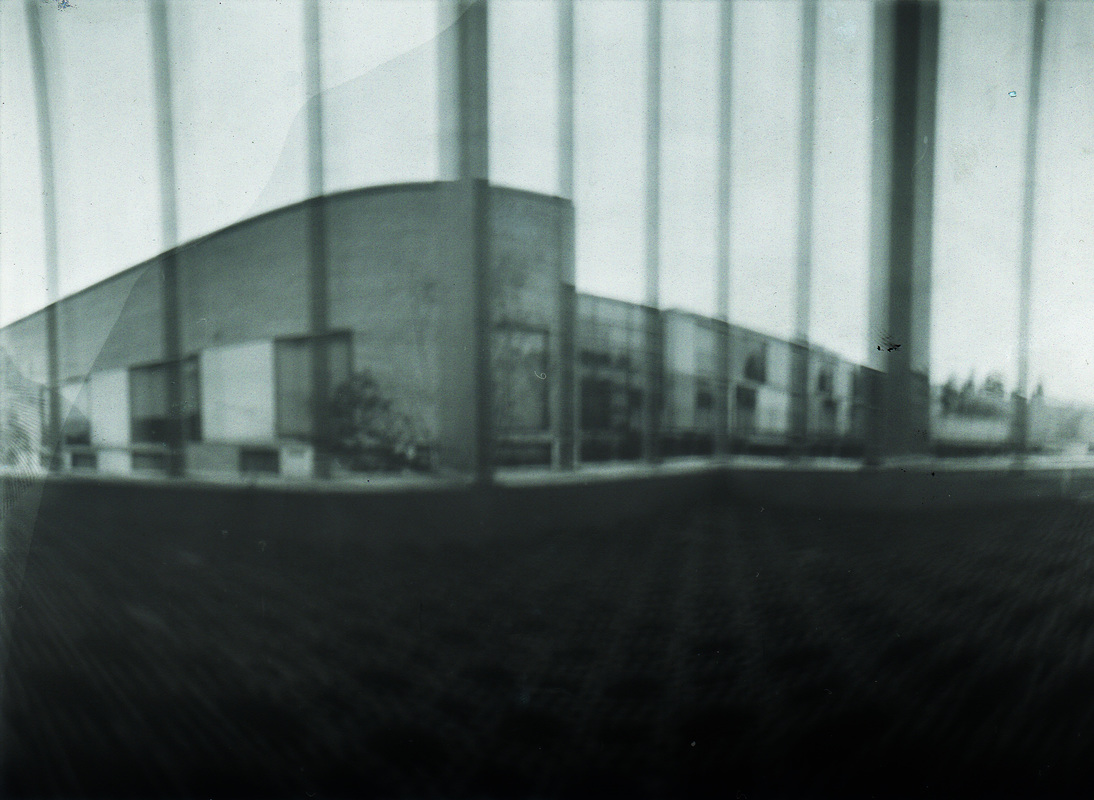
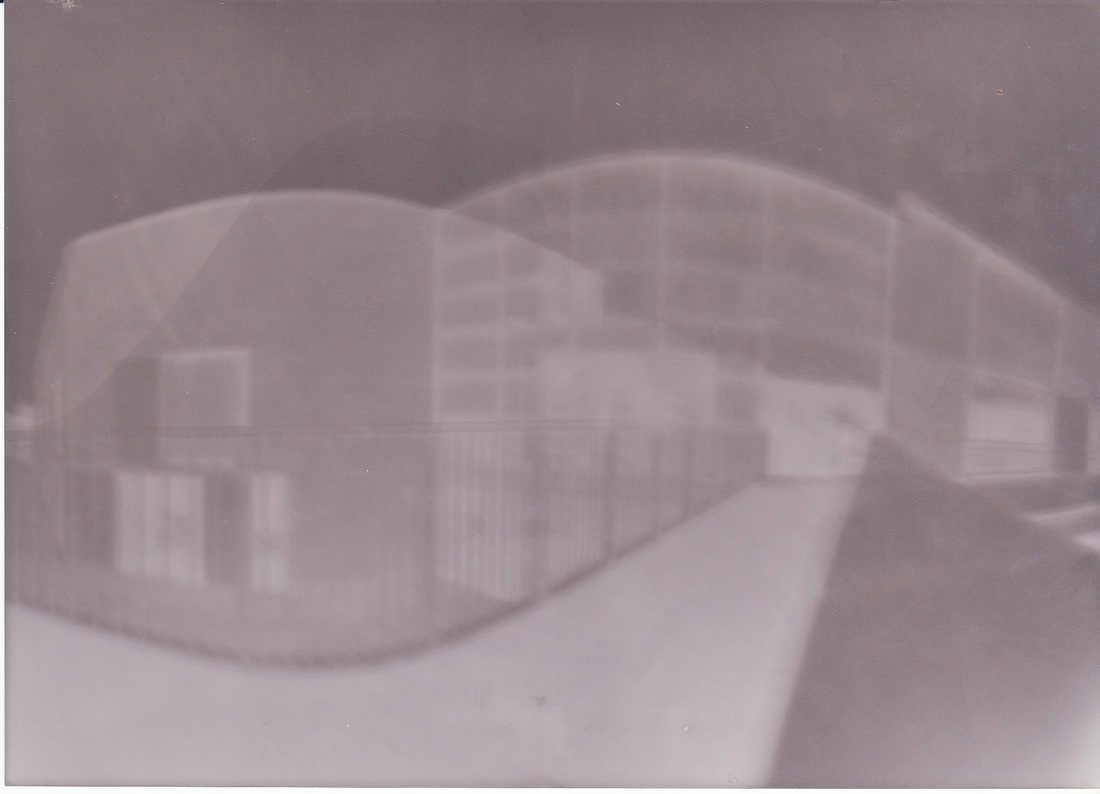
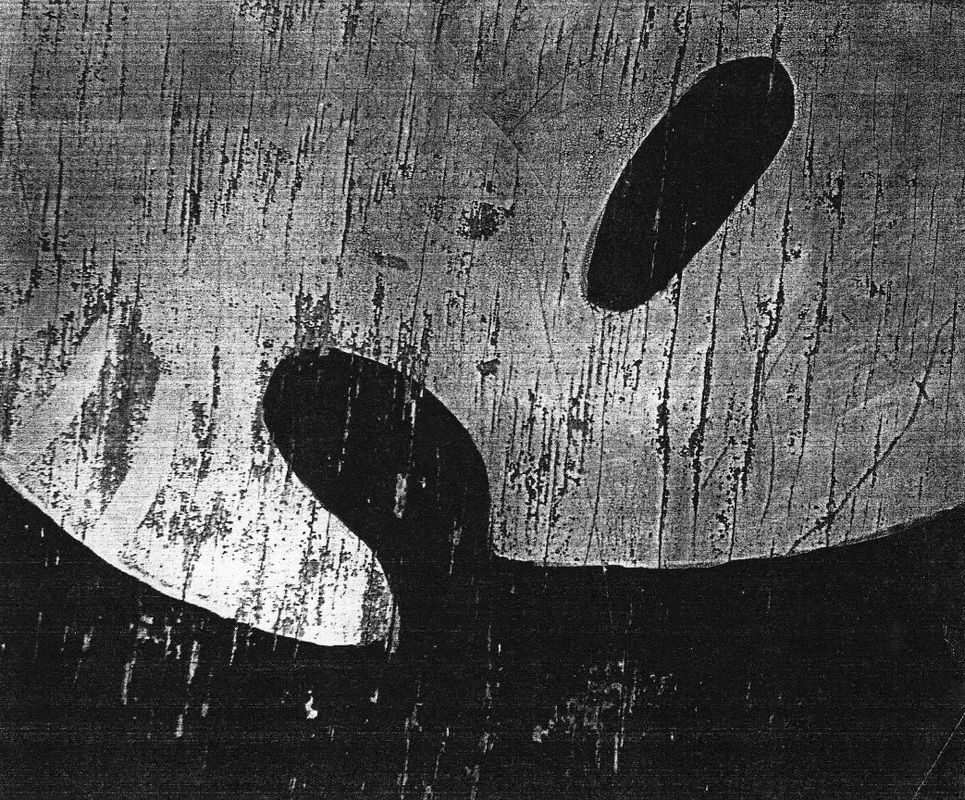
For this image, I decided to invert it however the more I look at the image, the more I regret that decision because we lose the sought of symmetrical illusion, the amount of grey areas are some common they start to form a rather abstract illusion. However when the image is inverted, the illusion is lost and after looking at the invert one, it is hard to see the illusion in the negative one as well. I believed that I need to increase the colour contrast of white and black, so I increased the brightness & contrast.
|
|
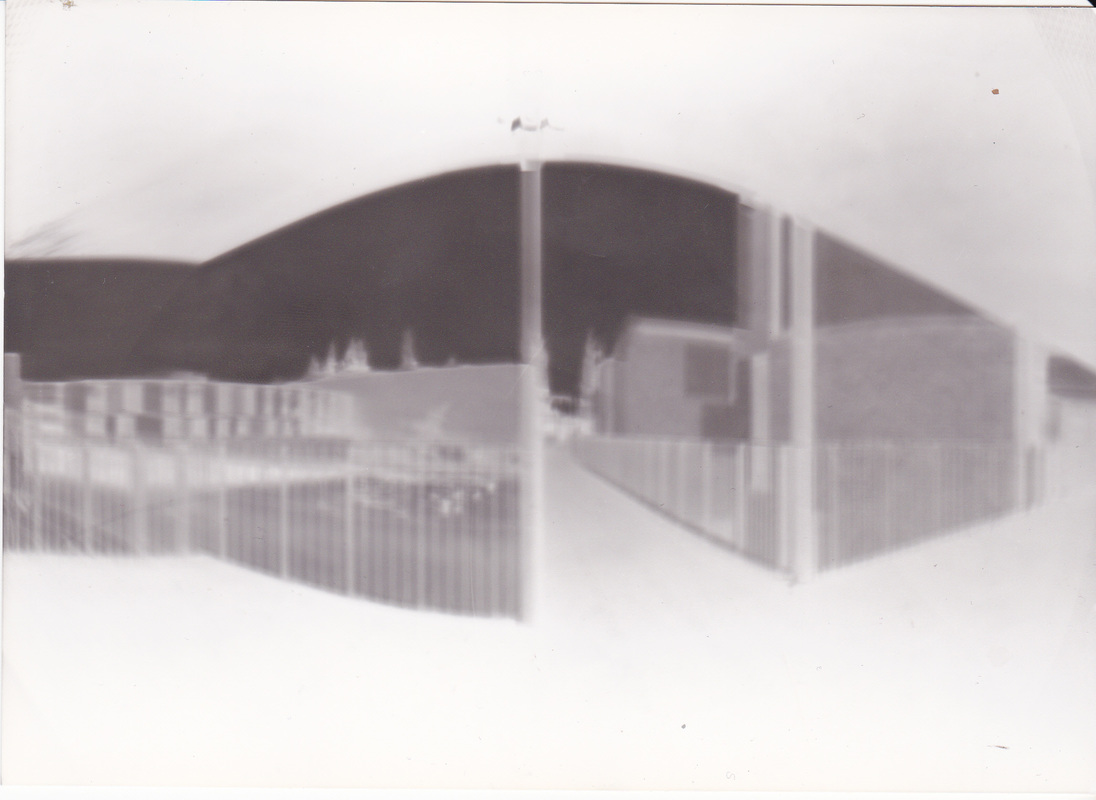
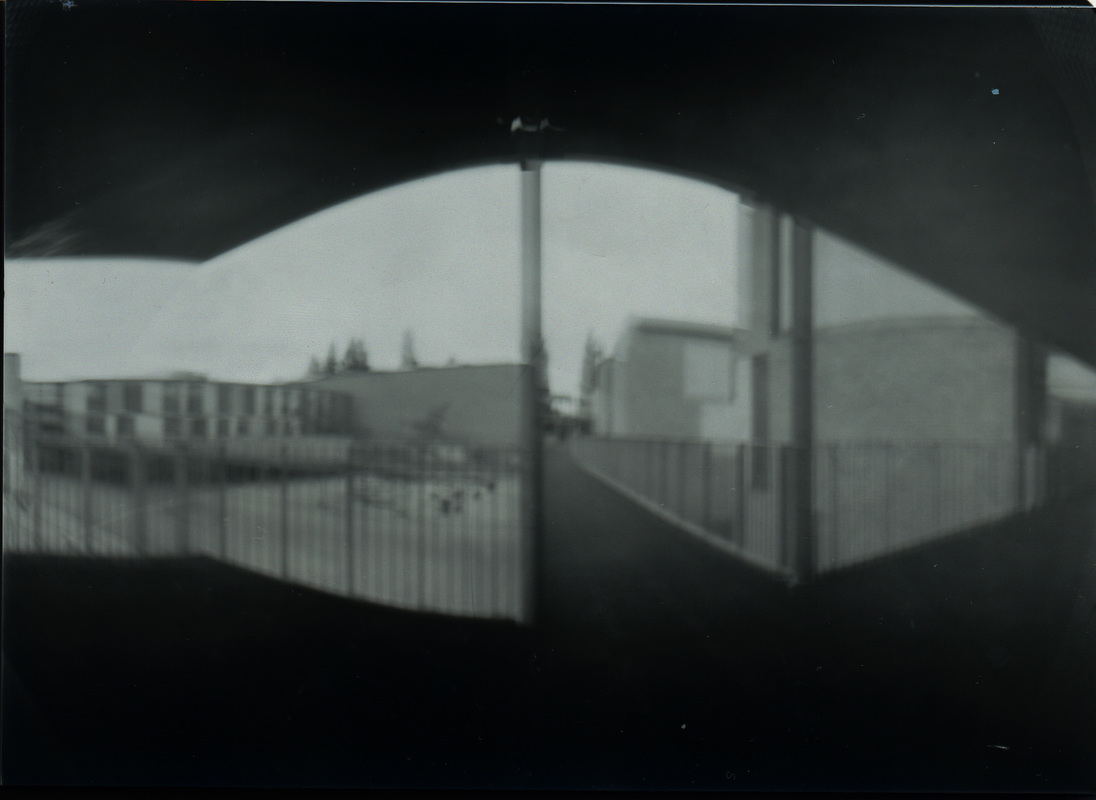
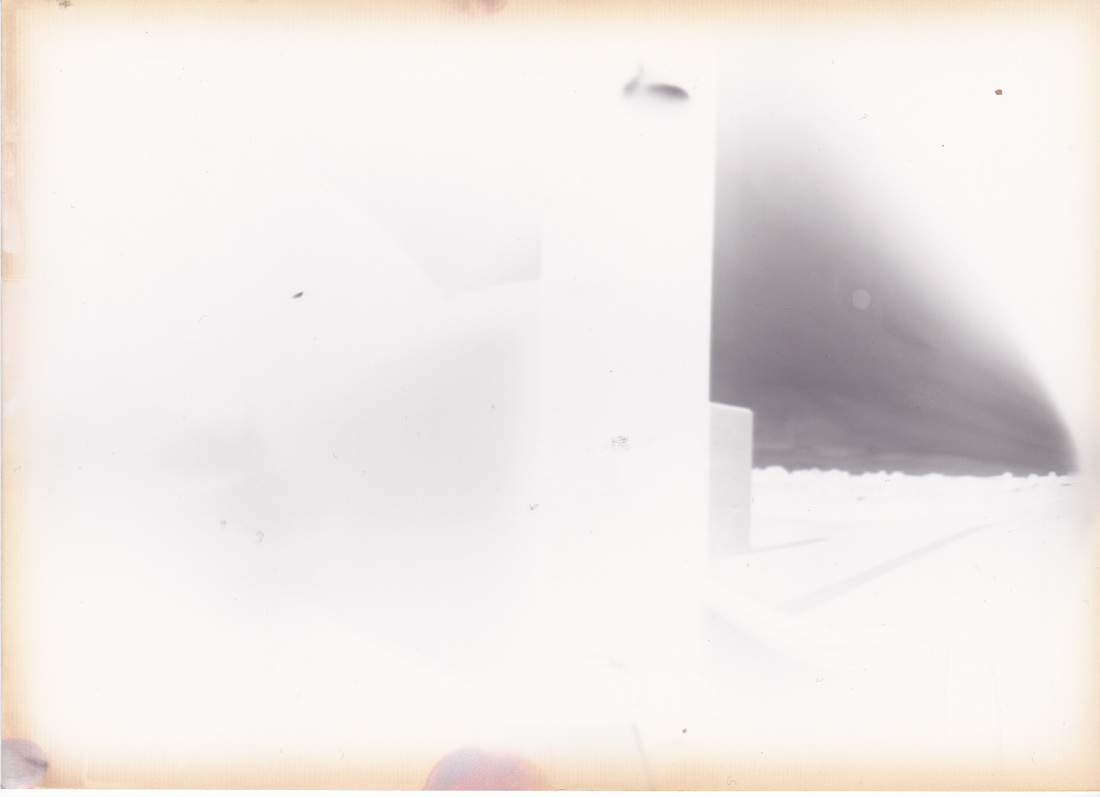
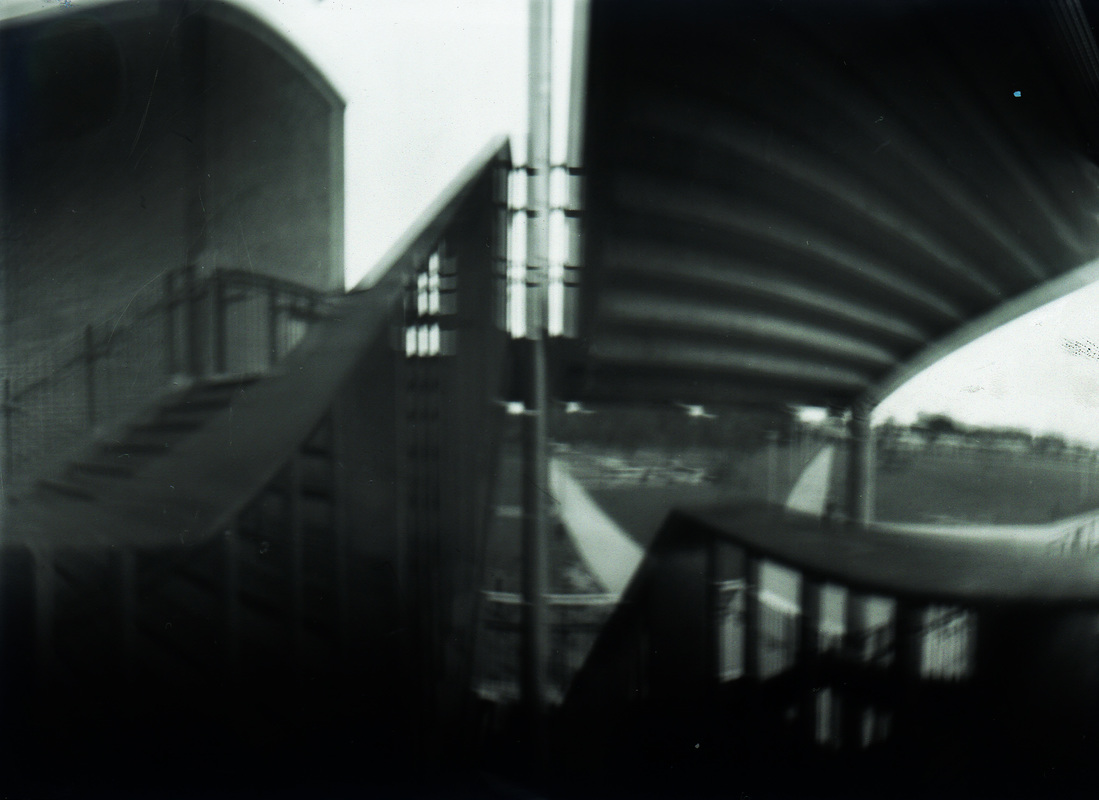
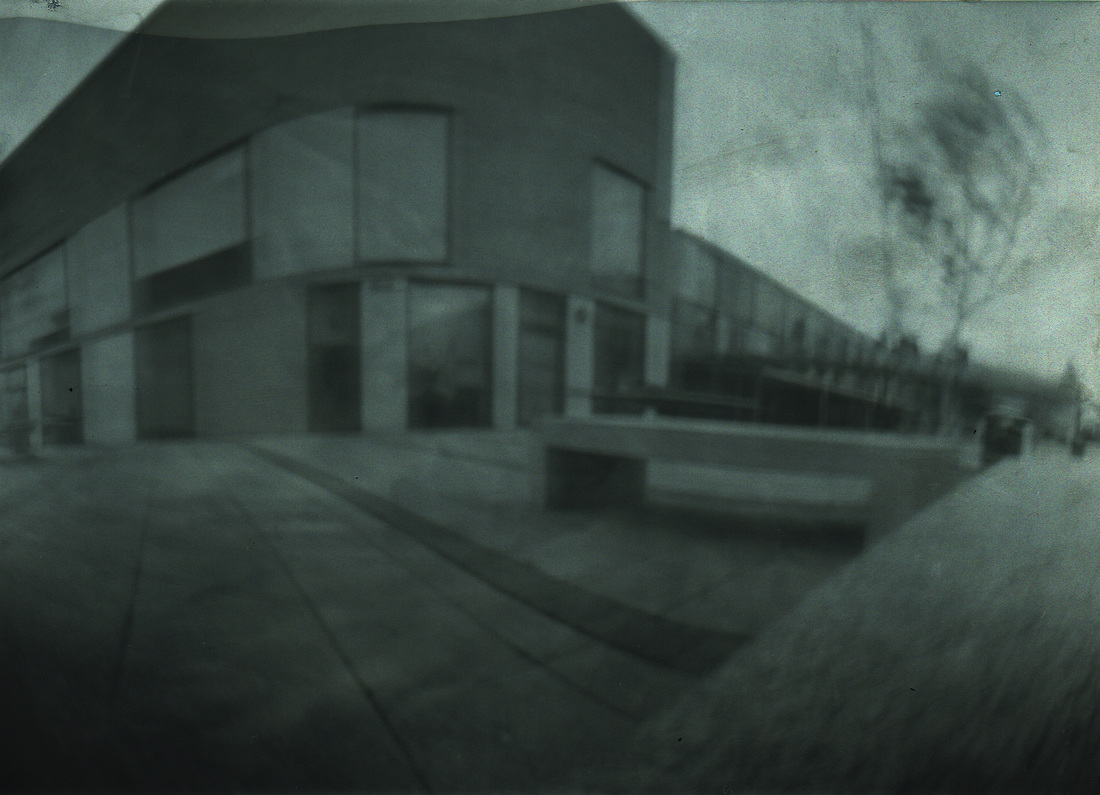
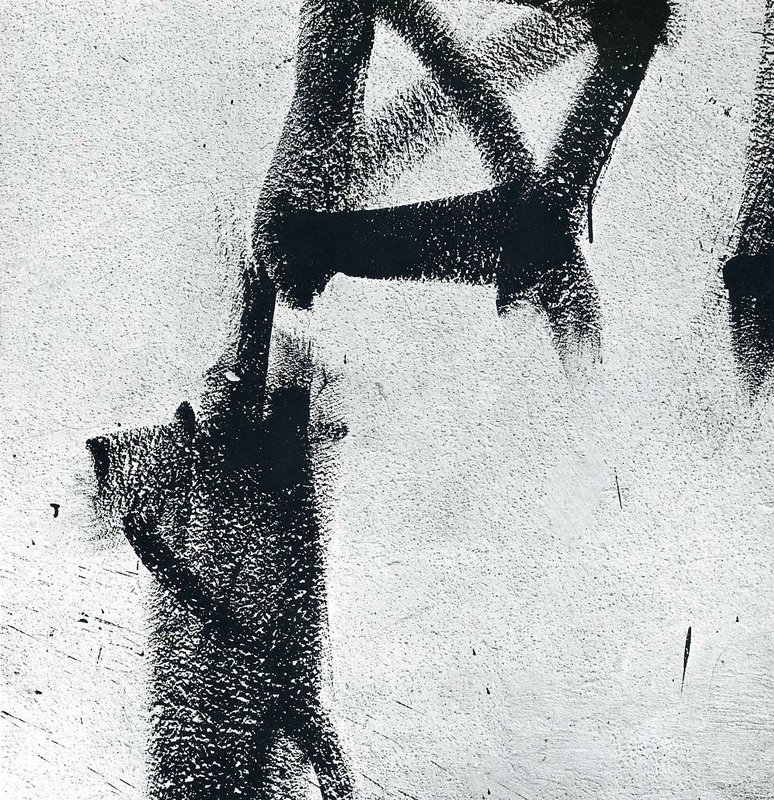
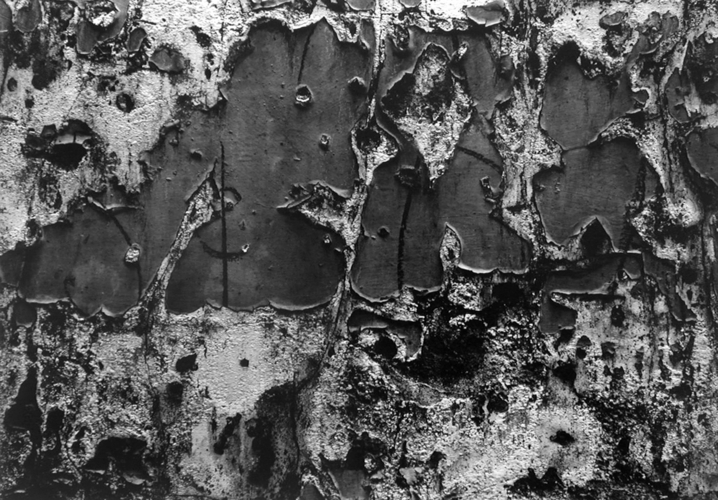
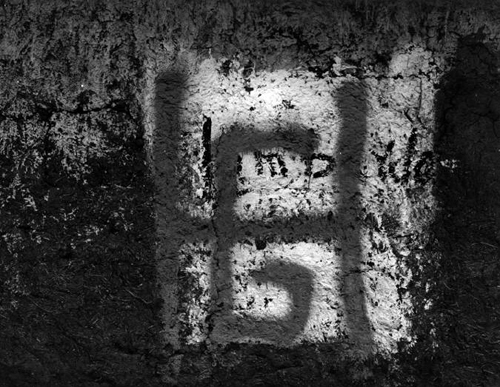
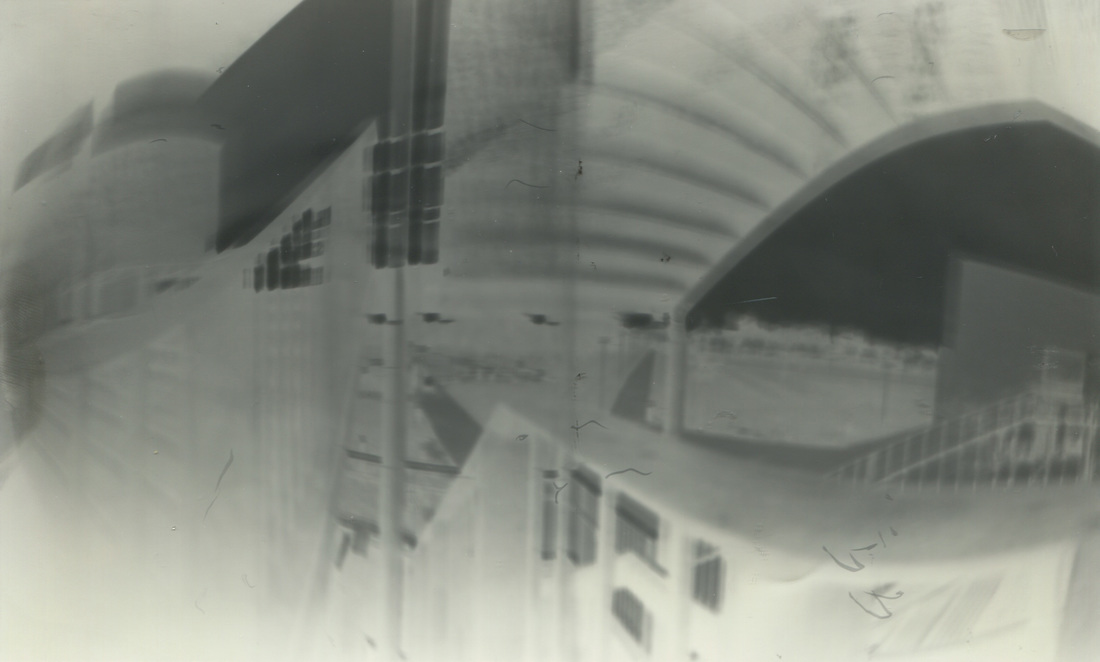
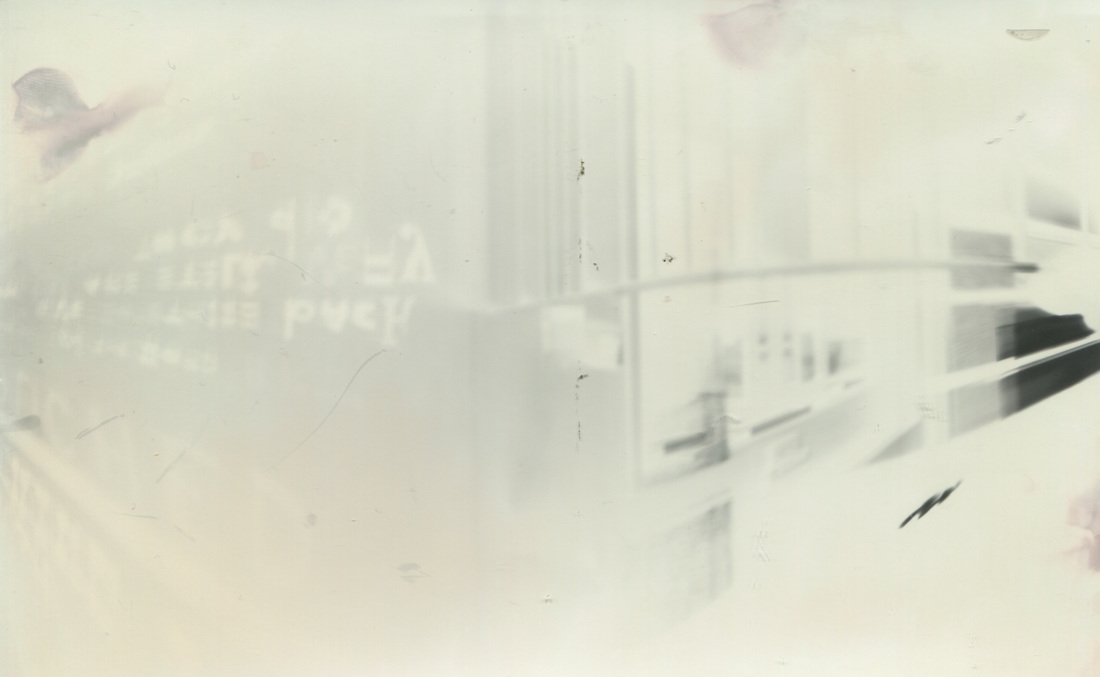
At first I wasn't a fan of this image, I was on the verge of throwing out, however after taking the picture out of the fix, I turned the normal light on so I could get a proper look at the image. I then started to realise that the camera deciding to focus on the wall, rather than the windows. As a result there is a sought of dreamy illusion to this image. We could see the writing on the wall, if you look closely at it. Another aspect I'm really fond of in this image is the wide angle effect, the short of fish-eye effect, you will notice the writing in the middle is sought of rounded. That is because how the light rays have entered through the pin hole and have then gone onto the photographic paper which is rounded. However after editing the image, we started to lose the effect.
|
|
|
|
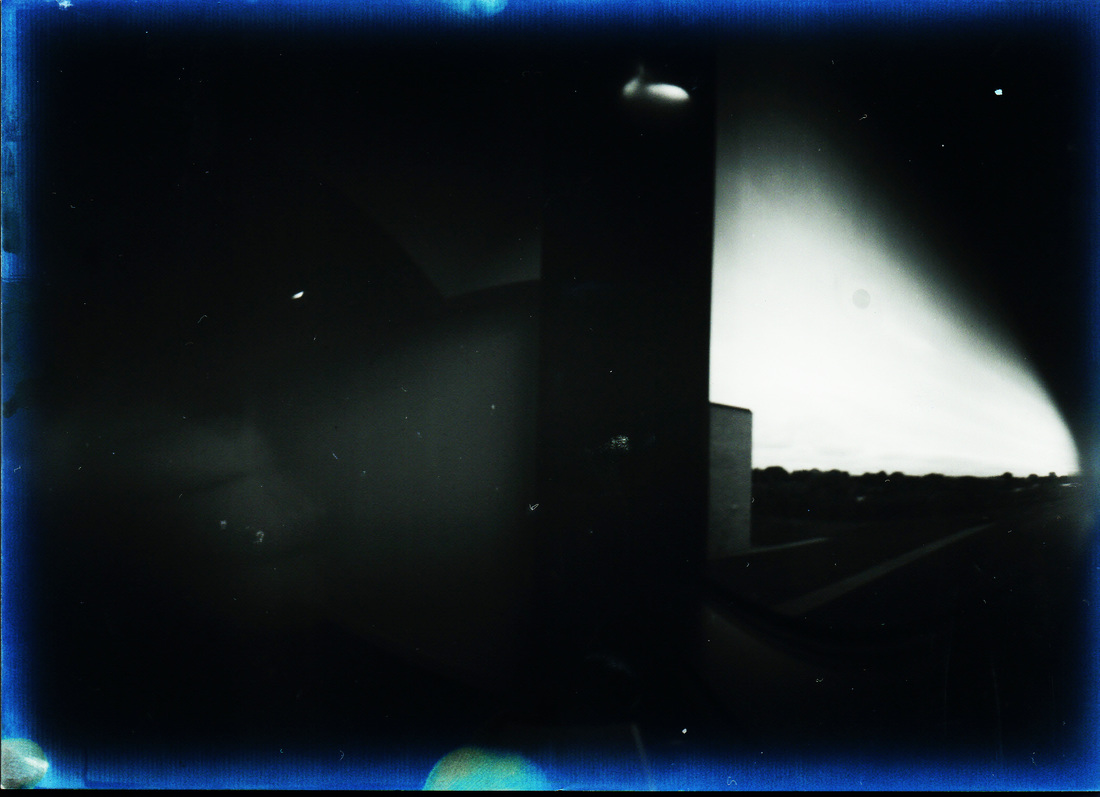
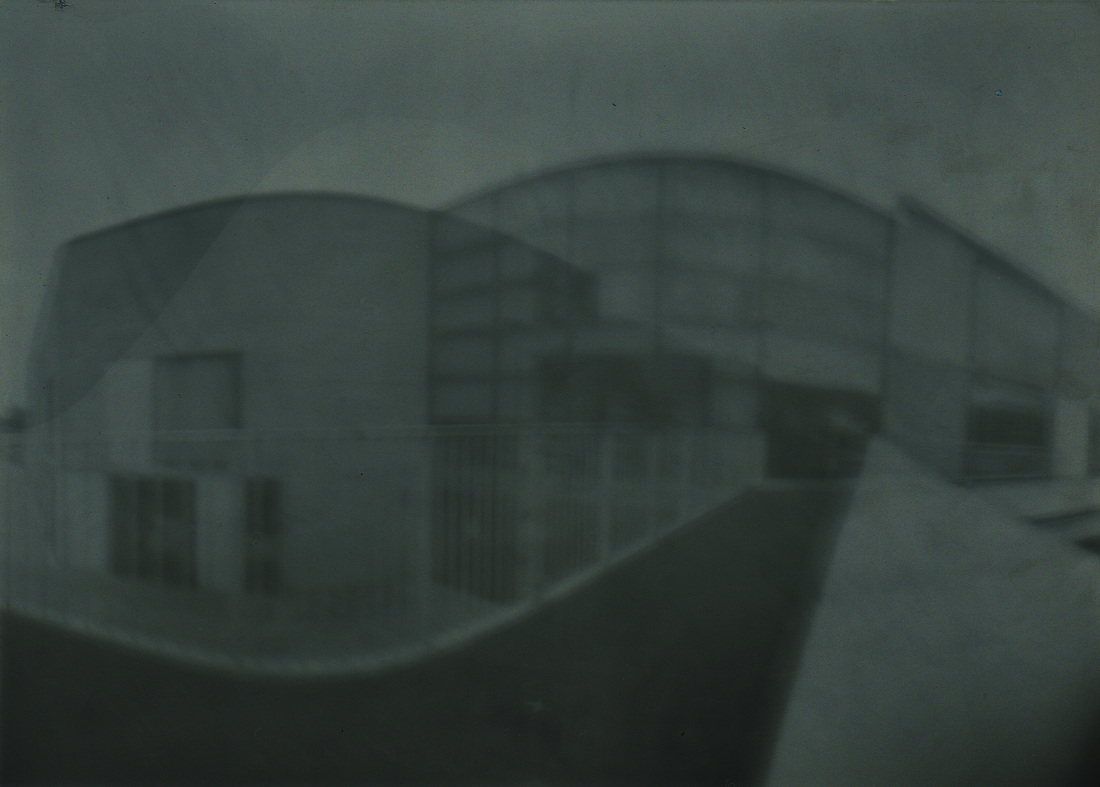
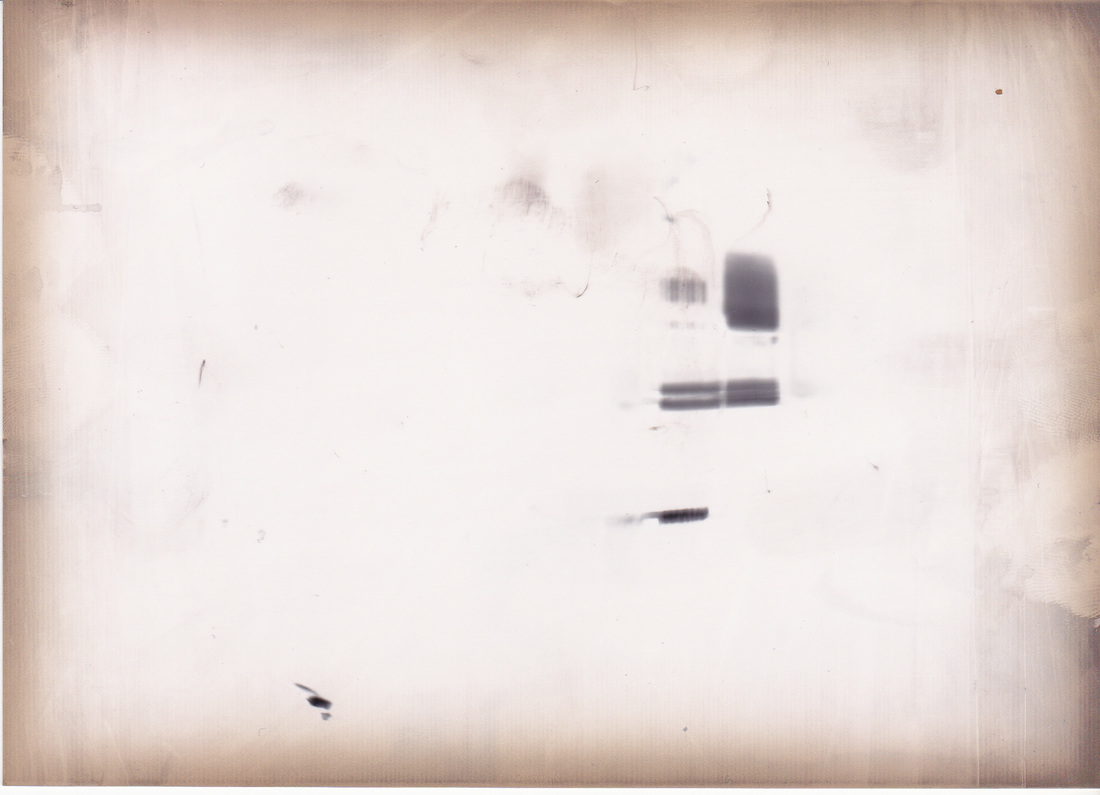
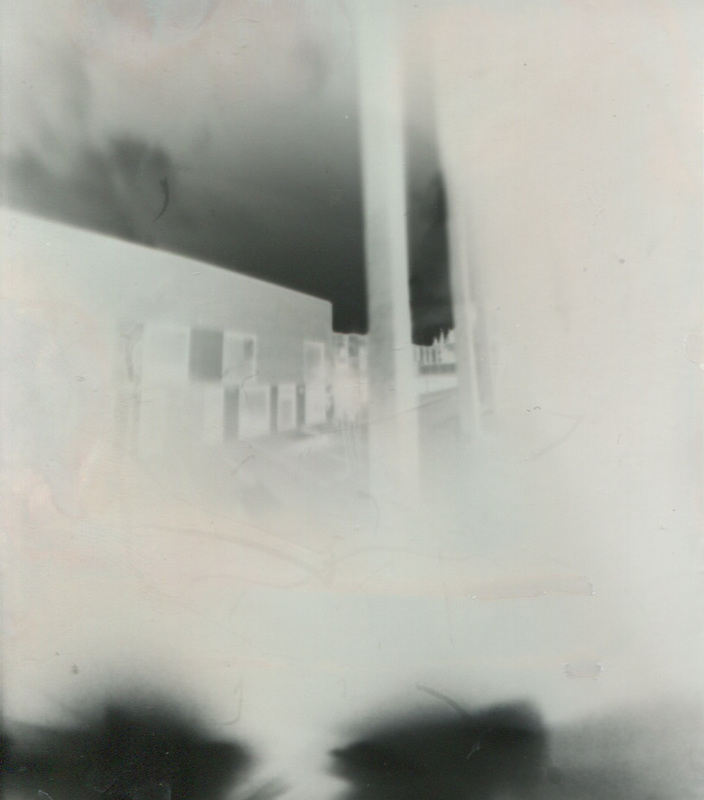
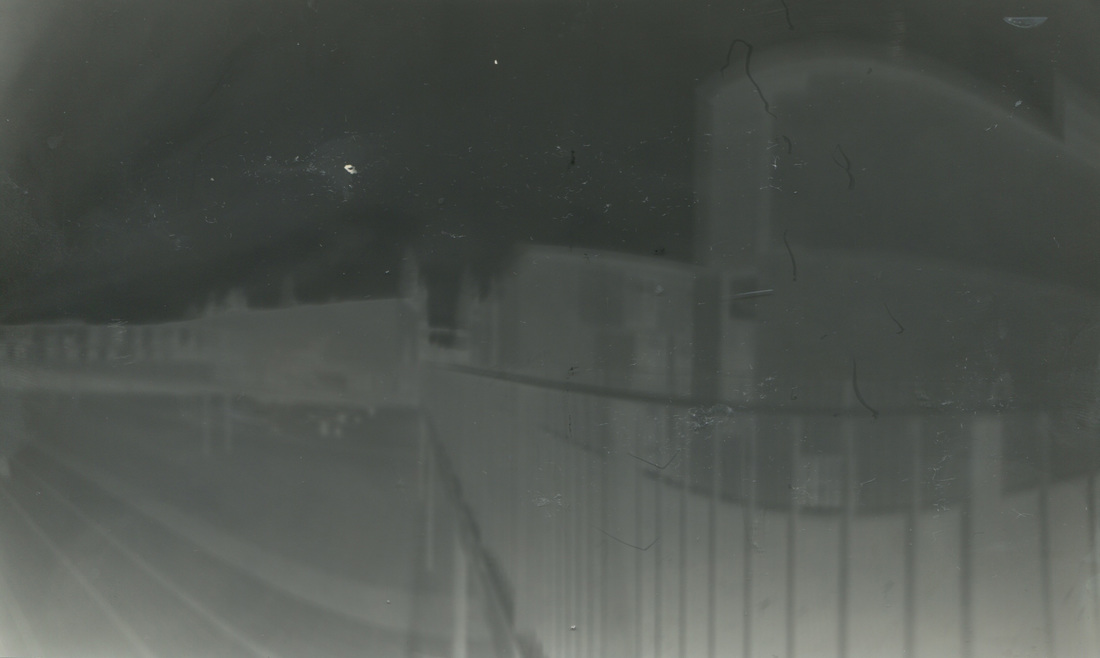
I feel that Photoshop sought of saved this image. At first I had exposed the image for too long, to the point where the building literally just looked like a white rectangle. However by inverting the image, you start to see some detail on the building, also when you invert the image we can also see the clouds in the sky, which by looking at the image, we have captured some movement with the clouds, because it looks like a small trail of motion blur in the clouds wake. I also like the circular effect which has probably been created by the actual pinhole, it gives a sought of feather effect. Which some people experience when they are having a dream. They experience a circular border/feather.
|
|
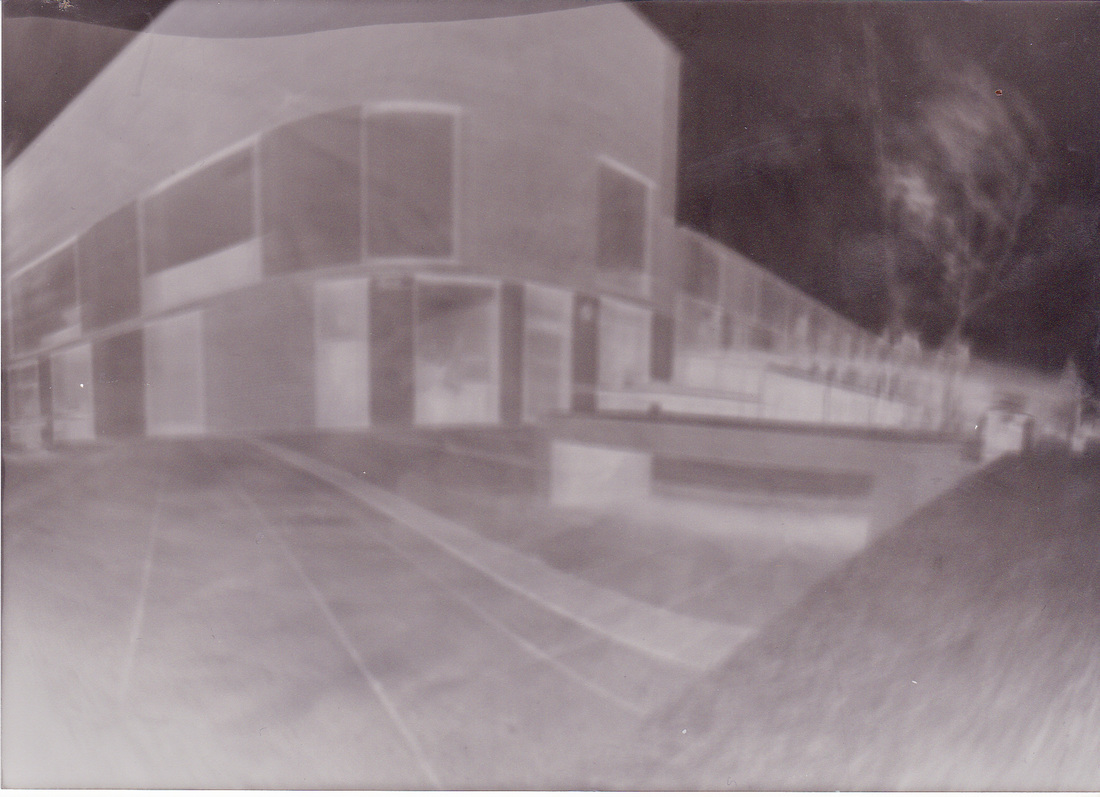
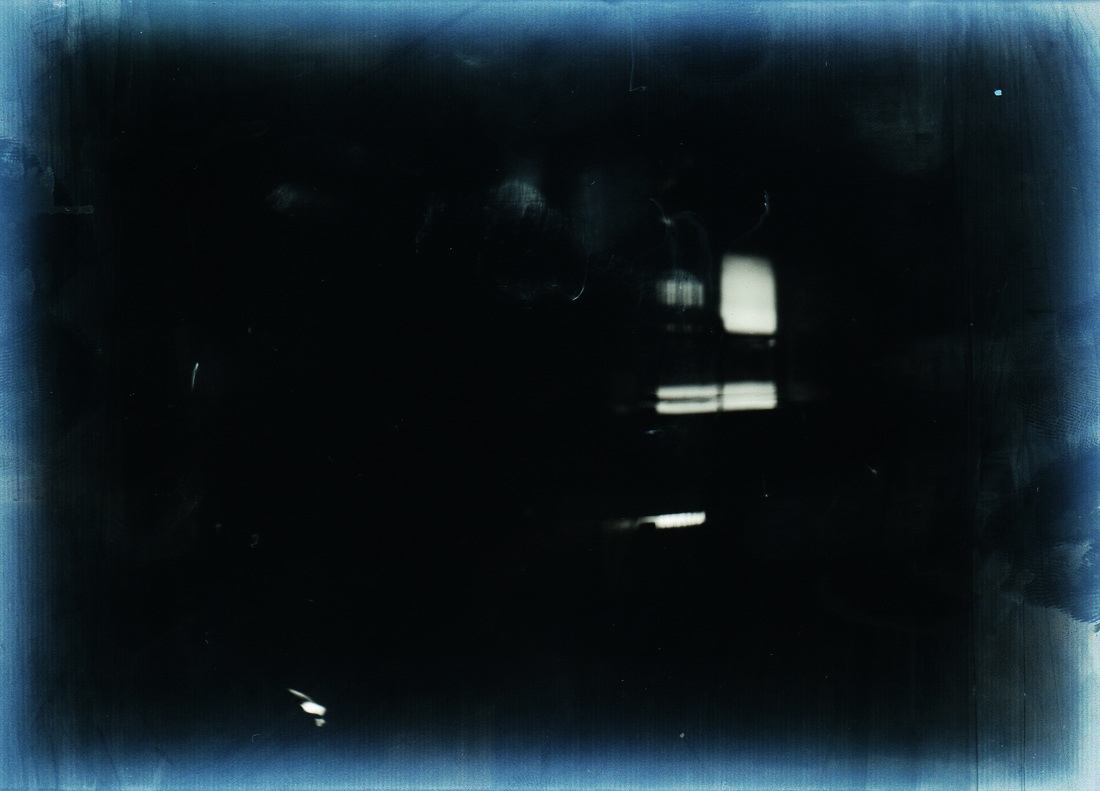
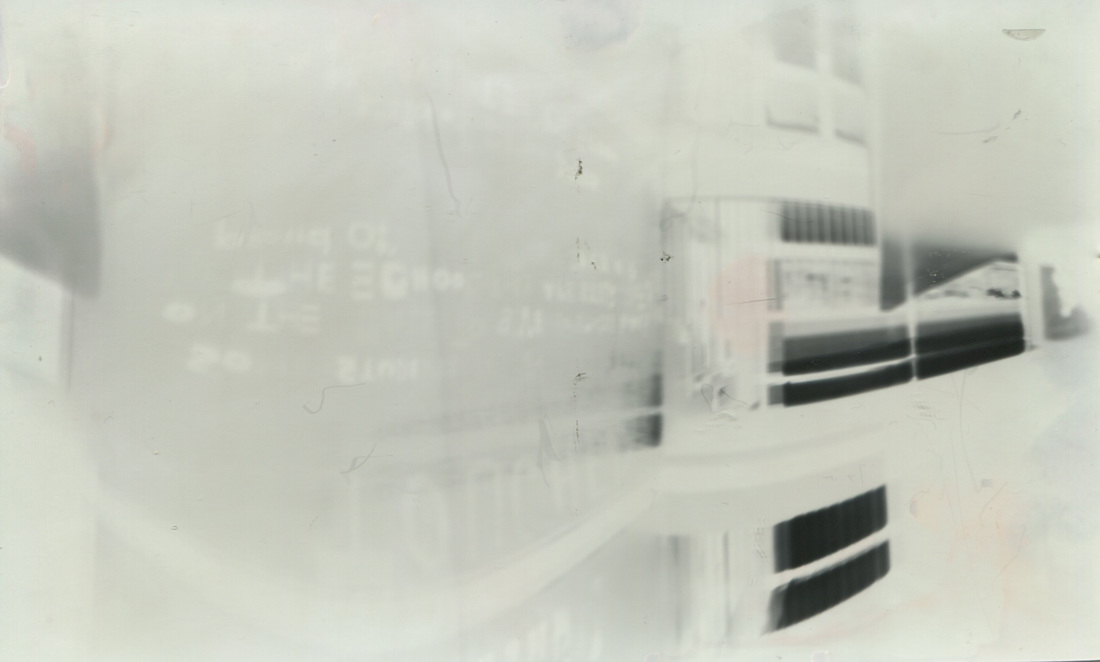
With this image I decided all I needed to do with image was invert it. This was because I wanted the writing on the wall to be readable on the wall, I wanted to start to look like a proper photographic image, like the one above. I really like it that I have scanned this 'upside down'. The reason why is because looking at this image upside down makes us feel like the actual camera, we're taking in the light rays and the image is upside down because the top section of the image is coming downwards and the bottom section is going upwards. Also with the image being upside down, there is a certain abstract and dreamy feel to it. Especially with the inverted image this is because people will look at the writing and possibly want to look at it and work out what the writing is saying. However it's upside down. So it will be tough.
|
|