What does it Mean?
The clue is in the name but the point of this procedure is taking photos the very old fashioned way. Without the use of a Film Camera, a DSLR, a phone camera or whatever. Basically all 3 of these have to be exposed to light. Whether that is Sunlight [Cyanotypes], Natural light [Chemigrams] or an Enlarger [Photograms] they all work via the same principle, a Chemical Reaction.
Photograms
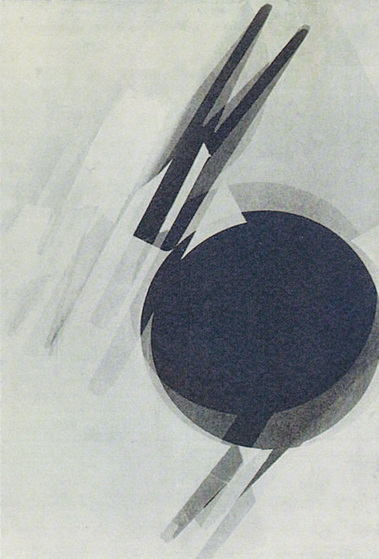
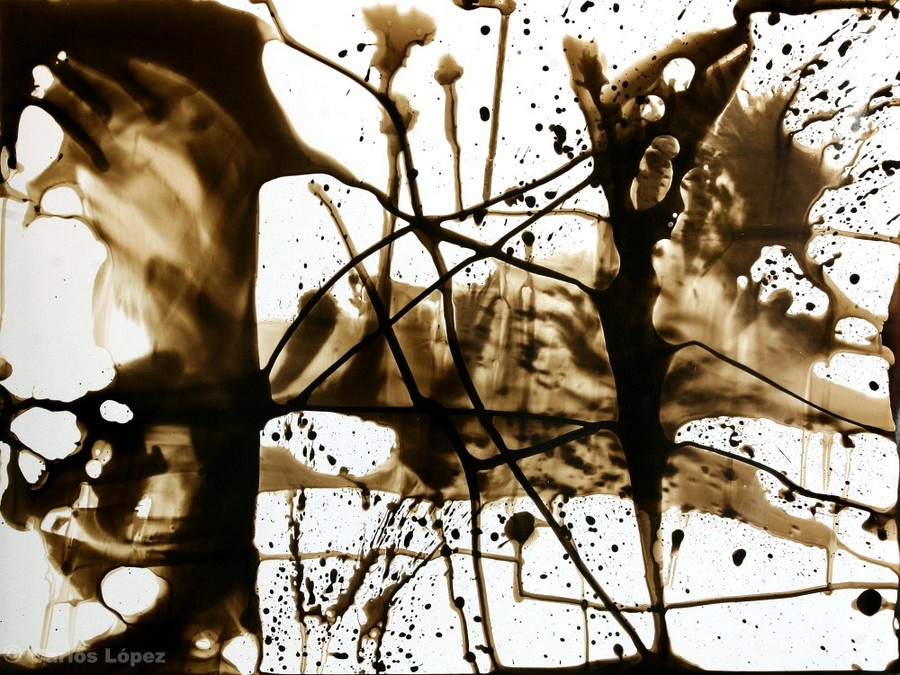
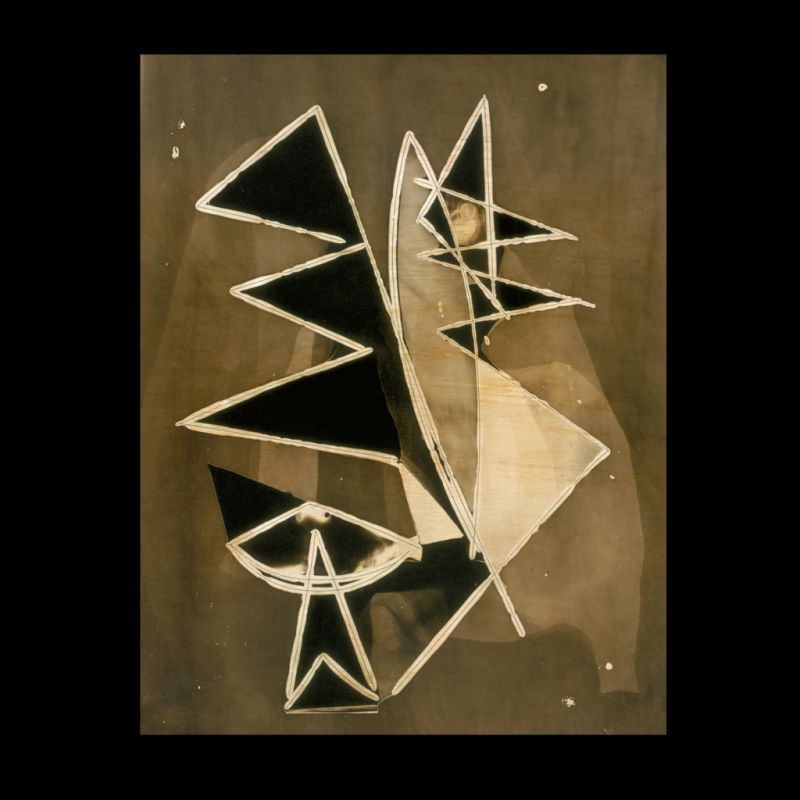
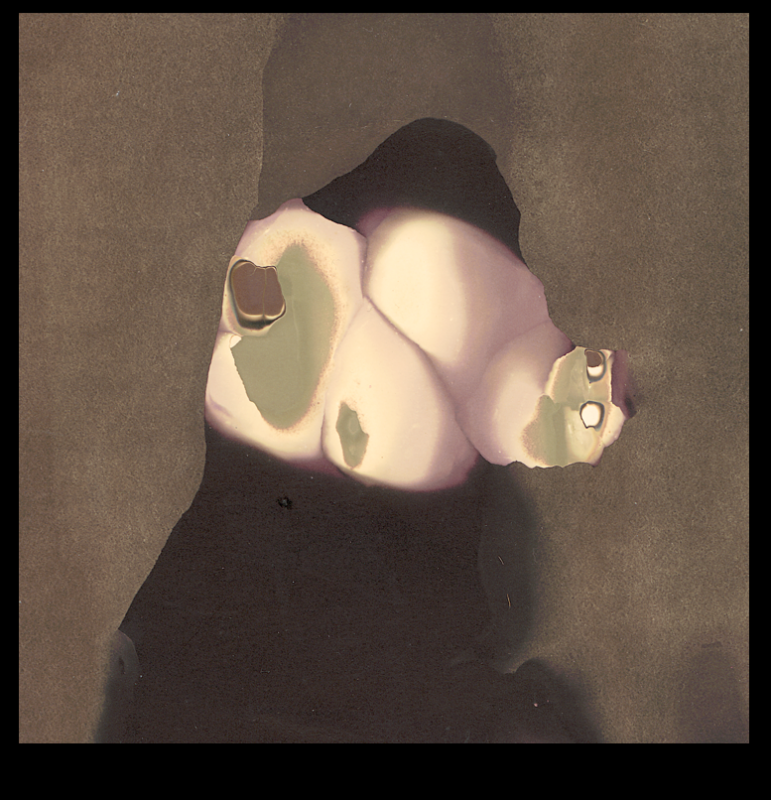
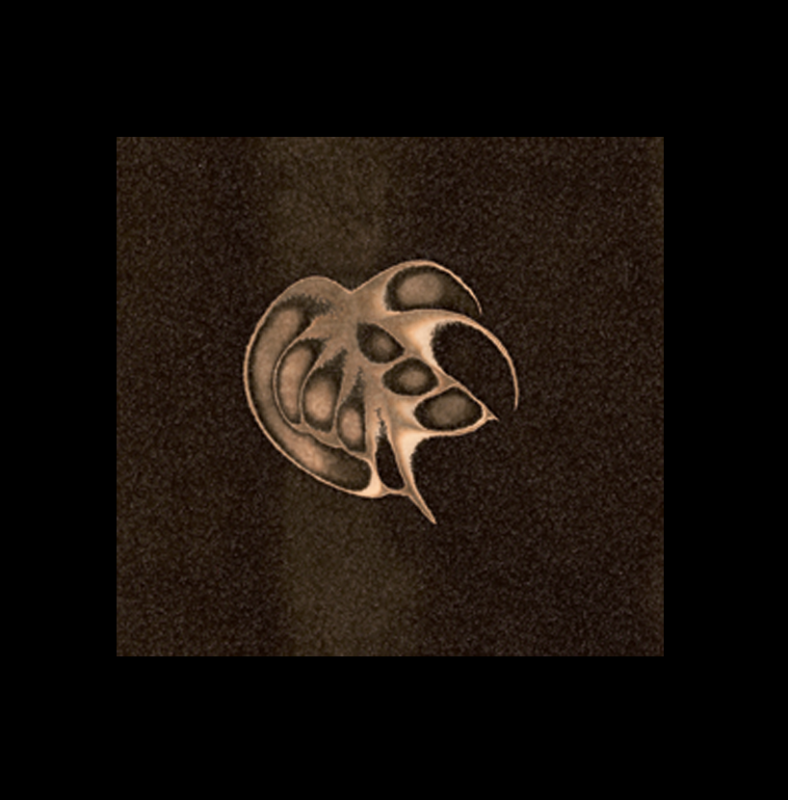
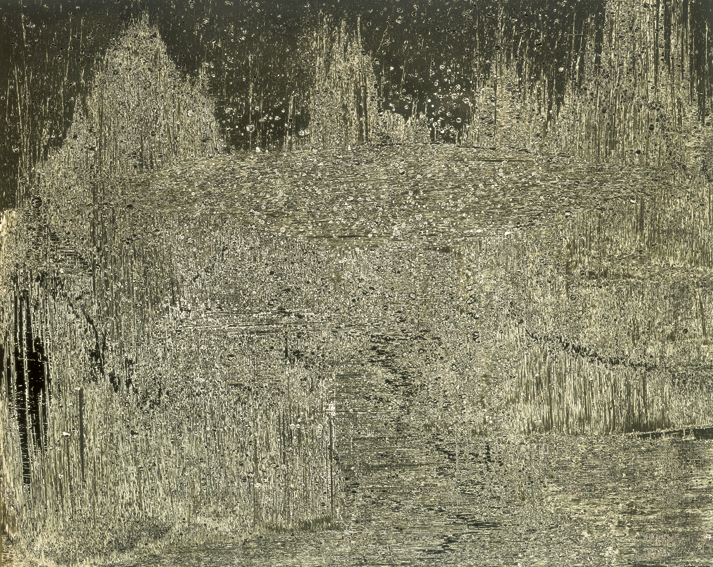
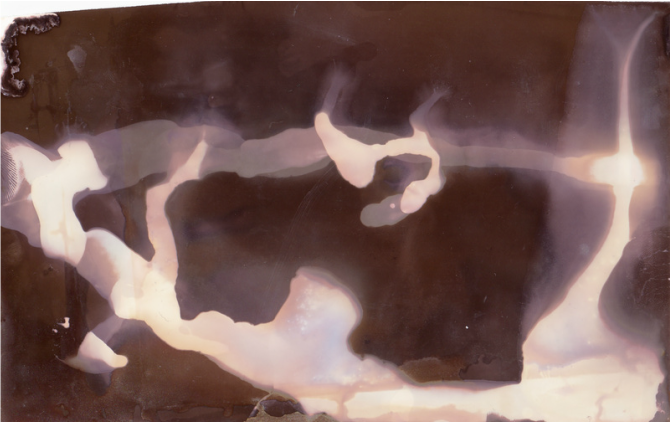
The first thing I'm going to do is talk you through this Photogram which was made by Frederick Sommers.
This is a Photogram. Photograms are made in a similar way to Cyanotypes, however the only difference is that, with Photograms, you NEED a darkroom because rather than light sensitive paper, you use Negatives instead. However one similarity to Cyanotypes is that the area that isn't covered up with an object is exposed to UV Light, however they turn black after being exposed to a developer, and the areas that are covered up turn stay in this case. When you make these you first put your Negative underneath a projector, before you get the negative out of the light protected bag, you must make sure that the Forensic red light is on because if a normal light is on, the paper will be exposed the second it leaves the bag and it will be useless. You pout your objects on top, lets say for example a few already exposed Negative strips from a camera, a few rulers with numbers can form a really good exposure. Once you have laid them out, turn the projector on for lets say 2 to 4 seconds. It will be over-exposed if longer then 6 seconds and it will appear a light brown colour rather than black. After the projector switches off, put the Photogram in 3 different chemicals [Developer, Fix and Stop] after those simply rinse it in water and then leave it to dry.
This image consists of a mixture of Solid and Incomplete shapes which appear to be hovering over the Photogram the reason why I believe some of the lighter areas are hovering on the Photogram rather than touching it is because, if it was touching it would be solid black however it is a short of grey with a hint white, this shows that the object plainly wasn't touching the Negatives. At first there appears to be a complete circle of area exposed to light however there is what appears to be a triangle at the top of it so this shape is in-complete, one reason why I like this Photog
My previous attempts at Photograms
Below is a slideshow of 3 Photograms I made during GCSE Photography.
How are they made.
Photograms are made in a dark room, using an Enlarger. However firstly you need 900ml of water and 100ml of developer to make the first chemical, Developer. The next chemical is called Fix, you need 950ml of water and 50ml of fix to create the chemical. Then the final chemical called Stop, you need 750 ml of water and 250ml of stop. After that you need light sensitive paper, when in the dark room you have to make sure that the Red fluorescent light is on, because if the normal light is on and you get the paper, the paper will get fogged and then will be useless, they will already be exposed. So you put the paper under the enlarger, one trick [only available on certain enlarger], turn the filter light on, to do this turn the white light on and put the red filter lens over. After this you can move your paper and objects as much as you want and they won't be exposed, IF you keep the filter light on.
So when your satisfied everything is in postion, set the exposure for 3 or 4 seconds. After the exposure remove the paper and put it in the Developer for a minute. It will take around 20 seconds for the image to develop, then just simply leave it in the developer till the minutes up. Next you need to put it in the Fix for a few seconds. Finally put it in the Stop for 10 minutes, this completely stops the chemical reaction. Next rinse it with water and then pull the image through a wiper to start the drying process, then finally hang it up to dry.
So when your satisfied everything is in postion, set the exposure for 3 or 4 seconds. After the exposure remove the paper and put it in the Developer for a minute. It will take around 20 seconds for the image to develop, then just simply leave it in the developer till the minutes up. Next you need to put it in the Fix for a few seconds. Finally put it in the Stop for 10 minutes, this completely stops the chemical reaction. Next rinse it with water and then pull the image through a wiper to start the drying process, then finally hang it up to dry.
And this is the result:
Well known Photographers who use Photograms
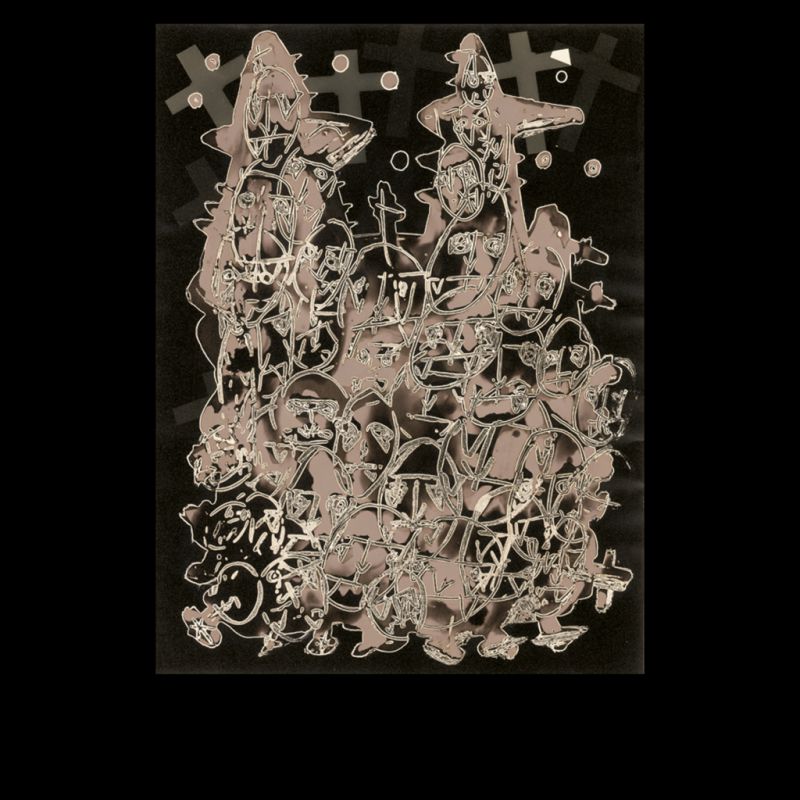
Christian Schad
Christian Schad is a German painter who was also a Photographer because he used Photograms
|
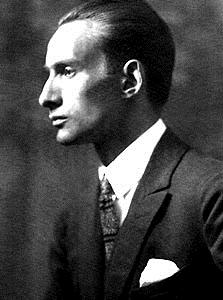
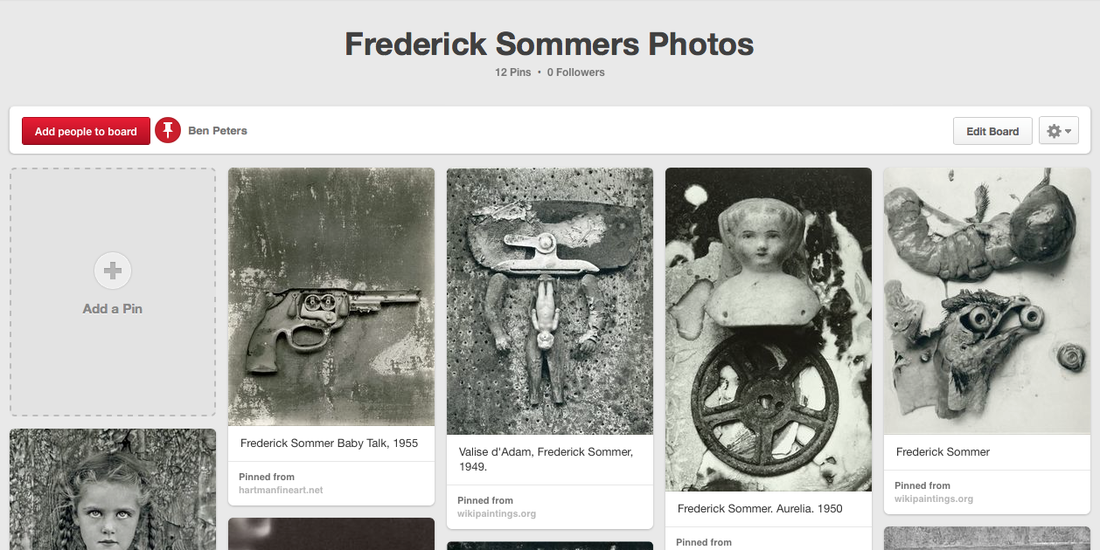
Frederick Sommer, considered a master Photographer is well known fro experimenting with photography in 1931 after being diagnosed with TB the year before.
Whilst researching him I found a few of images taken my him in the Tallis Arts Surrealist Photography Board. |
Below is a board about him on my Pinterest page.
|
Man Ray Born:[Emmanuel Radnitzky]
Man Ray is an American Modernist, who spent most of his life in Paris, France. There is a biography of Man Ray. Man Ray is also known for his photograms some of his most popular ones are located on my Pinterest board entitled 'Photograms by Man Ray' [link below]. Despite Photograms being his most popular venture, he still called them Rayographs. Which is why people call them Photograms & Rayographs. He call them Rayographs because of the word 'Rayo' he believe if people heard it ias
Despite being considered a Photographer [or Camera-less photographer] he was actually inspired by the works of Picasso and Marcel Duchamp, who he personally met.
Ray was a leading figure in the Dada movement in New York.
Despite being considered a Photographer [or Camera-less photographer] he was actually inspired by the works of Picasso and Marcel Duchamp, who he personally met.
Ray was a leading figure in the Dada movement in New York.
Favourite Man Ray Photogram
|
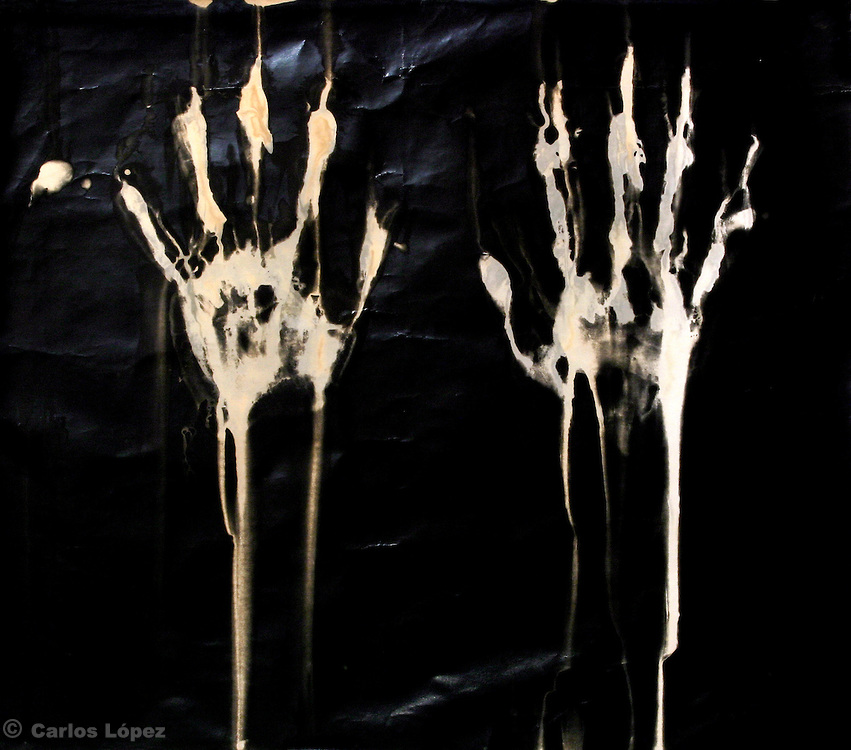
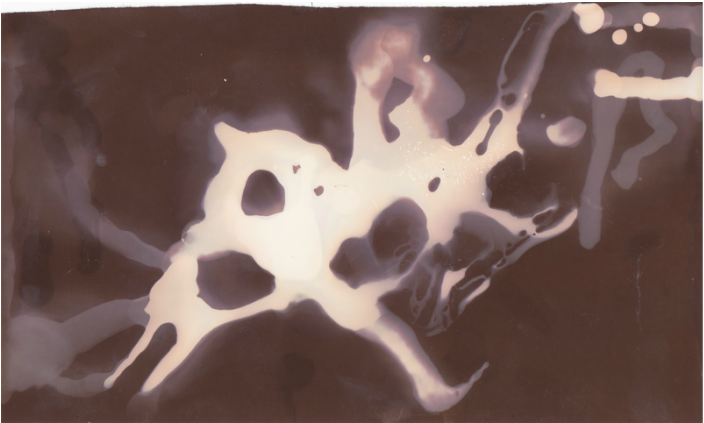
On the right is my favourite Photogram by Man Ray. One reason why I love this one is because from looking at the Negatives you can tell that these film strips aren't actually touching the light sensitive paper. They are hovering over it because there are quiet blurry, out of focus. Also if they were making contact with the paper they would be completely white, with grey areas showing what is on the Negatives. Whereas they are mainly grey rather than white.
Another reason why I like this image is because even though quiet hard you can see the content of the Negatives in this Photogram. I always like this with Photograms because it makes them look abstract. Hard to tell what the object/content is. One final reason why I like this is because the levels of colour of the negatives is varied. Towards the centre it is quiet bright whereas on the side they are more grey rather than white. Also in the top right corner and at the bottom they are really transparent. They look like they are moved during the exposure to light. |

|
How does Man Ray link to Contrast?
The reason why I believe Ray links to Contrast is because his Photograms only contain 2 colours, black and white. Also most of his have got a 50:50 mixture of exposure and non-exposure. That is why I believe Man Ray and any Photographers who make Photograms link to Contrast.
Cyanotypes
Anna Atkins
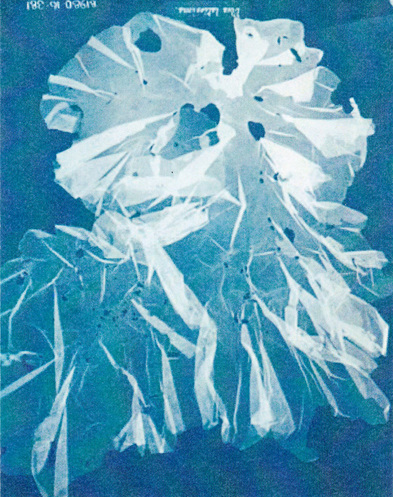
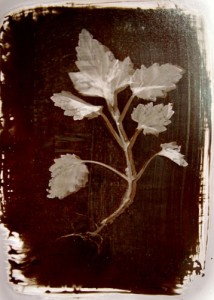
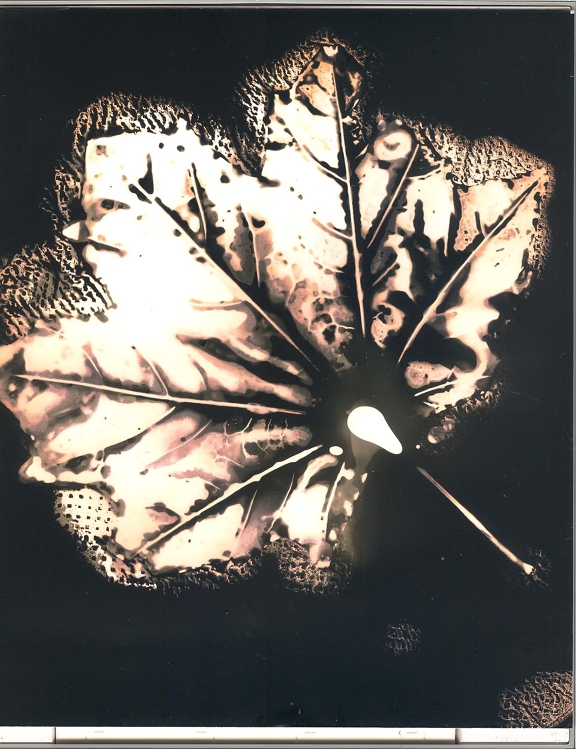
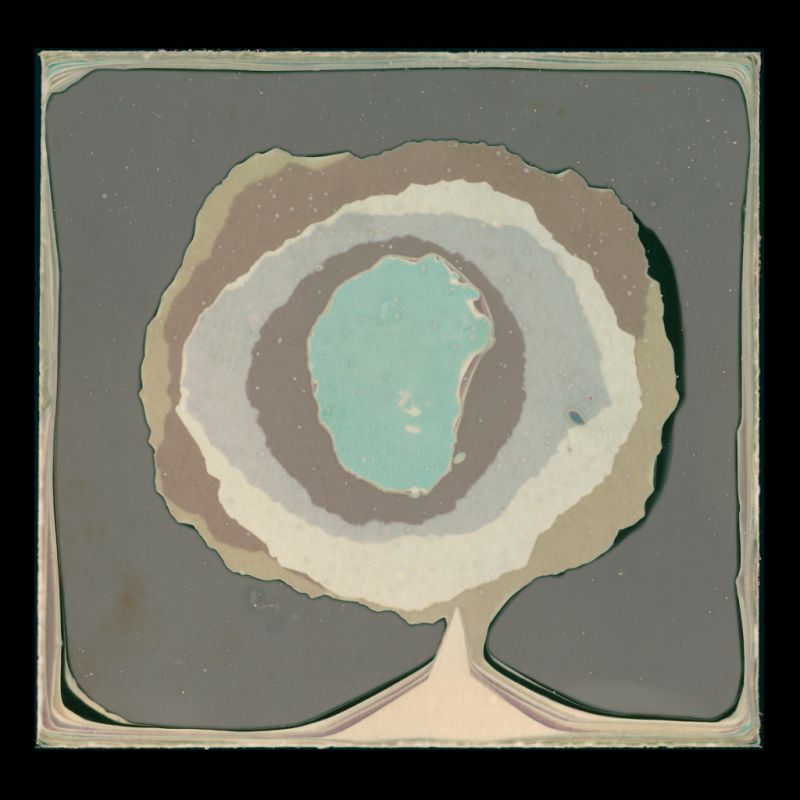
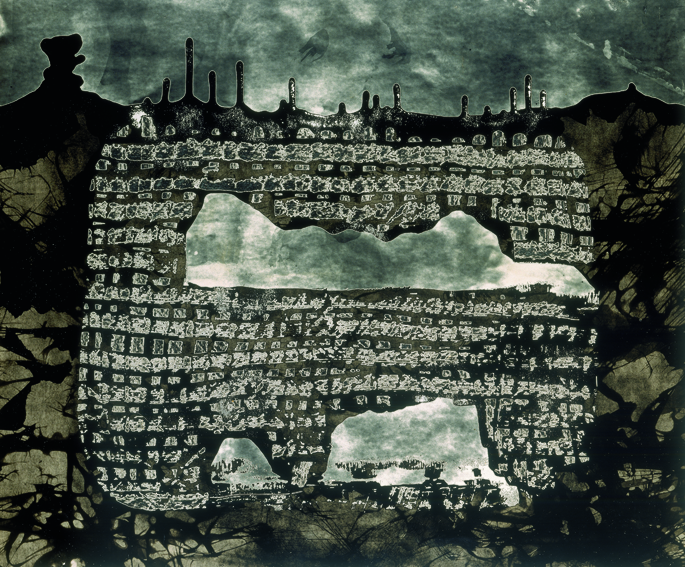
This Cyanotype was made by Anna Atkins. Atkins was a British Botanist, she believed that the best way to study plants was through Photography back in the 1800's because back then, the only way to study them was to draw them, which would take hours to get a good amount of detail however a Cyanotype would be very quick compared to drawing it. Atkins was the first person to put photos into books, her book "Photographs of British Algae: Cyanotype Impressions".
You can immediately tell from looking at this Cyanotype that not all of the unexposed area was touched, this is because if it was covered with a solid material touching it, it would be completely white, whereas it is grey with a dew shades of white. This indicates that something was being held over the light Sensitive paper but not touching it. That is why I like this Cyanotype.
You can immediately tell from looking at this Cyanotype that not all of the unexposed area was touched, this is because if it was covered with a solid material touching it, it would be completely white, whereas it is grey with a dew shades of white. This indicates that something was being held over the light Sensitive paper but not touching it. That is why I like this Cyanotype.
Below are a few photograms that Anna Atkins included in her books.
How are they made?
Cyanotypes are made via a Chemical Reaction similar to Photograms. However one difference between the 2 is that with Cyanotypes you don't need a dark room, it can be done outside.
Firstly with Cyanotypes you paint the light sensitive chemicals onto the paper. After that you need to put it into a light sensitive bag.
It doesn't really matter if it gets exposed before the image is assembled but it can be better if it isn't exposed. After you have layer out your objects put the paper underneath and expose it for 3 to 4 minutes. You will realise that the image will turn a light blue colour. After it is exposed take it to a tap and rinse it under the water for a minute. Then the light blue should turn a dark blue colour. This stops the chemical reaction. Finally put the image on a drying rack and leave it for around an hour. And then it should be completely dry.
My current Cyanotypes

Chemigrams
|
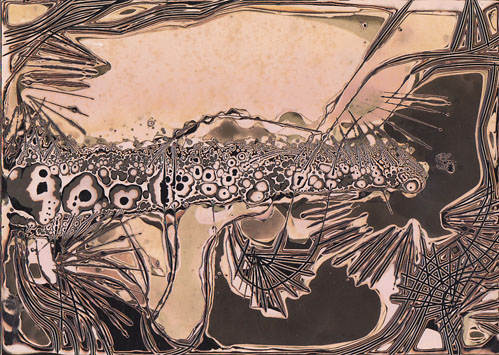
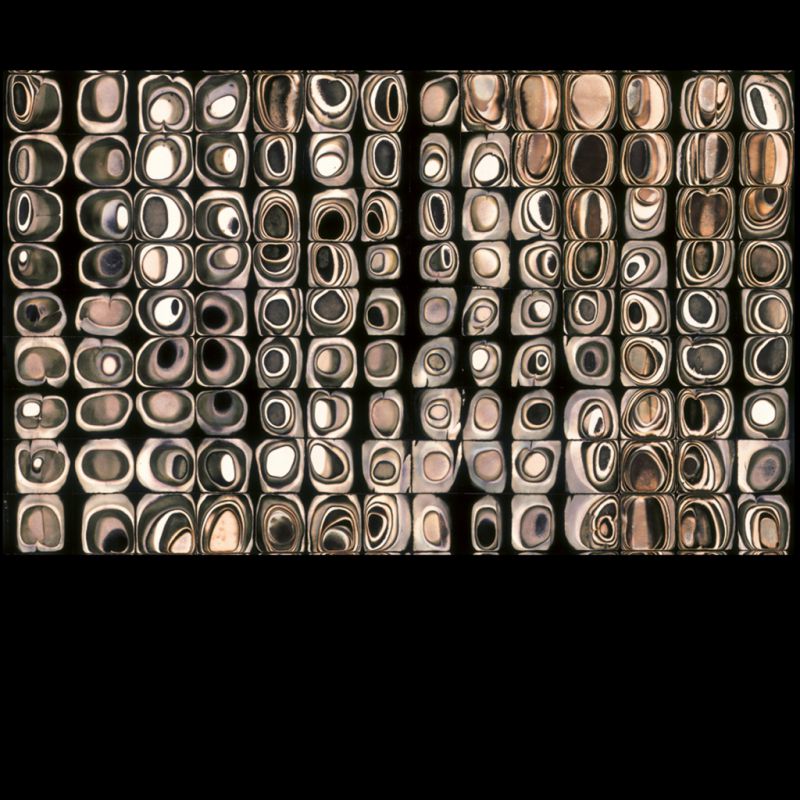
Cheimgrams were invented in 1950's be a Belgian artist called Pierre Cordier.
Chemigrams [Greek for 'Things Written'] is another Camera-less photography technique that involves Photographic paper. You use the same paper that you use for Photograms and Pin Hole Photography. However one slight difference between them. This can be done outside of a Darkroom. You can get out a pack of 60 sheets of paper. And you could simply put the Developer or Fix onto the paper and then put it into the developer. You can either go mad and just put chemicals all over the paper or you can dip object into the developer or fix and place it on the paper. Leave it for a few seconds then develop it. Either way after it has been developed, rinse it under water to stop the chemical reaction. After it has been rinsed simply leave it to dry. The final product usually resembles a oil coloured painting. |
|
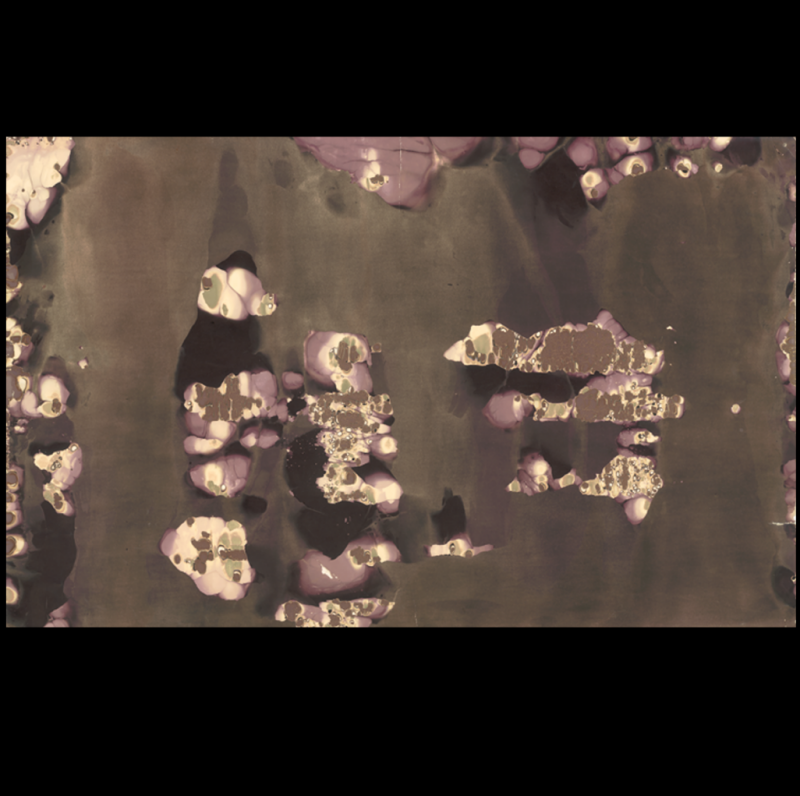
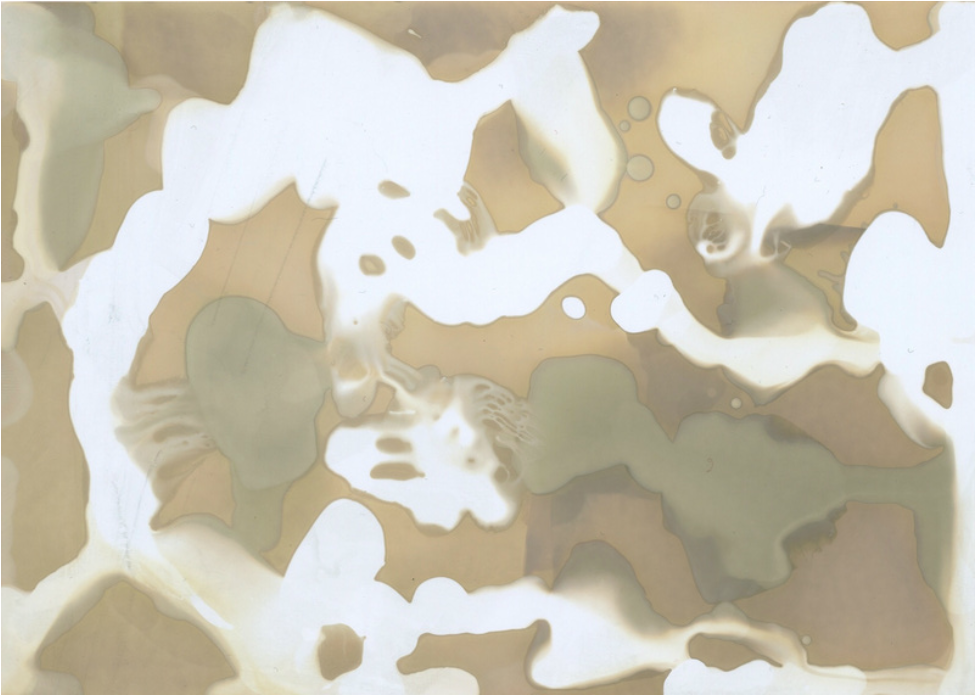
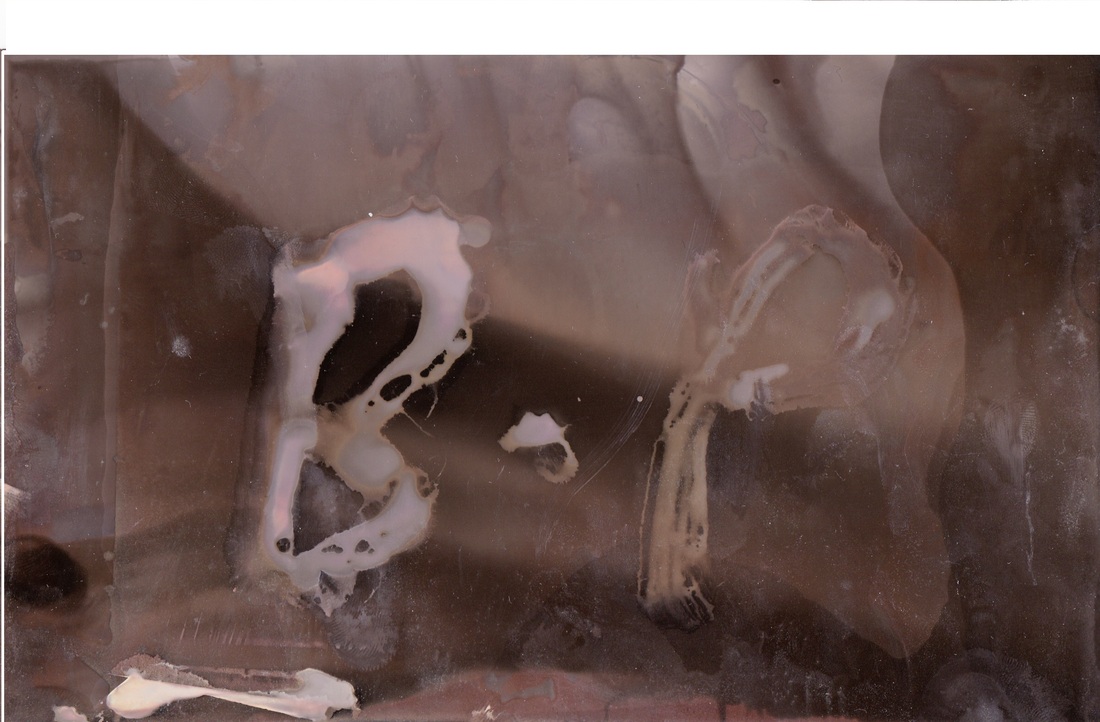
Pierre Cordier
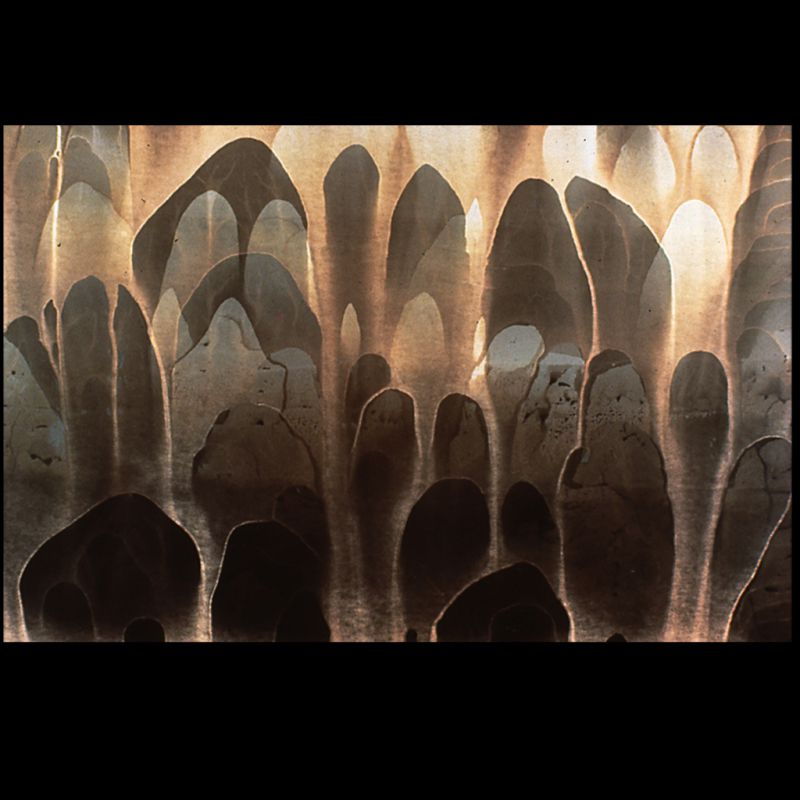
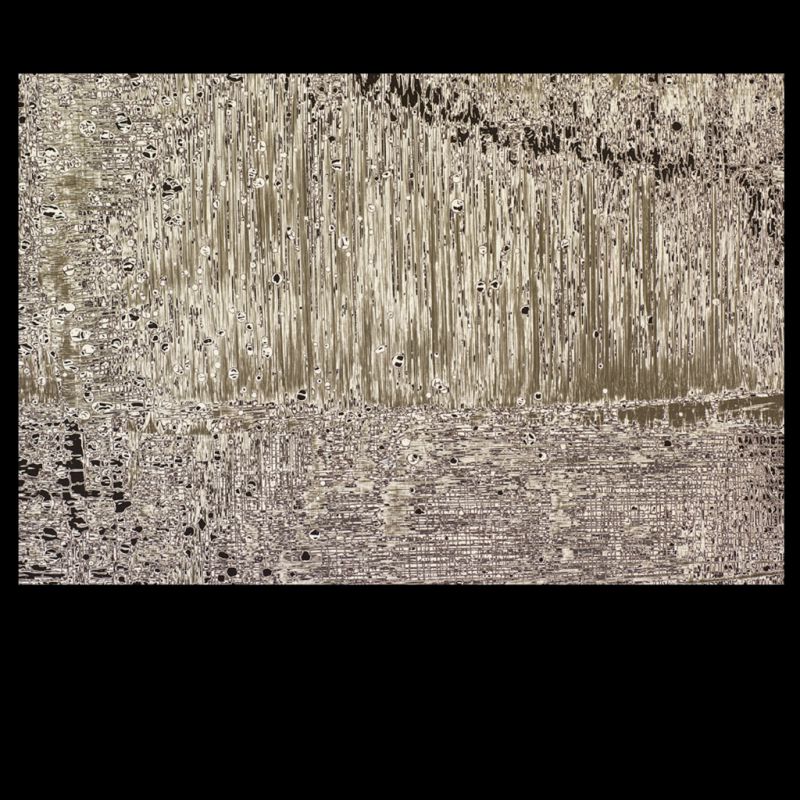
Pierre Cordier is hailed as the 'Father of Chemigrams', is a Belgian artist who discover the Chemigrams. He invented them on the 10th of November 1956.
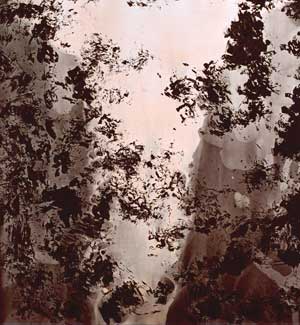
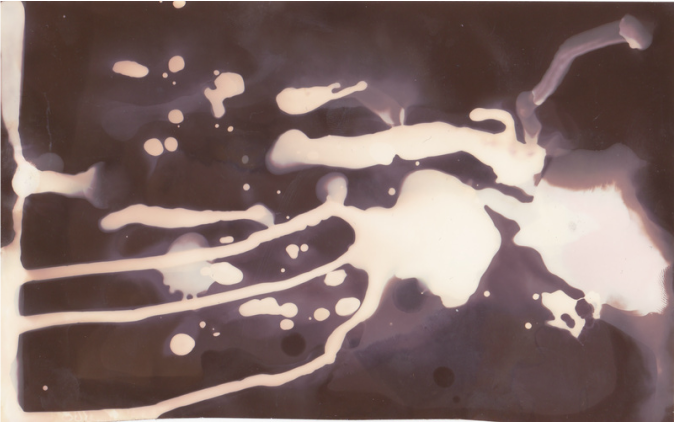
These are photos that I got off of his personal Photography site.
These are photos that I got off of his personal Photography site.


My attempts at Chemigrams
|
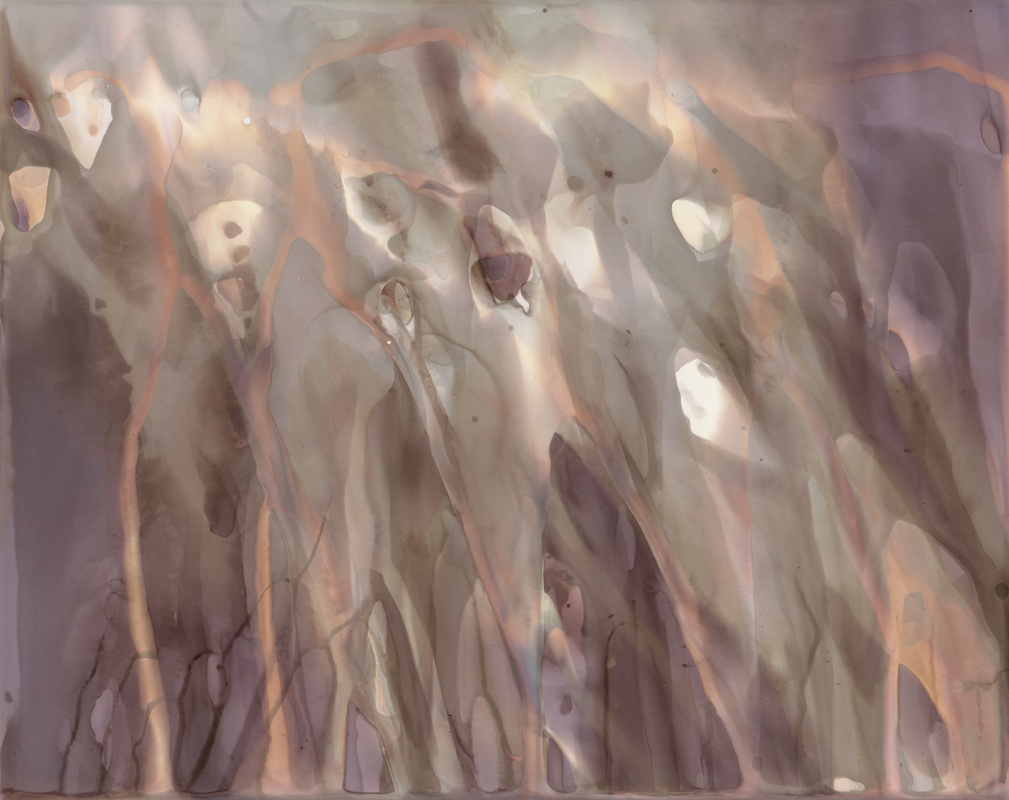
On the right is my first attempt at a Chemigram. I made this in Yr.11 for my Abstraction unit in GCSE Photography.
|
|
|
If you don't run it under the water this is the result:
|
|
